Advertisement
Table of Contents
- 1 1° Connecting the Accessories
- 2 2° Installing and Adjusting the Limit Switch Cams
- 3 3. Adjusting Run and Maximum Speed
- 4 4. – Programming Total Opening.
- 5 5° - Programming the Pedestrian Gateway Opening
- 6 6 Programming the Remote Control for Total Opening
- 7 7 Customising Configuration
- Download this manual
See also:
Manual
SIMPLIFIED INSTRUCTIONS FOR K400 WITH K 24V-CRX
1° Connecting the accessories
ANTENNA
433 MHz
ANTENNA BRAIDING
COMMON
PHOTOCELLS
PEDESTRIAN
SINGLE COMMAND
A+TEST / A-
SAFETY DEVICE
24Vdc 0,4A ±15%
AUTO-TEST OR
ENERGY SAVING
24Vdc 0,4A ±15%
(LOW POWER) WITH
BATTERY OPERATION
2° Installing and adjusting the limit switch cams
Position the cams at the ends of the rack rail.
Tighten the two screws to secure them in place.
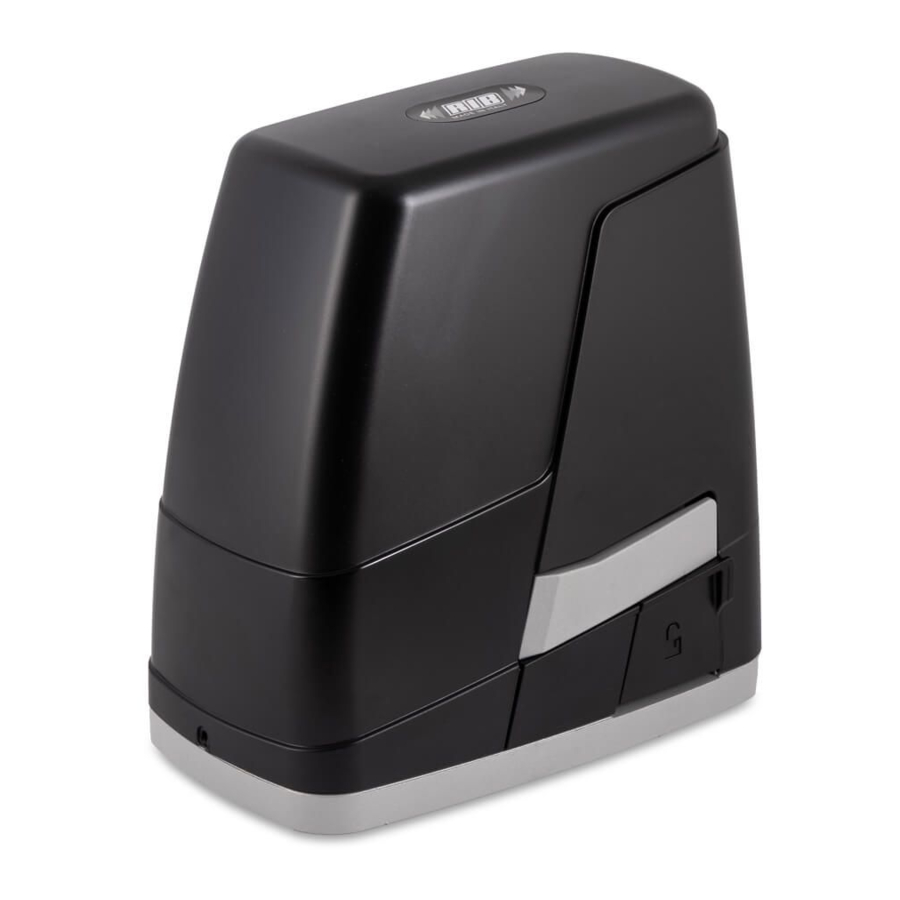
Open the shutter door of the K400.
Insert the key and turn in a clockwise direction.
Pull the lever to unlock the operating system.
Check the cam intervention point by opening and closing the gate.
N.B.: The cams should press the electric micro-switches before the moving part
touches the mechanical stops (K400 FCE). The DL7 and DL8 LEDs switch off
when the cams are detected by the proximity sensor (K400 FCM).
Position the gate halfway and re-secure the operating system.
ITA
ESP ENG FRA GRE DEU RUS ARA THAI BUL FAR TUR
STOP
EDGE
CLOSE
OPEN
TIMER
24Vdc 20W
24Vdc 10W
L.S. OPEN
AND CLOSE
ENCODER
M
MANUAL
RELEASE
SAFETY
POWER SUPPLY
230Vac 50Hz
24Vac
0
10Vac
BACKUP BATTERIES
FOR BATTERY CHARGER
BOARD (OPTIONAL)
HIN
CHI
POL HUN CEK KOR
FUSE
T 1,6A
TRANSFORMER
K400 FCE
K400 FCM
Advertisement
Table of Contents

Related Manuals for RIB K400


Summary of Contents for RIB K400
- Page 1 Check the cam intervention point by opening and closing the gate. N.B.: The cams should press the electric micro-switches before the moving part touches the mechanical stops (K400 FCE). The DL7 and DL8 LEDs switch off when the cams are detected by the proximity sensor (K400 FCM).
- Page 2 DIP9 always works, even with radio control mode always works, only with control buttons mode DIP10 rib monitoring TEST active rib monitoring TEST not active DIP11 pre-flashing active pre-flashing not active DIP12 DIP 13...
Need help?
Do you have a question about the K400 and is the answer not in the manual?
Questions and answers