Table of Contents
Advertisement
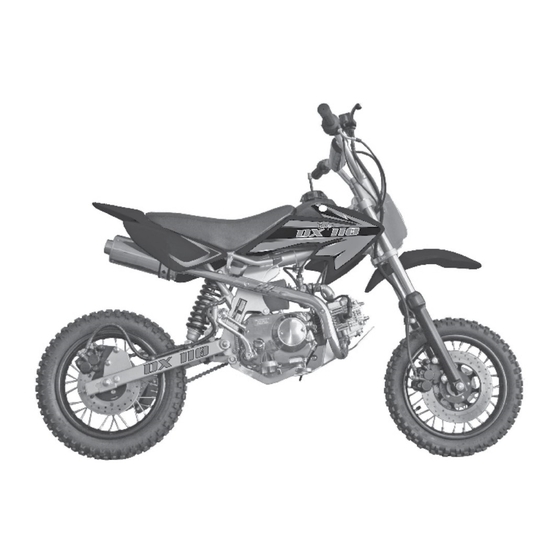
DX70/DX110 Dirt Bike
Read this manual carefully. It contains important safety information.
No one under the age of 16 should operate this dirt bike without adult supervision.
OWNER'S MANUAL
Minimum Recommended Age
Requirement: 16
Always wear a helmet; It could save your Life!
Please obtain, review, and follow provincial / municipal government acts
and regulations pertaining to owning and operating an off-road vehicle.
Rev. A
Advertisement
Table of Contents


Need help?
Do you have a question about the DX70 and is the answer not in the manual?
Questions and answers