Sign In
Upload
Download
Table of Contents
Contents
Add to my manuals
Delete from my manuals
Share
URL of this page:
HTML Link:
Bookmark this page
Add
Manual will be automatically added to "My Manuals"
Print this page
×
Bookmark added
×
Added to my manuals
Manuals
Brands
Atag Manuals
Oven
SQ4211B
Instructions for use manual
Atag SQ4211B Instructions For Use Manual
Hide thumbs
1
2
Table Of Contents
3
4
5
6
7
8
9
10
11
12
13
14
15
16
17
18
19
20
21
22
23
24
25
26
27
28
29
30
31
32
33
34
35
36
37
38
39
40
41
42
43
44
45
46
47
48
49
50
51
52
page
of
52
Go
/
52
Contents
Table of Contents
Bookmarks
Table of Contents
Table of Contents
Control Panel
Oven Features
Accessories
Using this Manual
Before Installaton
Safety Precautions
Important Information about the Use of the Appliance
Causes of Damage
Important Information about Installing the Combi Steam Oven
Filling the Water Tank
Setting the Clock
Modes and Settings
Default Settings
Using the Steam Mode
Cooking Guide
Using the Combi Steam Mode
Using the Reheat Mode
Using the Convection Mode
Using the Grill Mode
Cooking Time Reservation Function
Using the Auto Cook Mode
Using the Defrost Mode
Using the Keep Warm Mode
Using the Memory Mode
Setting the Water Hardness
Descaling
Using the Steam Clean Feature
Cleaning
Switching off the Beeper / Reading out the Temperature
Child Safety Lock
Cleaning and Care
Changing the Oven Lamp
Error Codes
Technical Specifi Cations
Advertisement
Quick Links
1
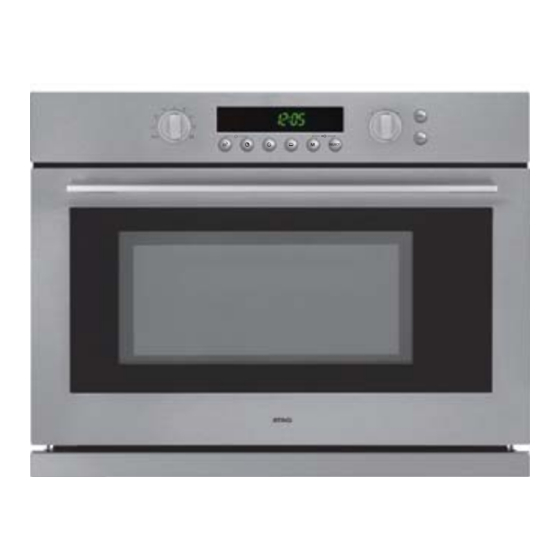
Control Panel
2
Oven Features
3
Modes and Settings
4
Using the Steam Mode
5
Using the Combi Steam Mode
6
Using the Convection Mode
7
Error Codes
Download this manual
instructions for use
steam oven
SQ4211B
SQ4292B
SQ4311B
SQ4392B
Table of
Contents
Previous
Page
Next
Page
1
2
3
4
5
Advertisement
Table of Contents
Need help?
Do you have a question about the SQ4211B and is the answer not in the manual?
Ask a question
Questions and answers
Related Manuals for Atag SQ4211B
Oven Atag SQ4311B Instructions For Use Manual
(52 pages)
Oven Atag SQ4211T Instructions For Use Manual
(64 pages)
Oven Atag Combi Steam SQ4111B Manual
(26 pages)
Oven Atag SQ4111B Installation Instructions Manual
(20 pages)
Oven Atag SQ4211BUU Manual
(52 pages)
Oven Atag SX3211C Instructions For Use Manual
Steam oven (80 pages)
Oven Atag SX3292C Instructions For Use Manual
(80 pages)
Oven Atag SX4511D Instructions For Use Manual
(84 pages)
Oven Atag SX4592D Instructions For Use Manual
(44 pages)
Oven Atag SX4592D/A22 Instructions For Use Manual
(84 pages)
Oven Atag SX4411B Manual
(43 pages)
Oven Atag SX4611C Instructions For Use Manual
(32 pages)
Oven Atag SX3011C Instructions For Use Manual
(78 pages)
Oven Atag SX4611D Instructions For Use Manual
(44 pages)
Oven Atag DX6411L Instructions For Use Manual
(73 pages)
Oven Atag CS4574M Instructions For Use Manual
(120 pages)
This manual is also suitable for:
Sq4292b
Sq4311b
Sq4392b
Table of Contents
Print
Rename the bookmark
Delete bookmark?
Delete from my manuals?
Login
Sign In
OR
Sign in with Facebook
Sign in with Google
Upload manual
Upload from disk
Upload from URL


Need help?
Do you have a question about the SQ4211B and is the answer not in the manual?
Questions and answers