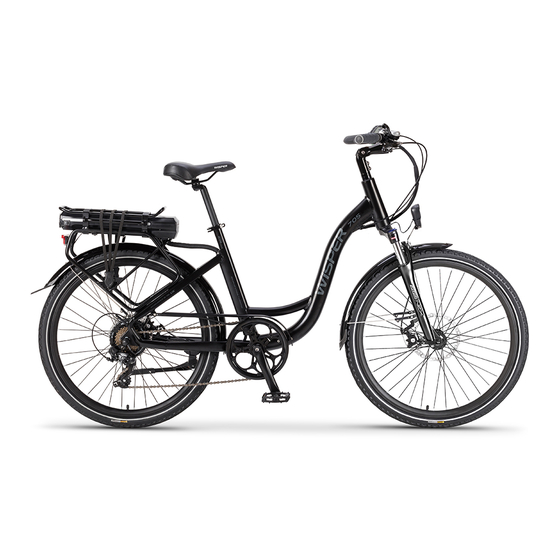
Wisper 705se Owner's Manual
Hide thumbs
Also See for 705se:
- Owner's manual (20 pages) ,
- Owner's manual (30 pages) ,
- Owner's manual (19 pages)
Table of Contents
Advertisement
Quick Links
Download this manual
See also:
Owner's Manual
Advertisement
Table of Contents

Summary of Contents for Wisper 705se
- Page 1 Owner’s Manual Operation and Maintenance Instructions Wisper 705se January 2010 1 edition Revised August 2010 - 1 -...
-
Page 2: Table Of Contents
Wisper bike Wisper Limited User Guide Page 3 Introduction Part 1 Caring for your Wisper bike and pre use checks Before you set off for the first time Page 4 Before each use Page 5 Battery care... -
Page 3: Introduction
We strongly advise you to always wear a cycle helmet when using your bicycle and if you are unfamiliar with cycling to attend a cycle proficiency course prior to using it. Your Wisper Works 705se is not a toy and should be considered a serious mode of transport. -
Page 4: Before You Set Off For The First Time
Wisper Ltd Part 1 Caring for your Wisper bike and checks Although your Wisper bike has been thoroughly tested prior to delivery, it is very important that you check the bike thoroughly before its first use. Equally important are frequent and regular spot checks they will protect you and your Wisper bike. -
Page 6: Battery Care
Check for any loose nuts bolts or fixings Check brake functions Check electronic functions Check reflectors are in place and lights are working Check your battery for any visible signs of damage Battery care Before you use the battery for the first time it is best to give it a full deep charge for 12 hours. -
Page 7: Water
disconnect the charger from the mains before disconnecting the charger from the battery. It is possible that the battery will take up to 12 hours to charge on the first three charges. 4.2 When charging the battery always do so in a well ventilated area. 4.3 Do not leave the charger connected to the mains when not in use. -
Page 8: Technical Specifications And Performance
9, 10, 15 mm open-end wrenches 15 mm box end wrench Socket wrench, 14, 15, and 19 mm socket T25 Torx wrench No. 1 Phillips head screwdriver Bicycle tube patch kit, tire pump Technical specifications & performance Wisper Works 705se Type Performance (with 75kg 165lb rider) -
Page 9: Simple Trouble Shooting
Maximum load 130kg (240kg) Battery specifications Cell Type Advanced Environmental Lithium Polymer with BMS Capacity 8Ah or 14Ah Rated voltage Main Controller specifications Low voltage safeguard 31.5V Overload current safeguard Main hub motor specifications Motor type Hi speed brushless Rated power Aus 200W / NZ Europe 250W / USA Canada 350W Rated voltage Lithium 115 to 230V 36V fan cooled... -
Page 10: Part 2 Controls And Equipment
Battery on off and battery lock 9.1 Your Wisper bike has one key. The key turns the battery on/off and locks the battery in the bike. Please keep a careful note of the key numbers as we cannot replace them without these numbers should they become mislaid. -
Page 11: The On/Off Button
Pedelec mode and ASSIST mode 12.1 When you first ride your Wisper bike you will notice that after one turn of the pedals the motor will start working assisting you ride the bike by adding power to the back wheel. This is the standard or pedelec mode. To continue using the pedelec mode you must keep turning the pedals, if you stop pedaling the motor will stop and the bike will slow to a halt. -
Page 12: Throttle
14.1 Front: Disc Rear: V brake 14.2 The brakes on your Wisper bike are fitted with cut outs which are required by law. This means that when you pull on either the back or front brake lever the motor immediately stops working. - Page 13 spacers and washer. Install new brake pads, then with both pads pressed against the 14.3.2. wheel rim, ensure that distance-B (in diagram) does not exceed 65mm. To decrease distance-B, exchange wide & narrow spacers on each brake pad. Before finally tightening brake pads, make sure they are aligned correctly on the rim, and there is a gap of 1mm between the top of the rim and the top of the pad.
-
Page 14: Handle Bar Stem
As the left and right pads are the same they maybe inserted on either the left or right of the caliper. Warning: If you are unsure about any part of the installation process you should seek advice from Wisper service center or qualified mechanic. Handle bar stem 15.1... -
Page 15: Saddle Post Suspension
17.1 Your Wisper bike has been fitted with a quick release saddle post collar to facilitate the movement of the saddle to remove the battery or to change the riding position. 17.2 It is important that the nut on the collar is tightened so the post will not move in the bike tube. - Page 16 21.1 Full details on how to adjust and maintain your derailleur can be found on our website www.wisperbikes.com Electric bikes, Manuals. Warranty Repair or replacement of components IMPORTANT To validate this Warranty the retail customer must register the bike at www.wisperbikes/mywarranty within 14 days of purchase.
- Page 17 If this service has not been undertaken at the correct time this may cause damage to the wheels and spokes that will not covered under our guarantee. Service through Your retailer Wisper Ltd 10 Oakenbrow Sway Hants SO41 6DY...


Need help?
Do you have a question about the 705se and is the answer not in the manual?
Questions and answers