Table of Contents
Advertisement
Quick Links
Advertisement
Table of Contents

Subscribe to Our Youtube Channel
Related Manuals for Euromaid I3B60


Summary of Contents for Euromaid I3B60
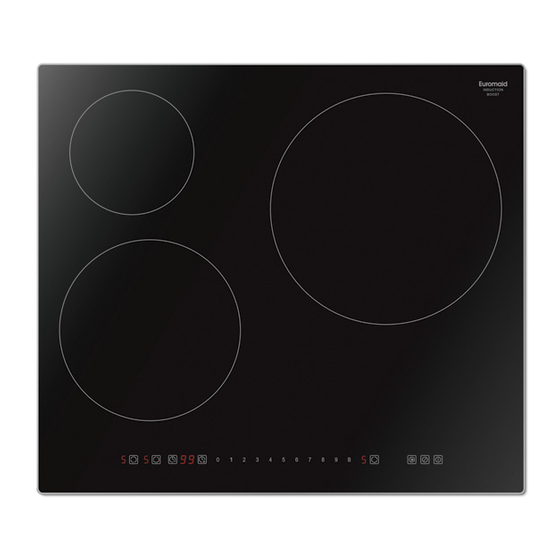
- Page 1 I3B60 60cm Induction Cooktop USER MANUAL Euromaid price, quality, performance...
- Page 3 Dear Customer, Congratulations on purchasing your new product from Home Appliances. To register your Parts and Labour Warranty, some conditions apply, please refer to your warranty card for more details and contact our Customer Care team on: 1800 444 357 Our Customer Care Centre is there to ensure you get the most out of your appliance.
- Page 4 NOTE: This User Instruction Manual contains important information, including safety & installation points, which will enable you to get the most out of your appliance. Please keep it in a safe place so that it is easily available for future reference; for you or any person not familiar with the operation of the appliance.
-
Page 5: Table Of Contents
Content Foreword ................ 4 1.1 Safety Warnings ................4 1.2 Installation ................. 4 1.2.1 Electrical Shock Hazard ..........4 1.2.2 Cut Hazard ..............4 1.2.3 Important safety instructions ........... 4 1.3 Operation and maintenance ............5 1.3.1 Electrical Shock Hazard ..........5 1.3.2 Health Hazard ............... - Page 6 9.6 Cautions ................... 22 9.7 Connecting the hob to the mains power supply ......23...
-
Page 7: Foreword
Foreword Safety Warnings Your safety is important to us. Please read this information before using your cooktop. Installation 1.2.1 Electrical Shock Hazard • Disconnect the appliance from the mains electricity supply before carrying out any work or maintenance on it. •... -
Page 8: Operation And Maintenance
incorporates an isolating switch providing full disconnection from the power supply. • Failure to install the appliance correctly could invalidate any warranty or liability claims. Operation and maintenance 1.3.1 Electrical Shock Hazard • Do not cook on a broken or cracked cooktop. If the cooktop surface should break or crack, switch the appliance off immediately at the mains power supply (wall switch) and contact a qualified technician. -
Page 9: Cut Hazard
1.3.4 Cut Hazard • The razor-sharp blade of a cooktop scraper is exposed when the safety cover is retracted. Use with extreme care and always store safely and out of reach of children. • Failure to use caution could result in injury or cuts. 1.3.5 Important safety instructions •... - Page 10 Induction glass surface as this can scratch the glass. • Do not use scourers or any other harsh abrasive cleaning agents to clean your cooktop, as these can scratch the Induction glass. • If the supply cord is damaged, it must be replaced by the manufacturer, its service agent or similarly qualified persons in order to avoid a hazard.
-
Page 11: Product Induction
Congratulations on the purchase of your new Induction Hob. We recommend that you spend some time to read this Instruction / Installation Manual in order to fully understand how to install correctly and operate it. For installation, please read the installation section. Read all the safety instructions carefully before use and keep this Instruction / Installation Manual for future reference. -
Page 12: Before Using Your New Induction Hob
Read this guide, taking special note of the ‘Safety Warnings’ section. • Remove any protective film that may still be on your Induction hob. • Technical Specification Cooking Hob I3B60 Cooking Zones 3 Zones Supply Voltage 220-240V~ Installed Electric Power 7200W Product Size L×W×H(mm) -
Page 13: Choosing The Right Cookware
Choosing the right Cookware Only use cookware with a base suitable for induction cooking. • Look for the induction symbol on the packaging or on the bottom of the pan. • You can check whether your cookware is suitable by carrying out a magnet test. Move a magnet towards the base of the pan. -
Page 14: How To Use
How to use 3.3.1 Start cooking Touch the ON/OFF control. After power on, the buzzer beeps once, all displays show “–” or “– –”, indicating that the induction hob has entered the state of standby mode. Place a suitable pan on the cooking zone that you wish to use. •... -
Page 15: Using The Boost Function
Touching the heating zone selection control that you wish to switch off. Turn the cooking zone off by touching the “0” control. Make sure the display shows “0”. Turn the whole cooktop off by touching the ON/OFF control. Beware of hot surfaces H will show which cooking zone is hot to touch. -
Page 16: Locking The Controls
a: Touching the "Boost" control “B”, then the cooking zone will revert to its original setting. b: Touching one of the “0” to “9” control, then the cooking zone will revert to the level you select. • The function can work in all cooking zones •... - Page 17 Touching the “-” and “+” together, the timer is cancelled, and the “00” will show in the minute display. When the time is set, it will begin to count down immediately. The display will show the remaining time and the timer indicator will flash for 5 seconds.
-
Page 18: Default Working Times
set m ore zones: The steps for setting more zones are similar to the steps of setting one zone; When you set the time for several cooking zones simultaneously, decimal dots of the relevant cooking zones are on. The minute display shows the min. timer. The dot of the corresponding zone flashes. The shown as below: (set to 15 minutes) 、、、... -
Page 19: Simmering, Cooking Rice
Minimize the amount of liquid or fat to reduce cooking times. • Start cooking on a high setting and reduce the setting when the food has heated through. • 4.1.1 Simmering, cooking rice Simmering occurs below boiling point, at around 85˚C, when bubbles are just rising occasionally to •... -
Page 20: Care And Cleaning
• delicate warming for small amounts of food 1 - 2 • melting chocolate, butter, and foods that burn quickly • gentle simmering • slow warming • reheating 3 - 4 • rapid simmering • cooking rice • pancakes 5 - 6 •... -
Page 21: Hints And Tips
Spillovers on the 1. Switch the power to the cooktop • The cooktop may beep and turn touch controls off. itself off, and the touch controls 2. Soak up the spill may not function while there is 3. Wipe the touch control area with liquid on them. -
Page 22: Failure Display And Inspection
Pans do not become hot The induction hob cannot Use cookware suitable for induction and appears in the detect the pan because it is not cooking. See section ‘Choosing the right display. suitable for induction cooking. cookware’. The induction hob cannot detect Centre the pan and make sure that its the pan because it is too small for base matches the size of the cooking... -
Page 23: Installation
The accessorial power Check the connection. board and the display board connected failure. The accessorial power Replace the accessorial board is damaged. power board. The display board is Replace the display damaged. board. Some buttons can’t work, The display board is Replace the display or the LED display is not damaged. -
Page 24: Before Installing The Hob, Make Sure That
material to avoid larger deformation caused by the heat radiation from the hotplate. As shown below: L(mm) W(mm) H(mm) D(mm) A(mm) B(mm) X(mm) 560+4 490+4 50 mini Under any circumstances, make sure the Induction cooker hob is well ventilated and the air inlet and outlet are not blocked. -
Page 25: After Installing The Hob, Make Sure That
in the permanent wiring, mounted and positioned to comply with the local wiring rules and regulations. The isolating switch must be of an approved type and provide a 3 mm air gap contact separation in • all poles (or in all active [phase] conductors if the local wiring rules allow for this variation of the requirements). - Page 26 Connecting the hob to the mains power supply This hob must be connected to the mains power supply only by a suitably qualified person. Before connecting the hob to the mains power supply, check that: 1. The domestic wiring system is suitable for the power drawn by the hob. 2.
- Page 27 BLANK PAGE...
- Page 28 Euromaid price, quality, performance...
Need help?
Do you have a question about the I3B60 and is the answer not in the manual?
Questions and answers