Table of Contents
Advertisement
Quick Links
Advertisement
Table of Contents

Summary of Contents for Euromaid IMZ60
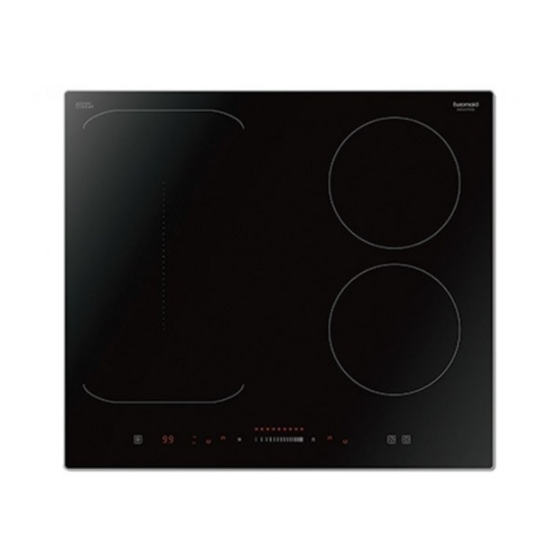
- Page 1 IMZ60 60cm Induction Cooktop USER MANUAL Euromaid price, quality, performance...
- Page 2 Dear Customer, Congratulations on purchasing your new product from Home Appliances. To register your Parts and Labour Warranty, some conditions apply, please refer to your warranty card for more details and contact our Customer Care team on: 1800 444 357 Our Customer Care Centre is there to ensure you get the most out of your appliance.
-
Page 3: Table Of Contents
Content Foreword ................ 4 1.1 Safety Warnings ................4 1.2 Installation ................. 4 1.2.1 Electrical Shock Hazard ..........4 1.2.2 Cut Hazard ..............4 1.2.3 Important safety instructions ........... 4 1.3 Operation and maintenance ............5 1.3.1 Electrical Shock Hazard ..........5 1.3.2 Health Hazard ............... -
Page 4: Foreword
9.2 Before installing the hob, make sure that ........23 9.3 After installing the hob, make sure that ........23 9.4 Before locating the fixing brackets ..........23 Foreword 9.5 Adjusting the bracket position ............. 24 9.6 Cautions ................... 24 9.7 Connecting the hob to the mains power supply ...... -
Page 5: Operation And Maintenance
incorporates an isolating switch providing full disconnection 1.3.4 Cut Hazard from the power supply. • The razor-sharp blade of a cooktop scraper is exposed when • Failure to install the appliance correctly could invalidate any the safety cover is retracted. Use with extreme care and warranty or liability claims. -
Page 6: Product Induction
Congratulations Induction glass surface as this can scratch the glass. on the purchase of your new Induction Hob. We recommend that you spend some time to read this Instruction / Installation Manual in order to fully • Do not use scourers or any other harsh abrasive cleaning understand how to install correctly and operate it. -
Page 7: Before Using Your New Induction Hob
Choosing the right Cookware iron pot Only use cookware with a base suitable for induction cooking. • Look for the induction symbol on the packaging or on the bottom magnetic circuit of the pan. • You can check whether your cookware is suitable by carrying out a magnet test. ceramic glass plate Move a magnet towards the base of the pan. -
Page 8: How To Use
Turn the cooking zone off by touching the slider to the left. Make How to use sure the display shows “0”. 3.4.1 Start cooking Turn the whole cooktop off by touching the ON/OFF control. Touch the ON/OFF control. After power on, the buzzer beeps once, timer control show “00”... -
Page 9: Keep Warm
3.4.4 Keep Warm The product has 3 levels of keep warm function. As big zone To activate the flexible area as a single big zone, simply press the Activate the Keep warm function dedicated keys. Touching the heating zone selection control The power setting works as any other normal area. -
Page 10: Using The Pause Control
Make sure the cooktop is turned on. Set the time by touching the slider control (e.g.9), now the Note: you can use the minute minder even if you’re not timer you set is 96 minutes. selecting any cooking zone. Touch timer control, the “10” will show in the timer display where touched and the “0”... -
Page 11: Cooking Guidelines
return the meat to the pan and add your sauce. Keep warm 6. Stir the ingredients gently to make sure they are heated through. Power level Default working timer (hour) 7. Serve immediately. When the pot is removed, the induction hob can stop heating immediately and the hob automatically switch off after 2 minutes. -
Page 12: Hints And Tips
Boilovers, melts, and Remove these immediately with a • Remove stains left by melts and Some pans make This may be caused by the This is normal for cookware and hot sugary spills on fish slice, palette knife or razor sugary food or spillovers as soon crackling or clicking construction of your cookware... -
Page 13: Installation
E3/E4 Temperature sensor of the ceramic glass Please restart after the The above are the judgment and inspection of common failures. Please do not disassemble the unit by yourself to avoid any dangers and damages to the induction hob. plate Is high induction hob cools down. - Page 14 Adjusting the bracket position Fix the hob on the work surface by screw 4 brackets on the bottom of hob(see picture) after installation. Adjust the bracket position to suit for different table top thickness. A(mm) B(mm) C(mm) Cautions 50 mini 20 mini Air intake Air exit 5mm...
- Page 15 If the cable is damaged or to be replaced, the operation must be carried out the by after-sale agent • with dedicated tools to avoid any accidents. If the appliance is being connected directly to the mains an omnipolar circuit-breaker must be •...
- Page 16 BLANK PAGE BLANK PAGE...
- Page 17 Euromaid price, quality, performance...


Need help?
Do you have a question about the IMZ60 and is the answer not in the manual?
Questions and answers