Table of Contents
Advertisement
Quick Links
Advertisement
Table of Contents
Troubleshooting

Related Manuals for DeLonghi ESAM04.350


Summary of Contents for DeLonghi ESAM04.350
- Page 2 5713215081/ 09.10...
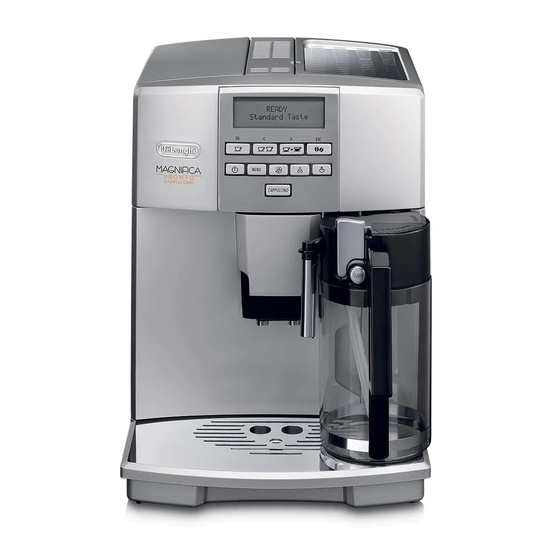
- Page 3 BEAN TO CUP ESPRESSO AND CAPPUCCINO MACHINE Instruction for use ESAM04.350...
-
Page 4: Electrical Requirements
ElECTRICAl REqUIREMENTS Before using this appliance ensure that the voltage indicated on the product corresponds with the main voltage in your home, if you are in any doubt about your supply contact your local electricity company. The flexible mains lead is supplied connected to a B.S. 1363 fused plug having a fuse of 13 amp capacity. Should this plug not fit the socket outlets in your home, it should be cut off and replaced with a suitable plug, following the procedure outlined below. - Page 5 A4 A5...
-
Page 8: Table Of Contents
CONTENTS HEATING WATER ........... 14 Preparation ................14 ElECTRICAl REqUIREMENTS ........2 Change the quantity of water delivered automatically..14 INTRODUCTION ............7 ClEANING ............14 Symbols used in these instructions .......... 7 Cleaning the coffee maker ............. 14 letters in brackets .............. -
Page 9: Introduction
INTRODUCTION SAFETY Thank you for choosing the eSaM04.350 automatic coffee Fundamental safety warnings and cappuccino maker. We hope you enjoy using your new Danger! appliance. Take a few minutes to read these instructions. This is an electrical appliance and may cause electric shock. -
Page 10: Instructions
DESCRIPTION • by clients in hotels, motels and other residential type environments; Description of the appliance • bed and breakfast type environments. (page 3 - A ) grinding adjustment knob INSTRUCTIONS Main switch read these instructions carefully before using the appliance. Beans container Failure to respect these instructions may result in burns or Beans container lid... -
Page 11: Preliminary Checks
MENU button: to access the settings menu. Using the appliance for the first time button: to turn the appliance on and off (stand- Please note : • Coffee has been used to factory test the appliance and it is button to deliver hot water. therefore completely normal for there to be traces of coffee CAPPUCCINO button to deliver a cappuccino or in the grinder. -
Page 12: Turning The Appliance Off
4. Press the or button until the required language is Danger of burns! displayed; during rinsing, a little hot water comes out of the coffee spouts 5. Press the OK button to confirm; and is collected in the drip tray underneath. avoid contact with 6. -
Page 13: Auto-Off (Stand-By)
1. Press the MENU button to enter the settings menu. Statistics function 2. Press the or button until “auto-start” is displayed; This displays statistics relating to the machine. 3. Press the OK button. “enable?” is displayed; To display, proceed as follows: 4. -
Page 14: Customising The "My Coffee" Quantity
hot water is delivered from the spout, heating the internal Corresponding coffee ESPRESSO (ml) circuits of the appliance and thus raising the coffee My CoFFee program. temperature. from ≃20 to ≃180 • place the cups on the cup warmer until they are warm. ≃40 • warm the cups by rinsing them with hot water (using the ShorT hot water function). ≃60 STandard •... -
Page 15: Making Drinks With Milk
it. This could damage the appliance. during this time, “Preparation underway...” is displayed. • Never use more than one level 3. Make sure the milk intake tube is correctly inserted in the measure or it could dirty the inside bottom of the milk container lid (fig. 18). of the machine or block the funnel. -
Page 16: Cleaning The Milk Frother With The Clean Button
HEATING WATER Cleaning the milk frother with the ClEAN button Important! Danger di scottature Please note: When cleaning the internal tubes of the milk container, a little a few seconds may elapse between “energy saving” mode and hot water leaks out of the frothed milk tube (B5). delivery of hot water;... -
Page 17: Cleaning The Coffee Grounds Container
water tank (a10), never immerse the coffee maker in water. coffee spouts (a16) and hot water nozzle (a9), pre-ground coffee funnel (a7), 1. Check regularly (about every 100 coffees) that the inside infuser (a18) of the appliance (accessible after removing the drip tray) milk container (B). -
Page 18: Cleaning The Milk Container
PuSh symbol fully in until it clicks into place. Cleaning the hot water/steam nozzle each time you prepare milk, clean the nozzle with a sponge to remove milk residues from the gaskets (fig. 24). DESCAlING descale the machine when the message “deSCale” flashes on the display. -
Page 19: Setting Water Hardness
TECHNICAl SPECIFICATION 10. Press the OK button to start rinsing. hot water flows out voltage: 220-240 v~ 50/60 hz max. 10a of the spout and the message “rinsing Please wait” is absorbed power: 1350W displayed. Pressure: 15 bar 11. When the water tank is completely empty, the message Water tank capacity: 1,8 l “Rinsing complete Press OK” is displayed. -
Page 20: Displayed Messages
DISPlAYED MESSAGES DISPlAYED MESSAGE POSSIBlE CAUSE REMEDY FILL TANK Insufficient water in the tank. Fill the tank with water and/or insert it correctly, pushing it as far as it will go until it clicks into place (fig. 3). ground Too Fine adJuST The grinding is too fine and the coffee is delivered too repeat coffee delivery and turn the grinding adjustment slowly or not at all. -
Page 21: Troubleshooting
TROUBlESHOOTING Below is a list of some of the possible malfunctions. if the problem cannot be resolved as described, contact Customer Services. PROBlEM POSSIBlE CAUSE REMEDY The coffee is not hot The cups were not preheated. Warm the cups by rinsing them with hot water (using the hot water function).