Table of Contents
Advertisement
NOTE:
The unit must be traveling at least 3 mph (5 km/h) before motor will engage.
Kick start to at least 3 mph (5 km/h) while applying throttle to engage motor.
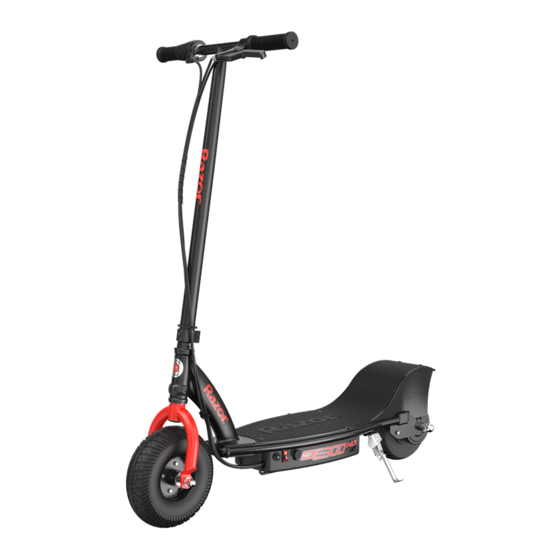
OWNER'S MANUAL
Read and understand this entire manual before allowing
child to use this product! For assistance contact Razor.
DO NOT RETURN TO STORE.
NOTE: Manual illustrations are for demonstration purposes only.
Illustrations may not reflect exact appearance of actual product.
Specifications subject to change without notice.
Please have your product along with the 19 character product I.D. code with you
before contacting Razor for warranty assistance and/or replacement parts.
Product I.D. Code: _____________ - ____________ - ____________
Advertisement
Table of Contents

Related Manuals for Razor E300 HD


Summary of Contents for Razor E300 HD
- Page 1 Kick start to at least 3 mph (5 km/h) while applying throttle to engage motor. OWNER’S MANUAL Read and understand this entire manual before allowing child to use this product! For assistance contact Razor. DO NOT RETURN TO STORE. NOTE: Manual illustrations are for demonstration purposes only.
-
Page 3: Table Of Contents
RIDE AT YOUR OWN RISK AND USE COMMON SENSE. electric scooter must be moving at least 3 mph (5 km/h) before the motor will engage. Once the throttle is activated the E300 HD will WARNING: PARENTAL AND ADULT RESPONSIBILITY AND move forward. -
Page 4: Safety Warnings
Need Help? Visit our website for replacement parts, product support, a list of authorized service centers in the US and customer service contact information at www.razor.com. Please have the product I.D. code (located on the white label of your product) available for better assistance. Additional Customer... -
Page 5: Before You Begin
ELECTRIC SCOOTER. The scooter MAKE SURE POWER SWITCH IS TURNED “OFF” BEFORE CONDUCTING ANY ASSEMBLY OR has been built to certain Razor MAINTENANCE PROCEDURES. design specifications. The original equipment supplied at the time... -
Page 6: Assembly And Set-Up
ASSEMBLY AND SET-UP Attaching the Handlebars WARNING: Do not attempt Tool Required: 5 mm Allen Wrench to thread the stem into the front fork thread. WARNING: Failure to properly tighten the collar clamp may allow the handlebars to dislodge while riding and may cause you to lose control and fall. -
Page 7: Charging The Battery
Need Help? Visit our website for replacement parts, product support, a list of authorized service centers in the US and customer service contact information at www.razor.com. Please have the product I.D. code (located on the white label of your product) available for better assistance. Additional Customer... -
Page 8: Pre-Ride Checklist
Need Help? Visit our website for replacement parts, product support, a list of authorized service centers in the US and customer service contact information at www.razor.com. Please have the product I.D. code (located on the white label of your product) available for better assistance. Additional Customer... -
Page 9: Repair And Maintenance
REPAIR AND MAINTENANCE Turn power switch “OFF” before beginning repair or maintenance: • Read the instructions • Secure the product under repair • Contact Razor customer service if unsure about any repair or • Remove charger plug • Exercise caution around... - Page 10 REPAIR AND MAINTENANCE Front Tire Replacement Note: Front wheel hardware sequence. Tools Required: Two (2) 16 mm Wrenches (not included) Right Side (Throttle) Spacer Washer Fork Washer Spring Washer 16 mm Locknut 1-3 1-4 1-1 1-2 Middle Front Axle Bolt Left Side (Brake) Spacer Using two (2) 16 mm wrenches, loosen the axle bolts by turning the wrenches counter clockwise.
- Page 11 Need Help? Visit our website for replacement parts, product support, a list of authorized service centers in the US and customer service contact information at www.razor.com. Please have the product I.D. code (located on the white label of your product) available for better assistance. Additional Customer...
- Page 12 Need Help? Visit our website for replacement parts, product support, a list of authorized service centers in the US and customer service contact information at www.razor.com. Please have the product I.D. code (located on the white label of your product) available for better assistance. Additional Customer...
-
Page 13: Troubleshooting Guide
Charge battery at least once a month when not in use. For more troubleshooting tips, a list of available replacement parts or to locate an authorized Service Center in your area, visit our website at www.razor.com or call toll free +1 866-467-2967 to speak to a live Customer Service Representative. -
Page 14: E300 Hd Parts
E300 HD SERIES ELECTRIC SCOOTER PARTS Keep your electric scooter running for years with genuine Razor parts. Visit our website or e-mail us for more information on spare part availability. (Specifications subject to change without notice.) Handlebar Grips (Right/Left) Front Fork 15. - Page 15 NOTICE: INSURANCE YOUR INSURANCE POLICIES MAY NOT PROVIDE COVERAGE FOR ACCIDENTS INVOLVING THE USE OF THIS SCOOTER/ELECTRIC RIDE-ON PRODUCT. TO DETERMINE IF COVERAGE IS PROVIDED, YOU SHOULD CONTACT YOUR INSURANCE COMPANY OR AGENT.
-
Page 16: Warranty
Need Help? Visit our website for replacement parts, product support, a list of authorized service centers in the US and customer service contact information at www.razor.com. Please have the product I.D. code (located on the white label of your product) available for better assistance. Additional...