Razor E100 Owner's Manual
Hide thumbs
Also See for E100:
- Manual (60 pages) ,
- Owner's manual (42 pages) ,
- Installation instructions (3 pages)
Table of Contents
Advertisement
Quick Links
WARNING:
This vehicle was not
designed for aggressive riding, racing,
or stunt riding of any kind. It will not
TM
make extremely sharp turns. Use
TM
caution when riding! See inside for
additional warnings.
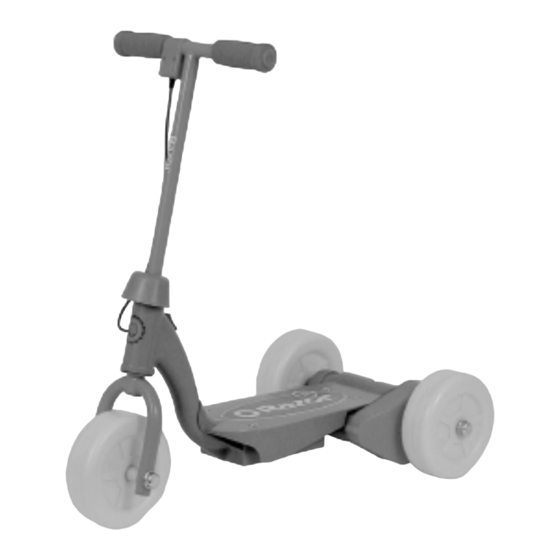
Razor Jr. Electric Scooter
Read and understand this entire manual before riding.
Save this manual with your original sales receipt.
(Specifications subject to change without notice.)
O w n e r ' s
M a n u a l
Advertisement
Table of Contents

Related Manuals for Razor E100


Summary of Contents for Razor E100
- Page 1 It will not make extremely sharp turns. Use caution when riding! See inside for additional warnings. Razor Jr. Electric Scooter Read and understand this entire manual before riding. Save this manual with your original sales receipt. (Specifications subject to change without notice.) O w n e r ’...
-
Page 2: Table Of Contents
1. Key Parts of the Razor Jr........3... -
Page 3: Key Parts Of The Razor Jr
Always wear shoes, never ride barefooted or in sandals, and keep shoelaces tied and out of the way of the wheels, motor and drive system. • The electric motor in your Razor Jr. Electric can become hot when in use. Do not touch the motor and handle the Razor Jr. Electric carefully. -
Page 4: Preparing For First-Time Use
WARNING: CHECK LOCAL LAWS REGARDING USE. Check local laws and regulations to see where and how you may use the Razor Jr. Electric legally. In many states and local areas, riders are required BY LAW to wear a helmet. Check local laws and regulations regarding laws governing helmet use, age and vehicle operation in your area. -
Page 5: Fork And Handlebar Installation
2B. Fork and handlebar installation. If not already preinstalled, slide a steering bushing on to the fork as shown in Figure 2. Both bushings are the same, but the bushing on the bottom interlocks with a key in the frame and a peg on the fork to limit the steering (see arrow in Figure 2). Figure 2. - Page 6 Slide the handlebar into the fork. Be careful not to stretch the wire between the speed control button and the frame. If necessary, lower the fork to provide more clearance to insert it into the frame, but readjust the bushing as shown in Figure 3a and 3b. Tighten the clamp as shown in Figure 4a.
-
Page 7: Install Rear Axle And Wheels
6. NOTE: Although we make every effort to keep our manual up-to- date, if your Razor Jr. Electric does not look exactly this, then we’ve made improvements since this document was printed. Check out the Razor website: www.razor.com for technical updates on the latest service and adjustment procedures. - Page 8 Slide the rear axle through the scooter body as shown in Figure 8. Position the plastic spacer and flat washer as shown in Figure 8. Figure 8 Slide the wheel onto the axle. Position the retaining cap over the axle and, using the plastic installing tool provided to protect the cap, hammer the retaining cap as far as it will go onto the axle as shown in Figure 9.
-
Page 9: Charging Prior To Use
An excessive overload, such as too heavy a rider or too steep a hill, could cause the motor to overheat. If the Razor Jr. Electric suddenly stops running, wait a few minutes and then turn the on-off switch to reset the circuit. -
Page 10: Safety Check Before Riding
3. Safety Check Before Riding 3A. Loose parts. While straddling the Razor Jr. Electric , lift the front up one or two inches and let go so it can bounce on the ground. Does everything sound tight? There should not be any unusual rattles or sounds from loose parts or broken components. - Page 11 Never ride with headphones or use a cell phone when riding. Never carry a passenger. Never hitch a ride with another vehicle. Riding an Razor Jr. Electric may be a hazardous activity and has inherent dangers that no amount of care, caution, instruction or expertise can eliminate.
-
Page 12: Illustrated Parts Breakdown
6. Illustrated Parts Breakdown (Figure 11) Item Description plug bar end grip foam trigger sw2 steel t bar welded cover steering clamp bolt for clamp washer for clamp nut for clamp clamp steering washer headset steering bushing main frame right main frame left fork steel welded cap axle... - Page 13 Figure 11. Illustrated parts breakdown...
-
Page 14: Limited Warranty
• rented. Check local laws and regulations to see where you can ride your Razor Jr. Electric legally. The manufacturer is not liable for incidental or consequential loss nor damage due directly or indirectly from the use of this product. - Page 15 SB 1918 (California) declaration: YOUR INSURANCE POLICIES MAY NOT PROVIDE COVERAGE FOR ACCIDENTS INVOLVING THE USE OF THIS SCOOTER/ELECTRIC VEHICLE. TO DETERMINE IF COVERAGE IS PROVIDED, YOU SHOULD CONTACT YOUR INSURANCE COMPANY OR AGENT.
- Page 16 RIDE UNLESS HE/SHE CAN SAFELY RIDE AND CONTROL THE RAZOR JR. ELECTRIC. Rider weight does not necessarily mean a persons’ size is appropriate to fit or maintain control of the Razor Jr. Electric. Read additional warnings inside this manual. razor usa llc po box 3610 cerritos, ca 90703 www.razor.com...