Advertisement
Quick Links
4
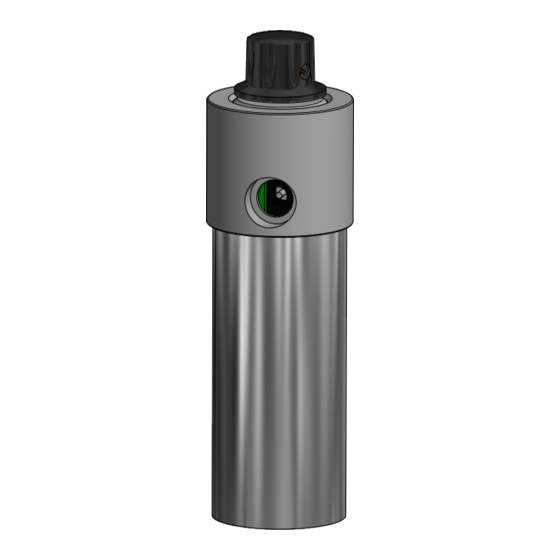
Nanodyne Replacement Illuminator for Olympus FH Microscope Installation Instructions: Included Items
B
A
Copyright 2019 Nanodyne Measurement Systems. Document authorized for installation of Nanodyne equipment only. www.nano-dyne.com Wayne Bonin 651-323-8592
4
3
PN 11277 Olympus FH
illuminator Assy
3
2
PN 10733 Power Supply - XP
Power 5V 1A and PN 10734 Cable
Assy 1.35mm ID x 3.5mm OD RA
plug to USB A, 6 foot.
The illuminator may be powered by
plugging the cable into the power
supply provided, or into a suitable
USB port on a computer or other
device.
Power supplies are subject to
substitution without notice due to
availability issues and changes in
regulations.
Wayne Bonin
PN 11275 Olympus FH Illuminator
System Installation Instruction
2
1
B
A
4/6/2019
REV
2
1
3
SHEET
OF
1
Advertisement

Related Manuals for Olympus FH


Summary of Contents for Olympus FH
- Page 1 Nanodyne Replacement Illuminator for Olympus FH Microscope Installation Instructions: Included Items PN 11277 Olympus FH illuminator Assy PN 10733 Power Supply - XP Power 5V 1A and PN 10734 Cable Assy 1.35mm ID x 3.5mm OD RA plug to USB A, 6 foot.
- Page 2 Nanodyne Replacement Illuminator for Olympus FH Microscope Installation Instructions: Step 1. Remove old lamp. (1) Microscope with OEM lamp and power supply. (2) Pull out the OEM lamp. It is just held in by friction. (3) Lamp removed. Note that the inner portion of the lamp mount can move in and out when the thumb screw is loosened.
- Page 3 Nanodyne Replacement Illuminator for Olympus FH Microscope Installation Instructions: Step 2. Connect Power Supply, Insert Nanodyne Illuminator and Check Focus. Plug in the power supply and insert the new illuminator as shown. It will slide freely in and out. Look at a sample through...