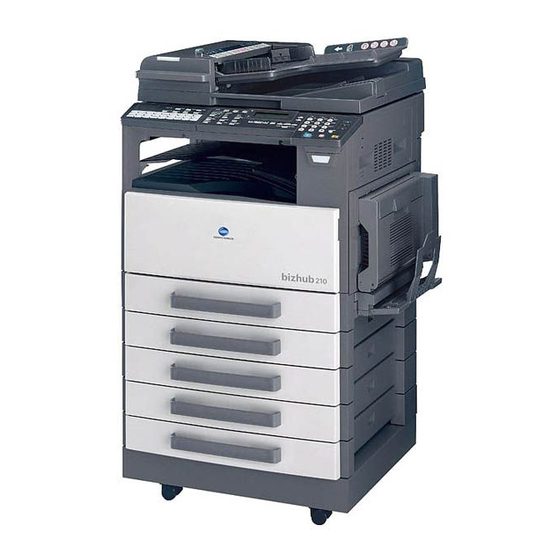
Konica Minolta bizhub 162 Installation Manual
Fk-505
Hide thumbs
Also See for bizhub 162:
- Service manual (660 pages) ,
- User manual (256 pages) ,
- Facsimile manual (206 pages)
Summary of Contents for Konica Minolta bizhub 162
- Page 1 INSTALLATION MANUAL FK-505 Fax Kit Applied Machine: for Product Code 4034/4035 NOTE • Before installing, be sure to unplug the power cord of the machine. • Keep all packing materials out of the reach of children. 4034-7181-01 91264C117H016...
- Page 2 FK-505 I Unpacking I If this option is set up together with EM-101/EM-102, IC-205, NC-502 1. Check that the following accessories are available in the box. and SU-502 as a system, carry out the installation procedures in the 1. Fax Panel ....................1 following order.
- Page 3 FK-505 I Installing the Fax Board (if the printer controller is not mounted) 5. Secure the Fax Board in position using the 1. Remove the Rear Cover. (nine screws) four Screws furnished with the kit. 4048U006AB 4398U009AA ➀ 6. Set the jumpers (JP1 to JP6) on the NCU 2.
- Page 4 FK-505 7. Fit the TEL/LINE line connectors of the NCU 11. Connect the speaker and battery connectors Board into the holes in the machine frame to the Fax Board. and connect the NCU Board to the hookup • Plug the battery connector into the upper connector of the Fax Board.
- Page 5 FK-505 I Installing the Fax Board (if the printer controller is mounted) 5. Change the position of the jumper (CJ1) on 1. Remove the Rear Cover. (nine screws) the Control Board (from 1, 2 to 3, 4). 4398IXC011DA 4048U006AB ➀ 6.
- Page 6 FK-505 8. Set the jumpers (JP1 to JP6) on the NCU 10. Secure the NCU Board using the four Board according to the applicable marketing Screws furnished with the kit. area. 4034IXE017DA Setting --- 12 Setting --- 23 Refer to the jumper setting list by country given below for the corresponding setting positions according to the country.
- Page 7 FK-505 I Installing the Fax Panel 14. Connect the hookup harness connector, 1. Remove the panel cover. (one screw) which has been disconnected, to the connector (P303) of the Image Controller Board. 4508U007AA 4398U018AB 15. Install the Speaker & Battery Assy. 2.
- Page 8 FK-505 I Setting the Marketing Area -Marketing area setting list Marketing area Country 1. Plug the power cord into the machine and turn on the machine. West Europe Spain, Italy, Belgium, Norway, Sweden, Netherlands, Finland, Denmark, Switzerland, Ireland, Portugal, Greece, Austria. 2.
- Page 9 FK-505 I Setting the shipment destination 1. Call the SERVICE MODE to the screen. 5. Press the M or L key to select the applicable (See the Service Manual for how to call the marketing area (displayed at the location SERVICE MODE to the screen.) indicated by the arrow).
- Page 10 FK-505 I Setting the Auto Power OFF Mode 5. Touch the Yes key. 1. Press the Utility key and call the Machine Setting to the screen. 4508U012CA 4506U022AA 4508U015CA 6. Touch the Yes key. 2. Press the M key three times. 4506U022AA 4508U013CA 4508U009CA...
- Page 11 FK-505 9. Press the L key three times. 13. Press the key to select “OFF”. 4508U010CA 4506U163CA 4508MXC003HA 1382U001CB 10. Touch the Yes key. 14. Touch the Yes key. 15. Press the Panel Reset key. 4506U022AA 4506U022AA 4508U009CA 4508MXC003HA 11. Press the M key two times. 4506U163CA 4508MXE004HA 12.
- Page 12 FK-505 I Attaching the Labels to Machine Affix each Label referring to the list below. Country Label A Label B FCC/IC Label America – Canada DTS Label Germany Label B Label A IDA Label Singapore A-tick Label Australia ICASA Label South Africa DGT Label...


