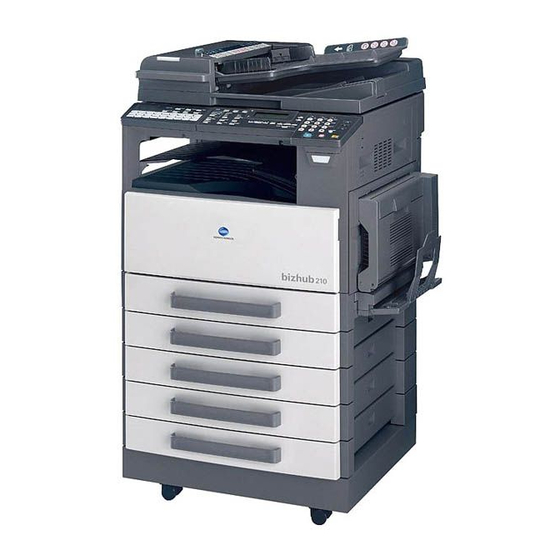
Konica Minolta bizhub 162 Installation Manual
Hide thumbs
Also See for bizhub 162:
- Service manual (660 pages) ,
- User manual (256 pages) ,
- Facsimile manual (206 pages)
Table of Contents
Advertisement
Quick Links
I. Outline of Installation Procedures for bizhub 162/bizhub 210 System
PF-502
When installing the machine and associated options as a system, follow the order shown on the upper.
Note:
• For the detailed installation procedures for each option, follow the instructions given in the corresponding
Installation Manual and perform the procedures correctly.
• Once the Power Switch is turned ON, do not turn OFF it until the installation work has been completed.
• Make available collective manpower of an appropriate size for transporting the machine. (Machine mass:
38 kg/83-3/4 lb)
4034-7142-01
INSTALLATION MANUAL
DK-701
HT-502
Machine
Electron System Options
MC-503
SF-501
MB-501
AD-504*
MK-501*
OC-504*
DF-605*
/
Applied Machine:
DK-702
DK-703
✱ Electron System Options
JS-503
EM-101/EM-102
DF-502
E-1
/
FK-505
IC-205
NC-502
SU-502
* : bizhub 210 only
4034IXC003DA
Advertisement
Table of Contents

Summary of Contents for Konica Minolta bizhub 162
-
Page 1: Installation Manual
INSTALLATION MANUAL Applied Machine: I. Outline of Installation Procedures for bizhub 162/bizhub 210 System PF-502 DK-701 DK-702 DK-703 HT-502 Machine Electron System Options ✱ Electron System Options MC-503 FK-505 SF-501 JS-503 EM-101/EM-102 IC-205 MB-501 NC-502 SU-502 AD-504* MK-501* OC-504* DF-502... - Page 2 II. Installation Space (unit: mm (inch)) III. Pre-installation Check Items bizhub 210 + DF-605 + MB-501 + PF-502 + DK-703 1. Select a level and stable place for installing the machine. 1099 (43-1/4) 2. Be sure to use a power source of the voltage and 599 (23-1/2) 400 (15-3/4) frequency indicated in the product specifications.
-
Page 3: Accessory Parts
IV. Accessory Parts VI. Removing Protective Tape, Packing and Other Shipping Materials Name Q’ty 1. Remove the protective tape from different parts of 1. User’s Guide*1 the machine. 2. User’s Guide (GDI printer controller)*1 3. Installation Manual (this manual) 4. Manual Holder 5. -
Page 4: Loading The Starter
VII. Loading the Starter 3. Remove the protective tape and the protective parts of Image Transfer Roller. 1. Open the Front Door. Note: There is a string that is wound around the Image Transfer Roller shaft two to three times. 4034U003AA 2. - Page 5 4. Remove one screw at the location shown from 7. Remove the cover. (three screws) the front side of the Imaging Unit. Loosen screw ➀. ➀ 4034U005AA 8. Load the Imaging Unit with a packet of starter. 4021U012AC Note: • Before pouring the starter, shake the packet 5.
- Page 6 VIII. ATDC Sensor Adjustment 10. Return the Cleaning Assy pushed toward the rear at step 6 to the original position. 1. Turn ON the Power Switch. Note: 2. Call the SERVICE MODE to the screen. Before reinstalling the Cleaning Assy, be sure to (See the Service Manual for how to call the SER- place the connector and harness into the slit prop- VICE MODE to the screen.)
-
Page 7: Installing The Toner Bottle
IX. Installing the Toner Bottle 5. Press the M key two times. 1. With the seal on the Toner Bottle facing up, slowly peel off the seal as illustrated. Note: Slowly peel off seal, as some toner may puff out from the bottle. -
Page 8: Loading Paper
X. Loading Paper 5. Close the Bottle Holder and the Front Door. 1. Slide out the 1st Tray. 4021U015AA 4034U006AA 2. Press down on the Paper Lifting Plate. 4034U007AA 3. Load the paper in the tray. Note: Do not load so much paper that the top of the stack is higher than the M mark. - Page 9 XI. Mounting the Original Cover (Option 4. Slide the Edge Guide and Trailing Edge Stop against the edges of the paper stack. for bizhub 210 only) Install the Original Cover. 4034U009AA 5. Slide the tray back into the machine. 4021U060AA XII.


