User Manuals: Mitsubishi Electric LDT462V Monitor
Manuals and User Guides for Mitsubishi Electric LDT462V Monitor. We have 3 Mitsubishi Electric LDT462V Monitor manuals available for free PDF download: User Manual

MITSUBISHI ELECTRIC LDT462V User Manual (368 pages)
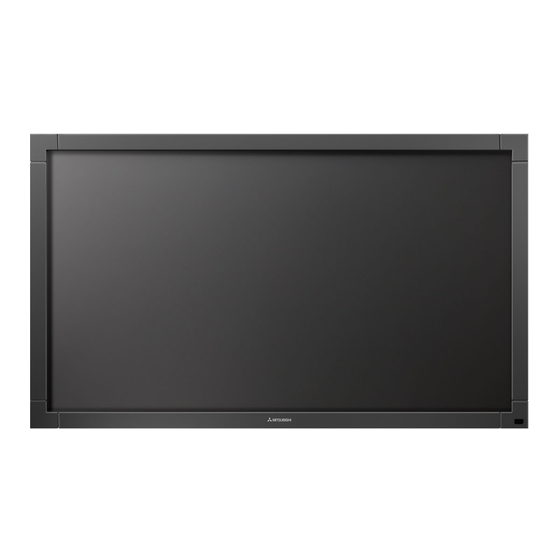
46" LCD Display Monitor
Brand: MITSUBISHI ELECTRIC
|
Category: Monitor
|
Size: 89 MB
Table of Contents
Advertisement

Mitsubishi Electric LDT462V User Manual (64 pages)
46" LCD Display Monitor
Brand: Mitsubishi Electric
|
Category: Monitor
|
Size: 6 MB
Table of Contents
Mitsubishi Electric LDT462V User Manual (61 pages)
46" LCD Display Monitor
Brand: Mitsubishi Electric
|
Category: Monitor
|
Size: 15 MB
Table of Contents
Advertisement