Table of Contents
Advertisement
Quick Links
Advertisement
Table of Contents

Subscribe to Our Youtube Channel
Related Manuals for Küppersbusch IKE326-0-2T-CN


Summary of Contents for Küppersbusch IKE326-0-2T-CN
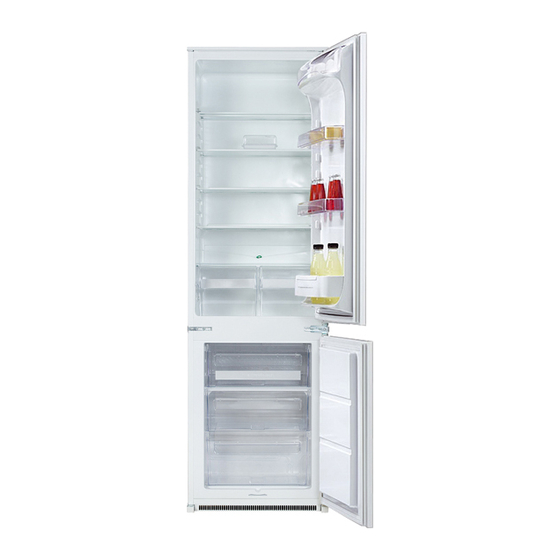
- Page 1 用户手册 User manual 冷冻冷藏箱 Fridge-Freezer IKE326-0-2T-CN...
- Page 2 Warning! Any electrical component cause it to explode, resulting in damage to the appliance. (power cord, plug, compressor) must be replaced by a certified service agent or • Ice lollies can cause frost burns if con- qualified service personnel. sumed straight from the appliance. Care and cleaning 1.
-
Page 3: Operation
• This product must be serviced by an au- and rubbish. The insulation foam con- thorized Service Centre, and only genuine tains flammable gases: the appliance spare parts must be used. shall be disposed according to the ap- plicable regulations to obtain from your Environment Protection local authorities. -
Page 4: Helpful Hints And Tips
partment let the appliance run at least 2 hours on the higher settings. If large quantities of food are to be stored, remove all drawers and baskets from appli- ance and place food on cooling shelves to obtain the best performance. Warning! Make sure that foods do not exceed the load limit stated on the side of the upper section (where applicable) -
Page 5: Care And Cleaning
tomatic defrosting and so a saving in elec- • only freeze top quality, fresh and thorough- tricity consumption. ly cleaned, foodstuffs; • prepare food in small portions to enable it Hints for fresh food refrigeration to be rapidly and completely frozen and to To obtain the best performance: make it possible subsequently to thaw only •... - Page 6 • rinse and dry thoroughly. Important! Do not pull, move or damage any pipes and/or cables inside the cabinet. Never use detergents, abrasive powders, highly perfumed cleaning products or wax polishes to clean the interior as this will dam- age the surface and leave a strong odour. Clean the condenser (black grill) and the compressor at the back of the appliance with a brush or a vacuum cleaner.
-
Page 7: What To Do If
Do not use a mechanical device or any artificial means to speed up the thawing process other than those recommended by the manufacturer. A temperature rise of the frozen food packs, during defrosting, may shorten their safe storage life. Periods of non-operation When the appliance is not in use for long pe- riods, take the following precautions: •... -
Page 8: Replacing The Lamp
Problem Possible cause Solution The door has been opened too Do not keep the door open longer frequently. than necessary. The product temperature is too Let the product temperature de- high. crease to room temperature before storage. The room temperature is too Decrease the room temperature. -
Page 9: Technical Data
Closing the door 1. Clean the door gaskets. 2. If necessary, adjust the door. Refer to "In- stallation". 3. If necessary, replace the defective door gaskets. Contact the Service Center. Technical data Dimension of the recess Height 1780 mm Width 560 mm Depth 550 mm... - Page 10 Door reversibility The door of the appliance opens to the right. If you want to open the door to the left, do these steps before you install the appliance: 1. Loosen and remove the upper pin. 2. Remove the upper door. 3.
- Page 11 4. Push the sealing strip between the ap- pliance and the adjacent cabinet. 2. Adjust the appliance in the niche. The lower hinge cover (in the accesso- ries bag) makes sure that the distance between the appliance and the kitchen furniture is correct.
- Page 12 Install the vent grille (B). Attach the hinge covers (E) to the hinge. 9. Install the part Ha on the inner side of the kitchen furniture. 7. Connect the appliance laterally to the kitchen furniture sidewall: ca. 50 mm a) Loosen the screws of the part (G) and 90°...
-
Page 13: Environmental Concerns
Put together the appliance door and the Align the kitchen furniture door and the furniture door and mark the holes. appliance door by adjusting the part Hb. 8 mm 12. Remove the brackets and mark a dis- 14. Press the part Hd on the part Hb. tance of 8 mm from the outer edge of the door where the nail must be fitted (K). - Page 16 222329174-00-042010...
Need help?
Do you have a question about the IKE326-0-2T-CN and is the answer not in the manual?
Questions and answers