Table of Contents
Advertisement
Advertisement
Table of Contents

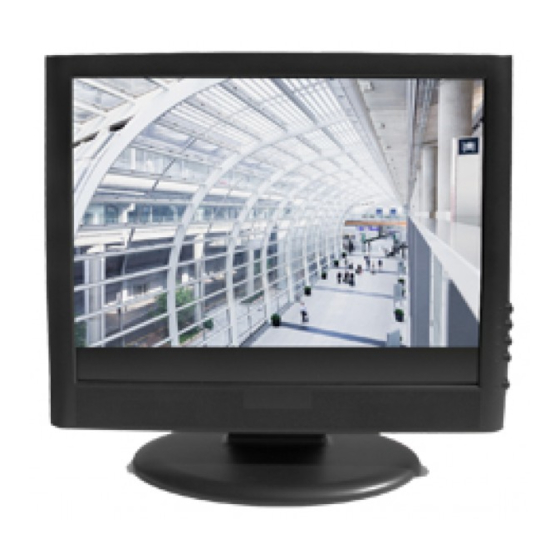
Summary of Contents for Tatung TME 17
- Page 1 L C D MONITOR T M E 1 7...
-
Page 2: Table Of Contents
TABLE OF CONTENTS Important Safety Instructions Product Introduction General information Features Listing Installation & Connection Front Panel Control Keys Basic Operation Instruction Power On/Off Signal Source Selection Menu Operation Instruction PICTURE SOUND Simple Troubleshooting... -
Page 3: Important Safety Instructions
Important Safety Instructions Thank you to choose the monitor made by our company, a valuable product with excellent quality and multiple functions. This machine will bring you more audiovisual enjoyment. Its design can insure user's safety. All machine are strictly tested before leaving factory. - Page 4 14 There is high voltage inside the machine but no parts which can be repaired by users themselves. In order to assure the people's safety, please don't open the case to repair it by yourself. If it is needed to repair, please contact qualified engineer to repair.
-
Page 5: Product Introduction
Product Introduction General information Having many ideal connectors. The product can be used as a computer monitor with VGA or HDMI connectors. Much faster response time will completely eliminate shadow of picture. seeing film and playing game may be more fluent. Enough colours. - Page 6 Video/BNC Input 1Vp-p Audio Input Imbalance The Technical Specifications for Final Product Panel size 17" 19" Max. Resolution 1280 1024 1280 1024 Best resolution 1280 1024@60Hz 1280 1024@60Hz Pixel pitch 0.264mm 0.264mm 0.294mm 0.294mm Active area 337.920mm 270.336mm 376.320mm 301.056mm Power adapter 100-240V 60/50Hz 100-240V 60/50Hz...
-
Page 7: Listing
VGA input mode Mode Resolution Refresh(Hz) Available Input Signal SVGA 1024 1280 SXGA 1280 1024 Note: Recommended mode: 1280 1024 @60Hz Working Environment: Atmosphere pressure: 86kPa 104kPa Temperature: 5 Humidity: 10% Storage Environment: Atmosphere pressure: 86kPa 104kPa Temperature: -20 Humidity: 5% Power supply: Comply with EPA standard,compatible with VESA DPMS standard. -
Page 8: Installation & Connection
Installation & Connection Power Connection Plug one end of the power cord into the input port of the machine's power supply and then insert the other end into the socket of the electrical source ( AC 100V-240V, 60/50Hz). Notes: 1. When connecting the power cord, be sure to turn off the machine and other equipment 's power. -
Page 9: Basic Operation Instruction
Basic Operation Instruction Power On/Off Press '' '' key to turn the monitor on or off. Input Source Signal Source Selection Press ''AUTO'' key, menu of signal source will be displayed on the screen. Then press "+/-" key to choose the signal source such as BNC, AV, PC, HDMI. Press '' '' key and t he monitor will switch HDMI the current signal source to the signal source you choose. - Page 10 Wall Mounting with VESA Standard 1. Loose the two bolts with a screwdriver. Then the base and the knighthead can be taken off. In order to prevent the two bolts from loose, it is better to assemble the bolts into the axis of rotation on the rear cover of the monitor. 2.
-
Page 11: Picture
PICTURE Select to display PICTURE submenu. Press "AUTO" key to enter into the submenu and select the item which you need to adjust. Press "+/-" key to adjust analog value or state (see below table). Picture Mode Soft Special Attention Contrast The value adjusted by user, such as Contrast, Brightness, Saturation, Brightness... -
Page 12: Sound
SOUND Select to display SOUND submenu. Press " AUTO" key to enter into the submenu and select the item which you need to adjust. Press "+/-" key to adjust analog value or state (see below table). Sound Mode Standard Special Attention Treble 1. -
Page 13: Osd
Select to display OSD submenu. Press " AUTO" key to enter into the submenu and select the item which you need to adjust. Press "+/-" key to adjust analog value or state (see below table). OSD Language English OSD Duration 60 Second OSD Transparency Blue Screen... -
Page 14: Simple Troubleshooting
Simple Troubleshooting Symptom Factor Solution 1.Check power cord whether or not connect well. Power plug is loose, power No image. No sound. 2.Check if the " " button is on. cord don't connect well. Enter "PICTURE" to add up color saturation. No color.


Need help?
Do you have a question about the TME 17 and is the answer not in the manual?
Questions and answers