Table of Contents

Related Manuals for Makita HM1211B


Summary of Contents for Makita HM1211B
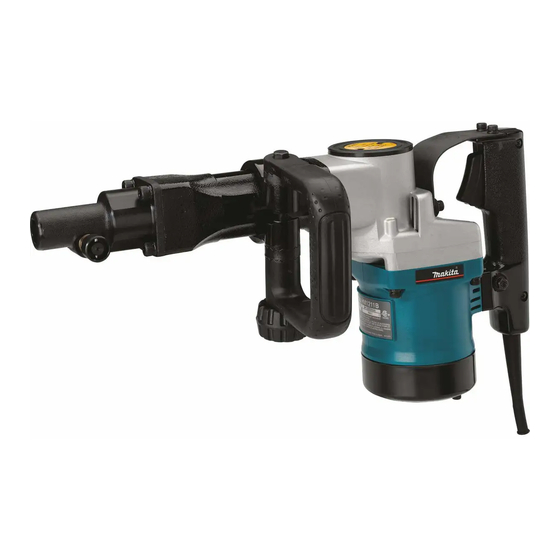
- Page 1 Demolition Hammer MODEL HM1211B 002878 I N S T R U C T I O N M A N U A L WARNING: For your personal safety, READ and UNDERSTAND before using. SAVE THESE INSTRUCTIONS FOR FUTURE REFERENCE. w w w . m a k i t a t o o l s . c o m...
-
Page 2: Specifications
3. Keep bystanders, children, and visitors away while operating a power tool. Distrac- tions can cause you to lose control. Electrical Safety HM1211B 2,000 490 mm (19-5/16”) 9.4 kg (20.7 lbs) 4. Grounded tools must be plugged into an... - Page 3 6. Do not expose power tools to rain or wet conditions. Water entering a power tool will increase the risk of electric shock. 7. Do not abuse the cord. Never use the cord to carry the tools or pull the plug from an outlet.
- Page 4 24. When servicing a tool, use only identical replacement parts. Follow instructions in the Maintenance section of this manual. USE PROPER EXTENSION CORD: Use only three-wire extension cords that have three- prong grounding-type plugs and three-pole receptacles that accept the tool's plug. Make sure your extension cord is in good condition.
-
Page 5: Specific Safety Rules
SPECIFIC SAFETY RULES DO NOT let comfort or familiarity with product (gained from repeated use) replace strict adherence to hammer safety rules. If you use this tool unsafely or incorrectly, you can suffer seri- ous personal injury. 1. Hold tools by insulated gripping surfaces when performing an operation where the cutting tool may contact hidden wiring or its own cord. -
Page 6: Functional Description
FUNCTIONAL DESCRIPTION 003502 1. Switch trigger ASSEMBLY 002905 1. Clamp nut 2. Side handle 002924 1. Bit 2. Dimple faces 3. Tool retainer 4. Notched portion CAUTION: • Always be sure that the tool is switched off and unplugged before adjusting or checking function on the tool. -
Page 7: Operation
002926 1. Dimple OPERATION 002946 MAINTENANCE Never use B-type shank bits. They can cause damage to the tool. Then pull out and turn the tool retainer 180 degrees (1/2 turn) to secure the bit. The dimple will now be facing away from the tool holder and bit. - Page 8 Run the tool for several minutes to warm it up. Switch off and unplug the tool. Remove the crank cap using a Makita lock nut wrench 35 (optional accessory). Rest the tool on the table with the bit end pointing upwards. This will allow the old grease to collect...
- Page 9 ACCESSORIES Wipe out the old grease inside and replace with a fresh grease (30 g; 1 oz). Use only Makita genuine hammer grease (optional accessory). Filling with more than the speci- fied amount of grease (approx. 30 g; 1 oz) can cause faulty hammering action or tool failure.
- Page 10 Memo...
- Page 11 Memo...
- Page 12 Memo...
- Page 13 First-Class Postage Required Post Office will not deliver without proper postage. Makita U.S.A., Inc. 14930 Northam Street La Mirada, CA 90638-5753 Fold...
- Page 14 Paste 3. How did you learn about this product: Magazine From Dealer Newspaper Store Display Catalog 4. Most favored points are: Design Features Size Price Makita Brand MODEL NO. YEAR SERIAL NO. PHONE 20-29 30-39 40-49 Paste Paste Radio Exhibition...
-
Page 15: Factory Service Centers
Date Purchased When you need service: Send complete tool (prepaid) to one Dealer’s Name & Address of the Makita Factory Service Centers listed, or to an Authorized Makita Service Center. Be sure to attach a letter to the outside of Model No. - Page 16 MAKITA LIMITED ONE YEAR WARRANTY Warranty Policy Every Makita tool is thoroughly inspected and tested before leaving the factory. It is warranted to be free of defects from workmanship and materials for the period of ONE YEAR from the date of original purchase.
Need help?
Do you have a question about the HM1211B and is the answer not in the manual?
Questions and answers