Table of Contents
Advertisement
Quick Links
Advertisement
Table of Contents

Related Manuals for ALLNIC AUDIO T-1800


Summary of Contents for ALLNIC AUDIO T-1800
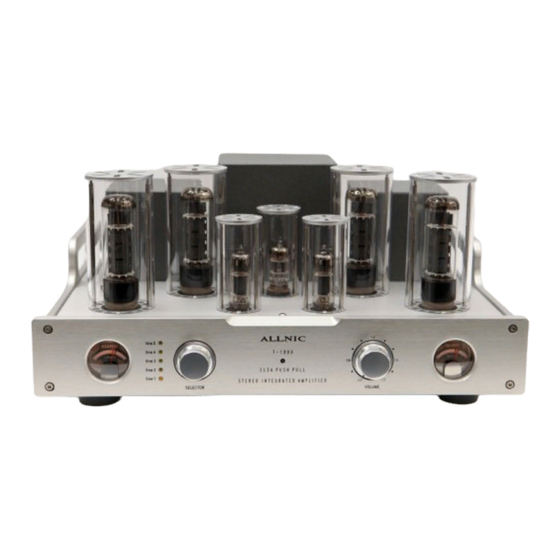
- Page 1 ALLNIC AUDIO T-1800 EL34 STEREO INTEGRATED AMPLIFIER OWNER’S MANUAL...
- Page 2 ALLNIC AUDIO T-1800 EL34 STEREO INTEGRATED AMPLIFIER Thank you for purchasing the Allnic Audio T-1800 EL34 Stereo Integrated Amplifier. We are certain your trust in Allnic Audio and Hammertone Audio, as well as your appreciation for the sound of this high-quality device, will be rewarded by its excellent operation for years to come.
-
Page 3: Table Of Contents
___________________________________________________________________ TUBES ___________________________________________________________________ SPECIFICATIONS ___________________________________________________________________ WARRANTY ___________________________________________________________________ FIGURES Please read about SAFETY before you attempt to use the T-1800 - we care about our customers and the equipment, and we want you to enjoy this product for a long time! -
Page 4: Introducing The T-1800 El34 Stereo Integrated Amplifier
The T-1800 has the following features: • 40 watts of high power output. The T-1800 is a push-pull, EL34 power tube based stereo integrated amplifier. • Remote controlled 41 step silver contact attenuator. The T-1800 employs this house made quality attenuator instead of standard, outsourced carbon film potentiometers. -
Page 5: What's In The Box
Be sure the T-1800 is labeled for the AC voltage of your location. If it is not, please contact Hammertone Audio. We advise that you keep the boxes and other packing materials that your T-1800 came in. It will be useful if you sell your T-1800 or in the unlikely event you need to ship it for service. -
Page 6: Initial Set-Up
On initial turn on with a separate pre-amp, you should have the volume on BOTH units set to zero. Then use the volume control on both the pre-amp and the T-1800 to set the volume control on the T-1800 so that you can use preamplifier volume control as the main volume control – OR vice versa, as you prefer. -
Page 7: Speaker Terminals
Turn on the T-1800 by pushing in the power switch button located at the front of the right-side chassis panel to the “on” position (See Figure 3). After about a thirty to forty (30 - 40) second delay (the soft start), the T-1800 will be powered on. -
Page 8: The Current Meters
If a meter’s needle drops below the left parallel line during operation, it indicates a failure of the related EL34 tube. You must turn off the T-1800 and replace the EL34. Check the meter for the other EL34 on that channel. If the meter needle is between the parallel lines, it is not necessary to replace that tube. -
Page 9: Warranty
• Shipping: 23 Kg (50.6 lbs) shipping WARRANTY All Allnic Audio amplifier products are warranted against materials and manufacturing defects for parts, excluding tubes, and labour for two (2) years from date of purchase. Tubes are warranted against materials and manufacturing defects for one (1) year from date of purchase. - Page 10 Figure 2 – T-1800 EL34 Stereo Integrated Amplifier Rear Panel View Figure 3 – T-1800 EL34 Stereo Integrated Amplifier Right-side Panel View Figure 4 – T-1800 EL34 Stereo Integrated Amplifier Remote Control...
- Page 11 Figure 5 – T-1800 EL34 Stereo Integrated Amplifier Chassis Top View EL34 12AY7 EL34 EL34 EL34 EL34 E180CC E180CC EL34...
- Page 12 Hammertone Audio 101 Skyland Drive, Kelowna, British Columbia, Canada V1V 3A3 Direct Telephone: (250) 862-9037 (David Beetles) Email: david@hammertoneaudio.com Website: www.hammertoneaudio.com...
Need help?
Do you have a question about the T-1800 and is the answer not in the manual?
Questions and answers