Table of Contents
Advertisement
Quick Links
Advertisement
Table of Contents

Summary of Contents for ALLNIC AUDIO T-1500 MK2
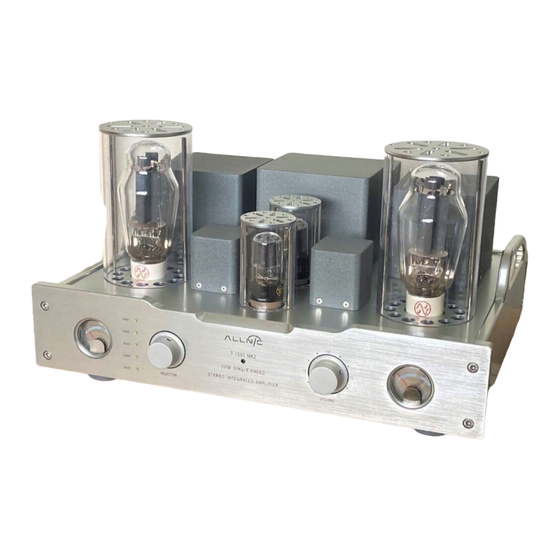
- Page 1 T-1500 MK2 300B SET STEREO INTEGRATED AMPLIFIER OWNER’S MANUAL...
- Page 2 Please read this entire manual before you connect the T-1500 MK2 300B SET Stereo Integrated Amplifier to the other components of your system and the wall outlet.
-
Page 3: Table Of Contents
WARRANTY FIGURES Please read about SAFETY before you attempt to use the T-1500 MK2 300B SET Stereo Integrated Amplifier - we care about our customers and the equipment, and we want you to enjoy this product for a long time! -
Page 4: Introducing The T-1500 Mk2 300B Set Stereo Integrated Amplifier
The T-1500 MK2 has the following features: • 10 watts per channel of pure Class A, high power output. The T-1500 MK2 is a SET (Single-Ended Triode) power amplifier. Almost all other 300B amplifiers are under, and distortion, driven. This is a result of the use of conventional "Resister-Capacitor"... -
Page 5: What's In The Box
T-1500 MK2 in your system. Be sure the T-1500 MK2 is labeled for the AC voltage of your location (See Figure 2). If it is not, DO NOT connect it to your AC outlet. Please contact your Allnic dealer. -
Page 6: Safety
We advise that you keep the boxes and other packing materials that your T-1500 MK2 came in. It will be useful if you sell your T-1500 MK2 or in the unlikely event you need to ship it for service. SAFETY Remove ALL protective cushioning material inside the tube chimneys before operation. -
Page 7: Inputs
Connect the input interconnects and the speaker cables or the Pre Out connections before you insert the power cable into the receptacle at the centre of the chassis rear. The T-1500 MK2 uses a standard three prong male IEC connection for AC input (See Figure 5). You need to use a power cord with a female three prong IEC connector at one end. -
Page 8: Initial Power On
Once you have your T-1500 MK2 in place and all connections have been made to your turntable and preamplifier, you are ready to turn on the power for your T-1500 MK2; before you power it up, though, be sure you have: •... -
Page 9: The Current Meters
If a meter’s needle moves to or below the left parallel line on the meter face during operation, this indicates a failure of the related 300B tube. You must turn off the T-1500 MK2 and replace the tube. If you have any questions about doing this, please contact your Allnic dealer for assistance. -
Page 10: Warranty
Date of purchase is the date indicated on the invoice for the product issued by Allnic Audio or its authorized representative. For the warranty to be valid, a defective product must be returned to Allnic Audio’s authorized representative for service prior to any unauthorized attempt to repair. - Page 11 Figure 5 – T-1500 MK2 Rear Panel View...
- Page 12 Figure 6 – T-1500 MK2 Remote Control Figure 7 – T-1500 MK2 Front Panel View...
- Page 13 Figure 8 – T-1500 MK2 Top View...


Need help?
Do you have a question about the T-1500 MK2 and is the answer not in the manual?
Questions and answers