HP 1810-24 Quick Setup Manual
Hide thumbs
Also See for 1810-24:
- Installation and getting started manual (58 pages) ,
- Management and configuration manual (71 pages)
Table of Contents
Advertisement
Quick Links
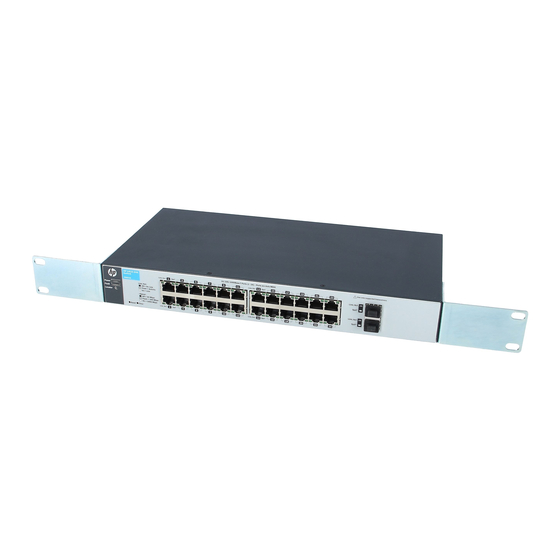
HP 1810-24 and 24G Switch Quick Setup Guide
The switch drawings in this document are for illustration only and may not match your particular switch model.
For more detailed instructions and information to set up your switch, view or download the Installation and Getting Started
Guide for your switch at www.hp.com/networking/support.
1.
Unpack and check included parts.
2.
Prepare for installation. To avoid personal injury or product damage, review the "Safety Precautions" on
page 4.
3
. Power on and verify that Self-Test completes normally. The switch does not contain a power switch. It is turned on
by connecting power through the AC power cord.
4.
Mount the switch. Unplug the AC power from the switch before mounting it.
Rack Mounting: Use a #1 Phillips (cross-head) screwdriver to attach the accessory kit brackets to the switch using the
eight 8-mm M4 screws. Then use the four number 12-24 screws to secure the brackets to the rack.
Table or Desktop Mounting: Attach the four self-
adhesive pads (included in the accessory kit) to the
bottom corners of the switch.
Documentation kit
■
Switch
■
Accessory kit (installation hardware)
■
AC power cord
■
After Self-Test:
Power LED = On
Fault LED = Off
1
Advertisement
Table of Contents

Related Manuals for HP 1810-24


Summary of Contents for HP 1810-24
- Page 1 HP 1810-24 and 24G Switch Quick Setup Guide The switch drawings in this document are for illustration only and may not match your particular switch model. For more detailed instructions and information to set up your switch, view or download the Installation and Getting Started Guide for your switch at www.hp.com/networking/support.
- Page 2 Modify the switch’s IP configuration to operate in your network. See the example initial configuration on page 3. . Connect the network cables. Note: For transceiver connections, install and use only HP mini-GBIC/SFP transceivers supported by the switch. See “Mini-GBIC/SFP Installation Notes” on page 3.
- Page 3 — you may not get a link. For some older network devices, including some older HP devices, the default speed/duplex settings may be predefined (for example, to 1000 Mbps/Full Duplex), or otherwise set differently from the default configuration of your switch port.
-
Page 4: Safety Precautions
Safety Precautions To avoid personal injury or product damage when installing your switch, read the installation precautions and guidelines below. Installation Precautions Warnings The rack or cabinet should be adequately secured to prevent it from becoming unstable, tilting or falling. ■...
Need help?
Do you have a question about the 1810-24 and is the answer not in the manual?
Questions and answers