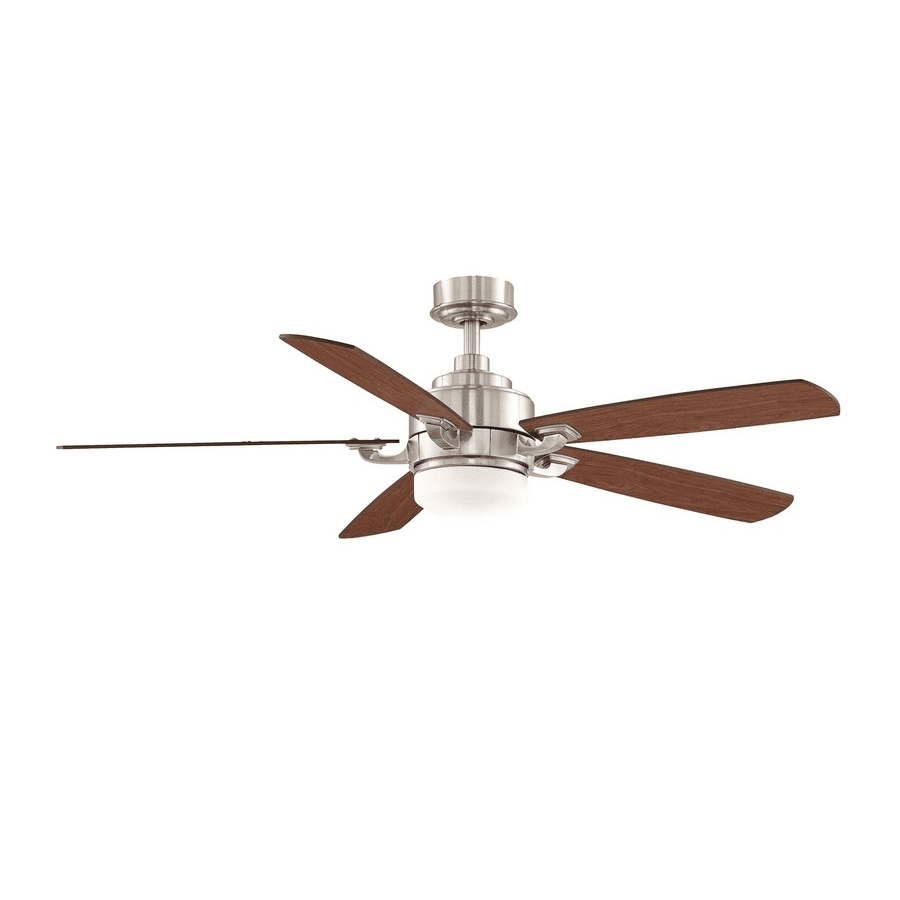
Summary of Contents for Fanimation FP8003-220 The Benito
-
Page 1: Ceiling Fan
The Benito ™ Ceiling Fan Finishes: OB and SN Net Weight 9.3 kg. (20.5 lbs.) Model No. FP8003-220 OWNER'S MANUAL READ AND SAVE THESE INSTRUCTIONS... -
Page 2: Table Of Contents
Fanimation. 7. Fanimation reserves the right to modify or discontinue any product at any time and may substitute any part under this warranty. 8. Under no circumstances may a fan be returned without prior authorization from Fanimation. The receipt of purchase must ac- company authorized returns and must be sent freight prepaid to Fanimation. -
Page 3: Unpacking Instructions
• Blade Arm Set accessories not designated for use with this product (blade arm to motor) Pan Head Screw by Fanimation could result in personal injury or • Blade Set property damage. • Light Plate-Upper Assembly – Phillips Screwdriver, 4”... -
Page 4: Energy Efficient Use Of Ceiling Fans
8 - 9 feet above the floor for optimal This produces a gentle updraft, which forces warm air airflow. Consult your Fanimation Retailer for optional near the ceiling down into the occupied space. mounting accessories. -
Page 5: How To Assemble Your Ceiling Fan
How to Assemble Your Ceiling Fan 1. Remove the hanger ball portion from the downrod/hangerball assembly by loosening the set screw in the hanger ball until the ball falls freely down the downrod. Remove the pin from the DOWNROD downrod, then remove the hanger ball. Retain the pin and hanger ball for reinstallation in Step 5 (Figure 1). -
Page 6: How To Hang Your Ceiling Fan
How to Assemble Your Ceiling Fan (continued) 6. Cut off excess lead wire approximately 6 to 9 inches above top of the top of the downrod. Strip insulation off 1/2-inch from the end of each lead wire (Figure 6). 6 TO 9 INCHES DOWNROD NOTE: All set screws must be checked, and retightened... -
Page 7: How To Wire Your Ceiling Fan
How to Wire Your Ceiling Fan If you feel that you do not have enough electrical wiring knowledge or experience, have your fan installed by a licensed electrician. WARNING To avoid possible electrical shock, be sure electricity is turned off at the main fuse box before hanging MAIN FUSE BOX (Figure 10). -
Page 8: How To Install Your Canopy Housing
How to Install Your Canopy Housing 1. Remove one of the two shoulder screws in the hanger bracket. Loosen the second shoulder screw without fully removing it. Assemble canopy by rotating key slot in canopy over shoulder screw in hanger bracket. Tighten shoulder screw. Fully CANOPY assemble and tighten second shoulder screw that SHOULDER... -
Page 9: How To Assembly The Blades & Light Kit
How to Assemble the Blades and Light Kit 1. Position the blade over the blade holder with threaded posts showing. Make sure the bottom edge of the blade is fully seated against the blade arm. With a Phillips screwdriver, tighten 3/16-24 x 3/16-24 x 7.5mm WASHER 7.5 mm washer head screws and fiber washers to HEAD SCREW AND FIBER... - Page 10 How to Assemble the Blades and Light Kit (continued) Connect the 2-pin connector from the socket plate assembly to 2-pin connector from motor assembly (Figure 20). MOTOR ASSEMBLY 2-PIN CONNECTOR SOCKET PLATE 2-PIN CONNECTOR SOCKET PLATE ASSEMBLY Figure 20 Remove one of the three screws in the socket plate assembly.
-
Page 11: How To Operate Your Ceiling Fan
How to Operate Your Ceiling Fan 1. Restore electrical power to the outlet box by turning the electricity on at the main fuse box (Figure 24). WARNING MAIN FUSE BOX Check to see that all connections are tight, including ground, and that no bare wire is visible at the wire connectors, except for the ground wire. -
Page 12: Trouble Shooting
Trouble Shooting WARNING For your own safety turn off power at fuse box or circuit breaker before trouble shooting your fan. Trouble Probable Cause Suggested Remedy 1. Fuse or circuit breaker blown. 1. Check main and branch circuit fuses or circuit breakers. 2. -
Page 13: Parts List
Parts List Model No. FP8003**-220 Reference # Description Part # Hanger Bracket Assembly w/Screws AP255BL-220 Ball - Downrod Assembly (4.5) R1-45** Canopy PG155** Canopy Screw Cover Assembly AP260** Motor Coupling Cover Assembly APPAC1403** Fan Motor Assembly *-220 Light Plate - Upper Assembly AP800306** Socket Plate Assemby (AP800309**) AP800311**... -
Page 14: Exploded-View Illustration
FP8003**-220 Exploded-View NOTE: The illustration shown is not to scale or its actual configurations may vary. - Page 16 10983 Bennett Parkway Zionsville, IN 46077 Toll Free (888) 567-2055 FAX (866) 482-5215 Outside U.S. call (317) 733-4113 Fanimation Visit Our Website www.fanimation.com Copyright 2010 2010/07...


Need help?
Do you have a question about the FP8003-220 The Benito and is the answer not in the manual?
Questions and answers