Table of Contents
Advertisement
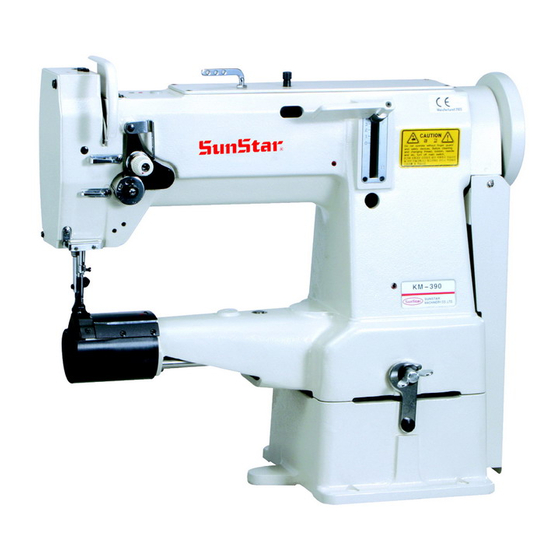
KM-390BL
S S U U N N S S T T A A R R M M A A C C H H I I N N E E R R Y Y C C O O . . , , L L T T D D . .
User's
Manual
KM-380BL
1 needle, unison feed,
lockstitch cylinder bed type
sewing machine
(with vertical large hook)
KM- 390BL
1 needle, unison feed,
lockstitch cylinder bed type
sewing machine
(with horizontal large hook)
KM-380BL
1) For proper use of the machine, thoroughly
read this manual before use.
2) Keep this manual in a safe place for future
reference in case the machine breaks
down.
M M M M E E - - 0 0 5 5 0 0 6 6 2 2 9 9
Advertisement
Table of Contents


Need help?
Do you have a question about the KM-380BL and is the answer not in the manual?
Questions and answers
what table to use with the sun star cylinder arm??