Advertisement
6
Install Cartridges
Once you have installed the media, the installer
will prompt you to install the cartridges.
Open the Top Cover. Click the Install Cartridges
button to start the cartridge installation process.
The Cartridge Carrier will move itself to the center
of the print area.
1. Press the Cartridge Cover Release to open the
Cartridge Holder.
2. Remove each cartridge from its packaging
and slowly remove the tape covering the
cartridge's print head.
1
2
Finishing the Install
7
After the cartridges and the label media have
been installed and configured, the installer will
complete its process by installing the NiceLabel
SE software on your computer. Simply click
Next to continue installing, and follow the
onscreen instructions to the finish.
Note: For optimal printing speed you MUST
reboot the PC after installing the software!
3.
Replace/install the cartridge.
4.
Push cartridge cover downward until it snaps
in place.
5.
Close the Top Cover.
Click Finished Installing Cartridges to confirm
the cartridges have been installed. You will now
be prompted to align your cartridges.
Click Align Cartridges to start the cartridge
alignment. The Printer will now print and
automatically scan a pattern of lines that will
align the black cartridge to the color cartridge.
3
8
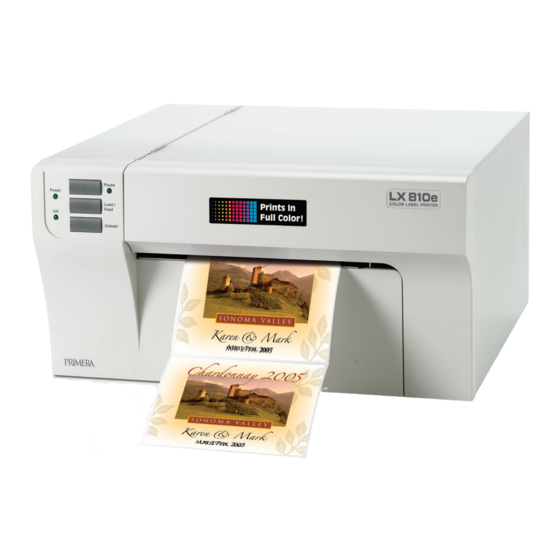
Congratulations
Congratulations! Your LX810e Color Label
Printer is now installed and ready for use.
Please refer to Section 3 of the User Manual
®
for a tutorial on using NiceLabel
SE.
P/N 510929-060409
© 2009 All rights reserved
*after registering your
product. See
www.primerawarranty.com
for terms and conditions.
Advertisement
Table of Contents

Subscribe to Our Youtube Channel
Related Manuals for Primera LX 810e


Summary of Contents for Primera LX 810e
- Page 1 Install Cartridges Once you have installed the media, the installer Replace/install the cartridge. will prompt you to install the cartridges. Push cartridge cover downward until it snaps Open the Top Cover. Click the Install Cartridges in place. button to start the cartridge installation process. Close the Top Cover.
- Page 2 Unpack Your Printer Quick Start Installer (continued) Install Label Material Printer 2. In the installer application click the Quick Separate Power Cord The installer should prompt you to install label Remove any shipping tape from your label Start Install Button. The QuickStart Install material.
Need help?
Do you have a question about the LX 810e and is the answer not in the manual?
Questions and answers