Table of Contents
Advertisement
Quick Links
Download this manual
See also:
User Manual
PROFESSIONAL 32 CHANNEL REAL TIME D1 DVR
1.
Box
Contents
..........................................
P.2
2.
Hard
Disk
Installation
............................
P.3
3.
DVD-‐RW
Installation
..............................
P.5
4.
Front
Panel
Controls
.............................
P.7
5.
Rear
Panel
Guide
..................................
P.8
X32D1H
Quick Guide
Advertisement
Table of Contents

Subscribe to Our Youtube Channel
Related Manuals for XVision X32D1H


Summary of Contents for XVision X32D1H
-
Page 1: Quick Guide
X32D1H PROFESSIONAL 32 CHANNEL REAL TIME D1 DVR Quick Guide 1. Box Contents .......... P.2 2. Hard Disk Installation ...... P.3 3. DVD-‐RW Installation ...... P.5 ... -
Page 2: Quick Start
Box Contents 1. DVR 2. Quick Start 3. IR Remote Control 4. Batteries 5. CD 6. Hard Disk Mount 7. Screws 8. IDE to SATA Power Cable 9. Power Cable 10. SATA Cable Please Note: ... - Page 3 Hard Drive Installation § Step 1: Fix the HDD to rack mount with the screws as shown below: Step 2: Remove all screws holding the top of the DVR case and pull it away § from the main unit base.
- Page 4 § Step 3: Place the hard drive(with brackets) inside the DVR and secure with screws: § Step 3: Connect the power and SATA cables: Please Note: The DVR’s hard drive needs to be formatted before it is used for recording. For further detailed ...
- Page 5 DVR-‐RW Installation § Step 1: Remove the riser/front cover from the DVD-RW: § Step 2: Secure the DVD-RW to the rack mount from both sides: § Step 3: Secure the DVD-RW rack, as shown above, into the DVR’s base:...
- Page 6 § Step 4: Connect the power and SATA cables to the DVD-RW:...
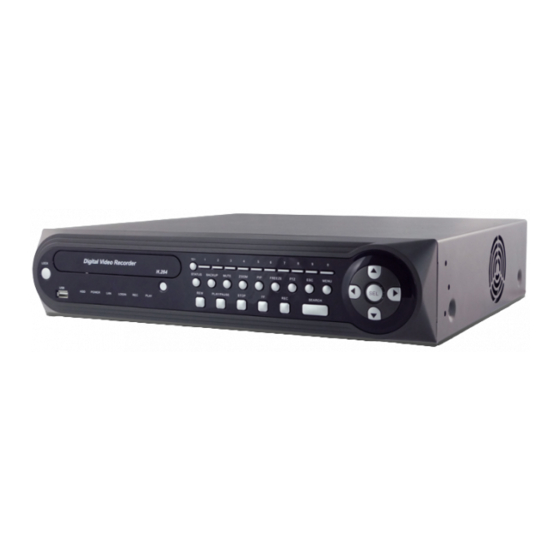
- Page 7 Front Panel Controls (1) L OCK On / O ff K ey L ock i n l ive m ode. (2) U SB 2 .0 USB ...
- Page 8 Rear Panel Guide 8 9 10 11 (1) V IDEO I N The c amera B NC i nput p ort, a t otal o f 3 2 i nputs. (2) ...
Need help?
Do you have a question about the X32D1H and is the answer not in the manual?
Questions and answers