Hilti PR 30-HVS Operating Instructions Manual
Hide thumbs
Also See for PR 30-HVS:
- Operating instructions manual (413 pages) ,
- Quick manual (3 pages) ,
- User manual

Related Manuals for Hilti PR 30-HVS


Summary of Contents for Hilti PR 30-HVS
- Page 1 PR 30-HVS Operating instructions Mode d’emploi Manual de instrucciones Manual de instruções Printed: 29.11.2013 | Doc-Nr: PUB / 5145250 / 000 / 01...
- Page 2 Printed: 29.11.2013 | Doc-Nr: PUB / 5145250 / 000 / 01...
- Page 3 Printed: 29.11.2013 | Doc-Nr: PUB / 5145250 / 000 / 01...
- Page 4 Printed: 29.11.2013 | Doc-Nr: PUB / 5145250 / 000 / 01...
- Page 5 Printed: 29.11.2013 | Doc-Nr: PUB / 5145250 / 000 / 01...
- Page 6 Printed: 29.11.2013 | Doc-Nr: PUB / 5145250 / 000 / 01...
- Page 7 Printed: 29.11.2013 | Doc-Nr: PUB / 5145250 / 000 / 01...
-
Page 8: Table Of Contents
On/off button In these operating instructions, the designation “the tool” Inclination entry button (Plus / Right or Up arrow or “the rotating laser” always refers to the PR 30-HVS. button) (with the PRA 90) “Remote control”, “laser receiver” or "receiver" always Units button refer to the PRA 30 (03). -
Page 9: General Information
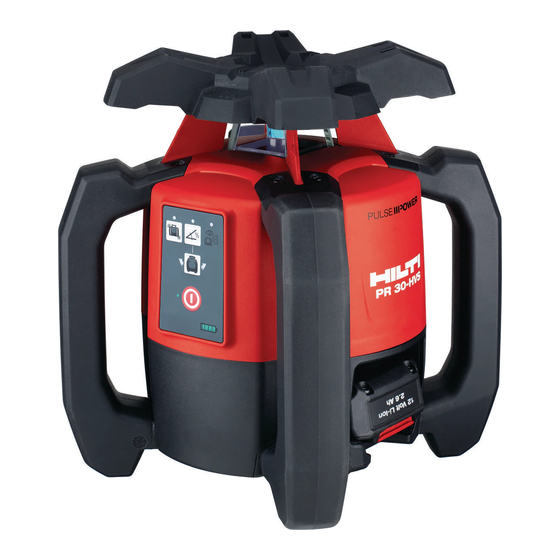
2.1 Use of the product as directed The Hilti PR 30-HVS is a rotating laser tool with a visible rotating laser beam and a reference beam set at 90° to the main beam. The rotating laser can be used vertically, horizontally and for inclined planes. -
Page 10: Charging The Battery In The Tool
2.3 Combined use of the PRA 30 remote control / laser receiver The PRA 30 is a combined remote control unit and laser receiver. It can be used to control the PR 30-HVS rotating laser over great distances. The PRA 30 also serves as a laser receiver and can thus be used to detect and indicate the laser beam at great distance. -
Page 11: Charging The Battery After Removal From The Tool
Manufacturer’s certificates Hilti toolbox 2.10 Operating status indicators The tool is equipped with the following operating status indicators: Auto-leveling LED, battery charge status LED, shock warning function deactivation LED, inclined plane mode LED, surveillance mode LED and electronic inclination alignment LED. -
Page 12: Accessories
Telescopic staffs PUA 50, PUA 55 4 Technical data Right of technical changes reserved. PR 30-HVS Receiving range (diameter) With PRA 30 (03) (typical): 2…500 m (6.56…1,640.42 ft) Range of remote control (circle diameter) With PRA 30 (03) (typical): 0…150 m (0…492.13 ft) at 10 m: ±... -
Page 13: Pra 30 Control Panel
2 The drop test was carried out from a tripod, dropping onto flat concrete under standard ambient conditions (MIL-STD-810G). PRA 30 (03) Detection range (area diameter) Typical distance with PR 30-HVS: 2…500 m (6.56… 1,640.42 ft) Signal tone generator 3 volume levels plus mute setting... -
Page 14: Safety Instructions
2 or, respectively, class 3. Have the q) Although the tool is protected to prevent entry tool repaired only at a Hilti service center. of dampness, it should be wiped dry each time e) Do not operate the tool in explosive atmospheres, before being put away in its transport container. - Page 15 (not subject to vibration). e) Use the tool only within its specified limits. Make sure that your PR 30-HVS is responding only to your PRA 30 and not to other PRA 30s that may a) Do not expose batteries to high temperatures or be in use on the jobsite.
-
Page 16: Before Use
6 Before use NOTE DANGER The tool may be powered only by a Hilti PRA 84 or PRA The PUA 81 AC adapter is for indoor use only. Avoid 84G battery. ingress of moisture. 6.1 Fitting the battery 2 6.4.1 Charging the battery in the tool 3... -
Page 17: Operation
The rotating laser and the PRA 90 automatic tripod then NOTE receive only signals from the remote control units / laser After switching on, the tool begins to level itself automat- receivers with which they have been paired. The pairing ically. -
Page 18: On/Off Button
7.3.1 Working with the laser receiver as a hand-held unit Press the on/off button. Hold the laser receiver with the detection area directly in the plane of the rotating laser beam. 7.3.2 Working with the laser receiver in the PRA 80 receiver holder 9 Open the catch on the PRA 80. -
Page 19: On/Off Button
The following settings can be made: Display software version (no adjustment possible), PR 30-HVS sleep mode (off / on), units for inclined plane mode (%/°), pairing the PR 30-HVS (pair / separate), pairing the PRA 90 (pair / separate), sensitivity of shock warning function (high / medium / low), wireless connection (on / off). - Page 20 7.5 Working in the horizontal plane 7.5.1 Setting up Set up the tool in a suitable position for the application, e.g. on a tripod. Alternatively, the rotating laser may be mounted on a wall bracket. The angle of inclination of the surface on which it stands should not exceed ± 5°. Press the on/off button.
- Page 21 7.6 Working in the vertical plane When working in the vertical plane, mount the tool on a suitable tripod, facade adapter, batter board adapter or wall bracket, with the control panel facing upwards. Alternatively, the tool can be stood on the rubber feet on the rear grips.
- Page 22 Switch the tool on and then press the “Inclined plane mode” button. The “Inclined plane mode” LED then lights. The laser beam switches on as soon as the tool has leveled itself. The PR 30-HVS can be inclined as soon as “inclined plane mode”...
- Page 23 Position the tripod either at the upper edge or lower edge of the inclined plane. Mount the rotating laser on the slope adapter and, with the aid of the target notch on the head of the PR 30-HVS, adjust the tool and slope adapter so that they are parallel to the inclined plane. The control panel of the PR 30-HVS should face away from the direction of inclination.
-
Page 24: Care And Maintenance
PR 30-HVS. 7.9 Sleep mode 7.9.2 Deactivating sleep mode The PR 30-HVS can save power when in sleep mode. When the PRA 30 is switched off, press and hold the The laser is switched off, thereby extending battery life. -
Page 25: Troubleshooting
4 on the wall with the aid of the laser receiver. certified according to ISO 900x. When this procedure is carried out carefully, the The Hilti representative in your local region will be pleased vertical distance between the two marked points 1 to provide further information. -
Page 26: Disposal
Most of the materials from which Hilti tools or appliances are manufactured can be recycled. The materials must be correctly separated before they can be recycled. In many countries, Hilti has already made arrangements for taking back old tools and appliances for recycling. -
Page 27: Manufacturer's Warranty - Tools
11 Manufacturer’s warranty - tools Hilti warrants that the tool supplied is free of defects in Additional claims are excluded, unless stringent na- material and workmanship. This warranty is valid so long tional rules prohibit such exclusion. In particular, Hilti... - Page 28 Tel.: +423 / 234 21 11 Fax: +423 / 234 29 65 www.hilti.com Hilti = registered trademark of Hilti Corp., Schaan W 4271 | 1113 | 00-Pos. 2 | 1 Printed in Germany © 2013 Right of technical and programme changes reserved S. E. & O.
Need help?
Do you have a question about the PR 30-HVS and is the answer not in the manual?
Questions and answers