Table of Contents
Advertisement
Quick Links
Download this manual
See also:
User Manual
TruVision DVR 12HD Quick Start
Guide
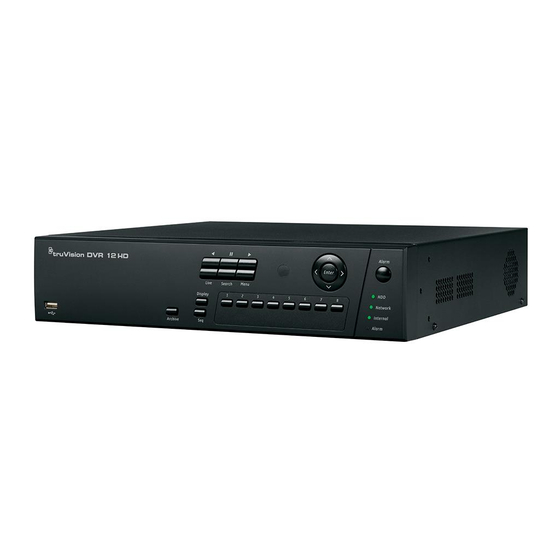
Figure 1: Back panel connections
1. Connect to a RS-232 device.
2. Connect up to four alarm inputs.
3. Connect one alarm output.
4. Connect four audio inputs to RCA connectors.
5. Connect up to 16 analog cameras to BNC-type
connectors (depends on the recorder model).
6. Connect to an optional USB device such as a
mouse, CD/DVD burner or HDD.
7. Connect one CCTV monitor (BNC-type
connector).
P/N 1072872-EN • REV B • ISS 20FEB15
© 2015 United Technologies Corporation. Interlogix is part of UTC Building & Industrial Systems, a unit of United
Technologies Corporation. All rights reserved.
8. Connect to a HDTV. The HDMI connection
supports both digital audio and video.
9. Connect to a VGA monitor.
10. Connect to speakers for audio output.
11. Connect to a network.
12. Connect to a RS-485 device such as a PTZ
camera or a keypad.
13. Connect to the 12 VDC PSU (included).
14. Power switch (on/off).
15. Connect to ground.
Advertisement
Table of Contents

Related Manuals for Interlogix TruVision DVR 12HD


Summary of Contents for Interlogix TruVision DVR 12HD
- Page 1 14. Power switch (on/off). connector). 15. Connect to ground. P/N 1072872-EN • REV B • ISS 20FEB15 © 2015 United Technologies Corporation. Interlogix is part of UTC Building & Industrial Systems, a unit of United Technologies Corporation. All rights reserved.
- Page 2 4. Audio On: Enable/disable audio output. 11. Lens Initialization: Initialize the lens of a camera 5. Snapshot: Capture a snapshot of a video with a motorized lens image. 12. Close: Close the toolbar. TruVision DVR 12HD Quick Start Guide...
-
Page 3: Package Contents
First-time use Package contents The recorder has an express installation The TruVision DVR 12HD (model TVR 12HD) wizard that lets you easily configure basic is shipped with the following items: recorder settings when first used. It configures • IR (infrared) remote control all cameras simultaneously. -
Page 4: Live View Mode
To access the main menu from live view: settings are: • Press the Menu button on the remote • DHCP: Disabled by default. control or front panel. • IP address - 192.168.1.82 - Or - • Subnet mask - 255.255.255.0 TruVision DVR 12HD Quick Start Guide... -
Page 5: Camera Setup
(14.25 × 13.0 × 3.07 settings. in.) ≤ 3 kg (6.6 lb.) Weight Configures system settings. (without HDD) Contact information Configures storage For contact information, go to management. www.interlogix.com, or www.utcfssecurityproducts.eu Configures user settings. TruVision DVR 12HD Quick Start Guide... - Page 6 Table 1: Maximum analog/IP camera configuration by recorder model Mix of analog and IP cameras Up to 16 channels Up to 8 channels Up to 4 channels Analog Analog Analog TruVision DVR 12HD Quick Start Guide...
Need help?
Do you have a question about the TruVision DVR 12HD and is the answer not in the manual?
Questions and answers