Table of Contents
Advertisement
Quick Links
Download this manual
See also:
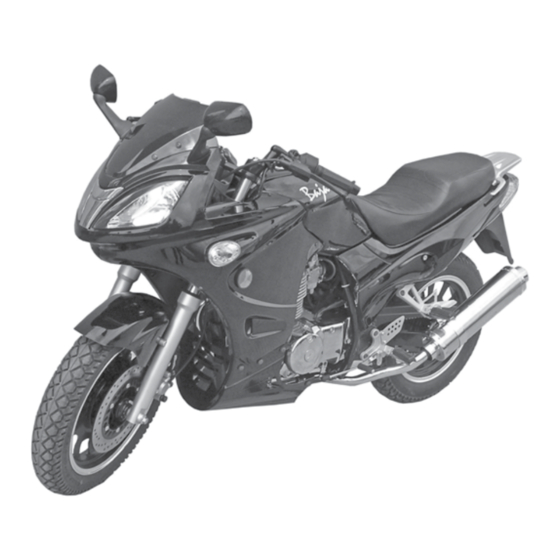
Owner's Manual
Advertisement
Table of Contents

Related Manuals for Baja motorsports BV250


Summary of Contents for Baja motorsports BV250
- Page 1 BV250 Motorcycle Set Up Instructions 1. Remove motorcycle from cardboard carton and metal frame. REVA 081307...
- Page 2 Parts Windshield Mirror Phillip head bolt and nut Handlebar Attachment Rotate handlebars out Handlebar tightening cinch bolt. Torque bolt to 17 ft.lbs. 2. Rotate handlebars out. Secure with handlebar tightening cinch bolts provided. Torque bolts to 17ft.lbs.
- Page 3 Mirror 3. Attach left and right mirrors using hardware prodvided. Windshield Phillips screw driver Phillip head bolt and nut 4. Attach windshield to front of motorcycle using phillips head bolts and nuts provided (qty. 6 nuts and bolts) .
- Page 4 Battery 5. Remove side fender. WARNING The following procedure is very dangerous and should be performed with utmost care and attention. Wear protective eye wear, rubber gloves, and have water available should electrolyte come in contact with skin or eyes. KEEP ALL CHILDREN AWAY FROM THE AREA WHILE THIS PROCEDURE IS BEING PERFORMED.
- Page 5 Battery Note: The following page is for vehicles with battery’s containing separate electrolyte pack. Most battery’s will come with the electrolyte already sealed into the battery. Preparing the battery: · Place battery on level surface. Remove Vent cap from battery vent located on top side portion of battery. (see figure 20) ·...
- Page 6 Battery How to Initially Charge the battery: 1. Connect the red positive (+) cable to the red positive (+) pole of the battery. (see figure 24) 2. Connect the black negative (-) cable to the black negative (-) pole of the battery. (see figure 25) Note: The red positive (+) cable has a larger diameter than the black negative y cable.
- Page 7 Battery Battery Replacement: WARNING · DO NOT open sealed caps to add water to battery. · Always wear safety glasses and charge in a ventilated area. · If battery gets hot to the touch, discontinue charging and allow battery to cool down.
- Page 8 Gas and Oil 6. Fill gas tank as specified in owners manual. !!WARNING!! This engine may be shipped with oil. This oil 7. Refer to owners manual for should be drained and replaced with new engine proper starting instructions. oil as described in the owners manual. Never attempt to start the engine without first replacing engine oil with proper amount and grade as de- scribed in the owners manual.
Need help?
Do you have a question about the BV250 and is the answer not in the manual?
Questions and answers