Table of Contents
Advertisement
Advertisement
Table of Contents

Related Manuals for ATEN VS481b


Summary of Contents for ATEN VS481b
- Page 1 4-Port HDMI Switch USER MANUAL VS481...
-
Page 2: Emc Information
EMC Information FEDERAL COMMUNICATIONS COMMISSION INTERFERENCE STATEMENT: This equipment has been tested and found to comply with the limits for a Class A digital device, pursuant to Part 15 of the FCC Rules. These limits are designed to provide reasonable protection against harmful interference when the equipment is operated in a commercial environment. -
Page 3: Online Registration
Telephone Support International 886-2-8692-6959 China 86-10-5255-0110 Japan 81-3-5615-5811 Korea 82-2-467-6789 North America 1-888-999-ATEN ext 4988 United Kingdom 44-8448-158923 Technical Support For international online technical support – including troubleshooting, documentation, and software updates: http://support.aten.com For North American technical support: Email Support support@aten-usa.com... -
Page 4: Package Contents
Copyright © 2014 ATEN International Co., Ltd. Manual Date: 10/2014 Firmware: V1.0.062 ATEN and the ATEN logo are trademarks of ATEN International Co., Ltd. All rights reserved. All other trademarks are the property of their respective owners. - 4 -... - Page 5 Overview The VS481 4-Port HDMI Switch allows you to connect 4 HDMI sources to one HDMI display and quickly switch between the devices via front panel pushbuttons, RS-232 or IR remote control. The VS481 has four HDMI ports to provide device connections for digital cameras, Blue-ray players, satellite receivers, camcorders, PC's, gaming consoles and more.
- Page 6 Supports IR extension using a receiver extension cable** LED indication of selected video source Note: 1. The RS-232 AP can be downloaded from our website: www.aten.com. 2. The IR extension cable is sold separately. To purchase an IR extension cable, contact your dealer and refer to part 2XRT-0003G.
-
Page 7: System Requirements
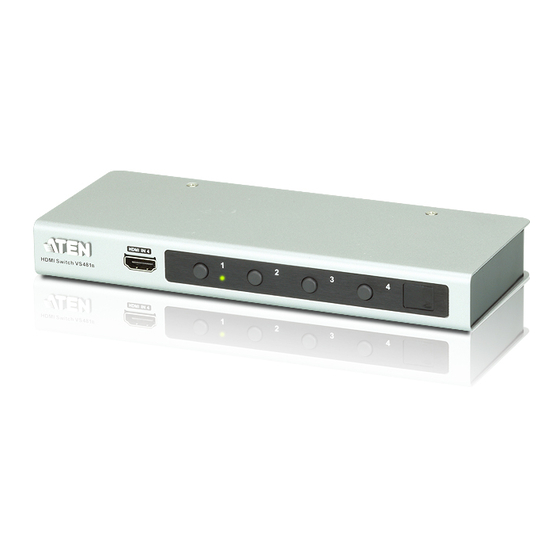
System Requirements Source Device(s) HDMI Type A output connector(s) Note: A DVI/HDMI adapter is required when connecting a DVI source device. Display Device A display device or receiver with an HDMI Type A input connector Cables 4 HDMI cables Note: 1. We strongly recommend that you purchase high-quality cables of appropriate length since this will affect the quality of the audio and video display. - Page 8 Components VS481 Front View Component Function HDMI Input Port Plug the cable from an HDMI source device into this port. Port Selection Pressing a port selection pushbutton Pushbuttons routes the A/V source from the corresponding input port to the output port for display.
-
Page 9: B Rear View
This is the serial remote port for input Port source selection and high-end system control. IR Extension Port Connect the IR Extender to this port. Note: An IR receiver can be purchased separately, contact your ATEN dealer for details. - 9 -... -
Page 10: Ir Remote Control
IR Remote Control Component Function Port Up / Port Press the Port Up button to cycle forward Down Buttons through the source devices (1 to 2; 2 to 3; 3 to 4; 4 to 1). Press the Port Down button to cycle backward through the source devices (4 to 3;... -
Page 11: Installation
Installation 1. Make sure that the power to all devices you will be installing has been turned off. 2. Make sure that all devices you will be installing are properly grounded. Installation of the VS481 is simply a matter of plugging in the appropriate cables. -
Page 12: Installation Diagram
Installation Diagram HDMI Output Device Hardware / Software Controller HDMI A/V Source Devices - 12 -... -
Page 13: Manual Selection
Source Device Selection The 4-Port HDMI Switch offers easy and flexible source device selection with either the front panel pushbuttons, remote control, or through the RS-232 serial interface. Source device selection and other system controls can be managed by using RS-232 serial commands. See RS-232 Serial Interface, page 14. -
Page 14: Rs-232 Serial Interface
RS-232 Serial Interface The VS481 ’s built-in bi-directional RS-232 serial interface allows system control through a high-end controller, PC, and/or automation/theater software package. Configuring the Serial Port The controller’s serial port should be configured as follows: Baud Rate 19200 Data Bits Parity None Stop Bits... -
Page 15: Switch Port Command
Switch Port Command The formulas for Switch Port commands are as follows: 1. Switch Command + Input + Port Number + Control [Enter] For example, to switch to input port 02, type the following: sw i02 [Enter] 2. Switch Command + Control [Enter] For example, to switch to the next input port, type the following: sw + [Enter] 3. -
Page 16: Read Command
The following table lists the available commands: Command Input Port Control Enter Description [Enter] Switch Input Port [Enter] Turn on (Display on) [Enter] Turn off (No Display) [Enter] Switch to the next input [Enter] Switch to the previous input Read Command To view the current configuration settings of the device. -
Page 17: Switch Mode Command
Switch Mode Command You can choose how the VS481 behaves when a new input source is connected to it. By default the Next switch mode setting is enabled. Use the commands below to select a different mode. There are three Switch Modes: Next - Switch priority is placed on the next port that has a new source device connected to it. - Page 18 The following tables show the possible values and formats for the Switch Mode formulas: Command Description swmode Switch Mode command Input Command Description Input command Port number Description 01-04 port (default is 01) Control Description next Priority is placed on the next port that has a new source connected to it (default) default...
- Page 19 Hot Plug Detect Command When enabled Hot Plug Detect (HPD) will force the connected source device to read the displays EDID information. When disable, the device will skip the HPD process to save time. The EDID contains a display's basic information and is used by the source device to utilize the best resolution across different monitors.
-
Page 20: Baud Rate Command
Baud Rate Command You can select the RS-232 Baud Rate you want the VS481 use. Options are 9600, 19200 (default), 38400, and 57600. The formulas for the Baud Rate commands are as follows: 1. Baud Command + Control [Enter] For example, to select 38400 as your baud rate, type the following: baud 38400 [enter] The following tables show the possible values and formats for the... -
Page 21: Powering Off And Restarting
Powering Off and Restarting If you power off the VS481 , follows these steps before powering it on again: 1. Power off the attached devices. 2. Unplug the power adapter cable from the VS481 3. Wait 10 seconds, and then plug the power adapter cable back 4. -
Page 22: Specifications
Specifications Function VS481 Connectors Device HDMI In 4 x HDMI Type A Female (Black) Display HDMI Out 1 x HDMI Type A Female (Black) RS-232 Port 1 x DB-9 Female (Black) Power 1 x DC Jack IR extension port 1 x 3.5mm phone jack Switches Port Switch 4 pushbutton... -
Page 23: Limited Warranty
Limited Warranty IN NO EVENT SHALL THE DIRECT VENDOR'S LIABILITY EXCEED THE PRICE PAID FOR THE PRODUCT FROM THE DIRECT, INDIRECT, SPECIAL, INCIDENTAL OR CONSEQUENTIAL DAMAGES RESULTING FROM THE USE OF THE PRODUCT, DISK OR ITS DOCUMENTATION. The direct vendor makes no warranty or representation, expressed, implied, or statutory with respect to the contents or use of this documentation, and specially disclaims its quality, performance, merchantability, or fitness for any particular purpose.
Need help?
Do you have a question about the VS481b and is the answer not in the manual?
Questions and answers