Table of Contents
Advertisement
Advertisement
Table of Contents

Summary of Contents for Silicon Graphics C220
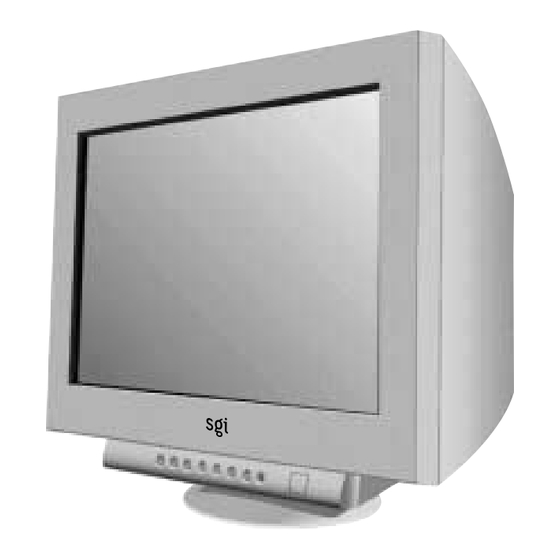
- Page 1 Silicon Graphics® C220 Flat Diamondtron® Color Display User Guide...
- Page 2 860-0367-001...
- Page 3 TCO’95 Environmental Requirements Congratulations! You have just purchased a TCO’95 Brominated flame retardants approved and labeled product! Your choice has Brominated flame retardants are present in printed circuit boards, provided you with a product developed for cables, wires, casings and housings. In turn, they delay the spread professional use.
-
Page 4: Table Of Contents
Index Safety Instruction ......English-1 Warning ........English-1 Caution ........English-1 Contents ........English-2 Quick Start ........English-3 Controls ........English-4 Recommended use ..... English-7 Specifications ......English-9 Features ........English-10 Monitor Troubleshooting .... English-11... -
Page 6: Safety Instruction
U.S. registered trademark. All other brands and product names are trademarks or registered trademarks of ® NERGY their respective owners. As an E Partner, Silicon Graphics, Inc. have determined that this product meets the E guidelines for NERGY NERGY energy efficiency. -
Page 7: Contents
Contents Your new display box* should contain the following: • Display with tilt/swivel base • User’s Manual The Power and Video cables are provided with your SGI system. User’s Manual * Remember to save your original box and packing material to transport or ship the monitor. English-2... -
Page 8: Quick Start
Quick Start To attach the monitor to your system, follow these instructions: 1. Turn off the power to your computer. 2. Connect one end of the signal cable to the connector of the display card in your system (Figure A.1). Tighten all screws. -
Page 9: Controls
Controls OSD (On-Screen Display) control buttons on the front of the monitor function as follows: Main Menu Sub-Menu EXIT Exits the OSD menu. Exits to the OSD controls main menu. Note : Deactivates the OSD menu and activates the OSD menu when the OSD is turned off. CONTROL Moves the highlighted Moves the highlighted area... -
Page 10: Geometry Controls
Controls (continued) Color Control System Color presets 1 through 5 selects the desired color setting. The bar is replaced by the color setting choice from 1, 2, 3, sRGB, 5. Each color setting is adjusted at the factory to the stated Kelvin degrees. If a setting is adjusted, the name of the setting will change from Kelvin to Custom. - Page 11 Controls (continued) Tools 2 Language: OSD controls menus are available in 6 languages. OSD Position: You can choose where you would like the OSD controls menu to appear on your screen. Selecting OSD Position allows you to manually adjust the OSD controls menu left, right, up or down. OSD Turn Off: The OSD controls menu will stay on as long as it is in use.
-
Page 12: Recommended Use
Recommended use Safety Precautions and Maintenance FOR OPTIMUM PERFORMANCE, PLEASE NOTE THE FOLLOWING WHEN SETTING UP AND USING THE COLOR MONITOR: DO NOT OPEN THE MONITOR. There are no user serviceable parts inside and opening or removing covers may expose •... - Page 13 Recommended use (continued) • Clean your monitor A special coating is provided on the glass (CRT) surface of this monitor to reduce a reflection and static electricity on the glass surface. Due to the delicate coating on the glass surface, use a lint-free, nonabrasive cloth (cotton or equivalent) and a non- alcohol, neutral, nonabrasive cleaning solution to minimise dust.
-
Page 14: Specifications
Specifications Monitor Specifications Notes Picture Tube Diagonal: 22 inch/550 mm 90° deflection, 0.24 mm grille pitch, Viewable Image Size: 20 inch/508 mm medium short persistence phosphor, Radius: 50000 mm aperture grille CRT, G-WARAS coating Input Signal Video: ANALOG 0.7 Vp-p/75 Ohms Sync: Separate sync. -
Page 15: Features
Features Flat Aperture Grille CRT: Delivers an unparalleled viewing experience with a virtually flat image, eliminating distortion and reducing glare so that what you see on-screen is what you get on your printed output. The striped phosphor alignment of the CRT delivers superior vertical definition with improved brightness for more uniform image contrast. -
Page 16: Monitor Troubleshooting
Monitor Troubleshooting Self check function • Press any control button on the front of monitor when you see a problem on the screen. In case that all R, G and B colors are seen in the diagnosis message, the monitor has no problem. In case that some color is lack in the message, the monitor has a problem.

Need help?
Do you have a question about the C220 and is the answer not in the manual?
Questions and answers