Advertisement
Table of Contents
- 1 Table of Contents
- 2 Safety Instructions
- 3 Function
- 4 Proper Use
- 5 Environmental Protection, Disposal
- 6 Operating and Functional Elements
- 7 Before Commissioning
- 8 Operation
- 9 Transport
- 10 Storage
- 11 Maintenance and Care
- 12 Faults
- 13 Specifications
- 14 Spare Parts
- 15 Warranty
- 16 EC Declaration of Conformity en
- Download this manual
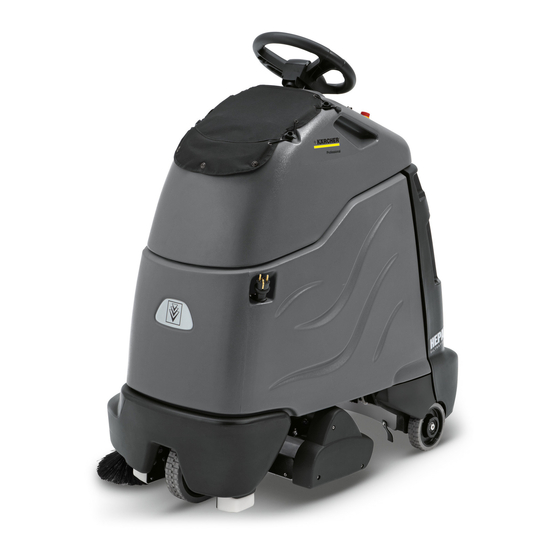
CV 60/2 RS Bp
CV 60/2 RS Bp Pack
Deutsch
English
Français
Italiano
Nederlands
Español
Português
Dansk
Norsk
Svenska
Suomi
Ελληνικά
Türkçe
Русский
Magyar
Čeština
Slovenščina
Polski
Româneşte
Slovenčina
Hrvatski
Srpski
Български
Eesti
Latviešu
Lietuviškai
Українська
59643750 07/12
3
12
21
30
39
48
57
66
75
84
93
102
112
121
131
140
149
158
167
176
185
194
203
213
222
231
240
Advertisement
Table of Contents

Related Manuals for Kärcher CV 60/2 RS Bp


Summary of Contents for Kärcher CV 60/2 RS Bp
- Page 1 CV 60/2 RS Bp CV 60/2 RS Bp Pack Deutsch English Français Italiano Nederlands Español Português Dansk Norsk Svenska Suomi Ελληνικά Türkçe Русский Magyar Čeština Slovenščina Polski Româneşte Slovenčina Hrvatski Srpski Български Eesti Latviešu Lietuviškai Українська 59643750 07/12...
-
Page 2: Table Of Contents
....EN . . 2 ronment. Therefore please dis- The model CV 60/2 RS Bp Pack in- – Before Commissioning .. -
Page 3: Operating And Functional Elements
Operating and Functional Elements 1 Battery Colour coding Battery load indicator 2 Holder for filter bag The operating elements for the cleaning – 3 Dirt receptacle process are yellow. 4 Appliance plug The controls for the maintenance and – 5 Battery socket service are light gray. -
Page 4: Before Commissioning
Insert batteries and connect Operator console Before Commissioning The Bp package model contains a built-in battery. Install the batteries (only Bp model) The deep discharge protection of the appli- Please observe the following warning notes ance is set to the respective planned bat- when handling batteries: tery type. -
Page 5: Operation
Loosen the flexible steering shaft from Tilt the back of the appliance toward the After charging the pallet. back. Remove the power plug from the charg- Swivel the top part of the appliance for- Pull the filter bag out of the storage con- er and hook the holder into the appli- ward and remove the steering wheel tainer. -
Page 6: Transport
Step on the standing platform. Maintenance and care Remove the coarse dirt pan Do not press the accelerator pedal. Release emergency-stop button by Danger turning. Risk of injury! Before carrying out any tasks Set main switch to “1”. on the machine, set the main key to "0"... -
Page 7: Faults
Pull out the spring plug. Loosen the 5 fastening screws of the Note gear motor. Pull out the pin. Suction turbine will continue to run for a Slide the gear motor up until the chain Remove the side brush. while after switch-off. - Page 8 Faults Fault Remedy By whom Appliance cannot be started Insert the battery plug on the device. Operator Swivel the top of the appliance down and close the lock. Operator Release emergency-stop button by turning. Operator Check battery cable for correct sitting. Operator Check battery cable for corrosion;...
-
Page 9: Specifications
Specifications Power Nominal voltage Battery capacity (Pack model) Ah (5h) Average power consumption 1224 Drive motor output (rated output) Brushes Working width Broad roller brush Diameter of roller brush Speed of roller brushes 1/min 1175 Output of roller brush drive Diameter of side-brush Speed of side brush 1/min... -
Page 10: Spare Parts
Spare parts EC Declaration of Conformity Only use accessories and spare parts We hereby declare that the machine de- – which have been approved by the man- scribed below complies with the relevant ufacturer. The exclusive use of original basic safety and health requirements of the accessories and original spare parts EU Directives, both in its basic design and ensures that the appliance can be oper-...
Need help?
Do you have a question about the CV 60/2 RS Bp and is the answer not in the manual?
Questions and answers