Advertisement
Quick Links
Download this manual
See also:
User Manual
Advertisement

Related Manuals for Nordpeis Smarty


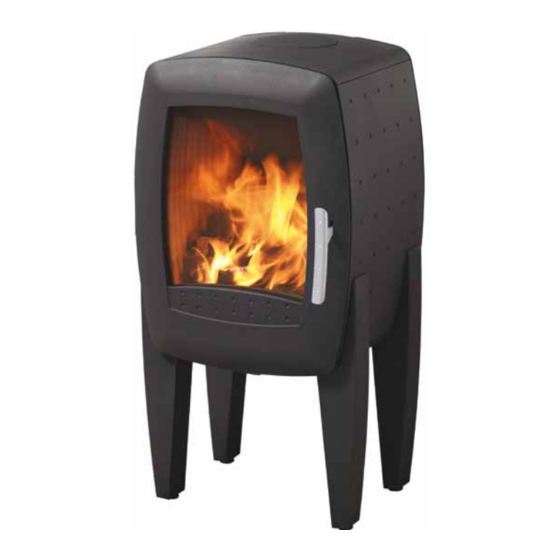
Summary of Contents for Nordpeis Smarty
- Page 1 Smarty Brukerveiledning User manual Brugervejledning Installations- och bruksanvisning Käyttöohje Product no: SN-00005-xxx Sintef no: 110-0302 RRF no: 40 09 1921 Last updated: 01.01.2013...
- Page 2 2. Technical information regularly. It is the responsibility of the client that these 3. Distance to combustible material regulations are complied with in the country/region where the fireplace is installed. Nordpeis AS is not 4. Assembly responsible for incorrect installation. Base options...
-
Page 3: Dimensional Drawing
All safety distances are minimum distances. Installation the security distances required from the manufacturer. of the insert must comply with the rules and regulations of the country where installed. Nordpeis AS is not responsible for wrongly assembled inserts. 4. Assembly The following tools are necessary: 2. -
Page 4: Operating Control
Flue outlet collar for a fire in the chimney. Never allow the stove or flue Smarty is delivered as standard with a posterior flue to become glowing red. Turn off the air vent control outlet collar. In order to change to a top mounted flue should this happen. -
Page 5: Thermotte™ Plates
For detailed description of the warranty conditions see the enclosed warranty card or visit our website Please note that the Thermotte plates may release www.nordpeis.com coloured dust when touched. Avoid touching any cast iron parts with dust on your fingers. Any visible dust on cast iron can be brushed off with the glove that is 8. - Page 6 Usage Not enough air to the combustion may cause the glass to soot. Hence, supply the fire with air just after the wood is added, so that the flames and gases in the combustion chamber are properly burnt. Open the air vent and have the door slightly ajar in order for the flames to establish properly on the wood.
-
Page 7: Some Advice In Case Of Combustion Problems
Some advice in case of combustion problems Error Explanation Solution The chimney is blocked Contact a chimney sweeper / dealer for more information or clean The flue is sooty or there is accumulated soot on the the flue, smoke baffle and burn chamber. No draught smoke baffle The smoke baffle is wrongly positioned... - Page 8 Smarty Classic = mm Smarty Stone = mm Smarty One leg = mm...
- Page 9 FIG 1 =Brannmur/Brandmur/Turvaetäisyydet/Firewall =Brennbart materiale/Brændbart materiale/ Brännbart material/ Palavasta materiaalista/Combustible material >500 >250 >50 >100 >800 >1030 >930...
- Page 10 FIG 2 FIG 3 Classic FIG 4 Classic FIG 5 Classic...
- Page 11 FIG 7 Stone FIG 6 Stone FIG 8 One leg FIG 9 One leg...
- Page 12 FIG 10 One leg FIG 11 One leg +/-mm FIG 12 One leg FIG 13...
- Page 13 FIG 15 FIG 14 FIG 17 FIG 16...
- Page 14 FIG 19 FIG 18 FIG 21 FIG 20...
- Page 15 FIG 22 Nordpeis AS, Gjellebekkstubben 11, N-3420 LIERSKOGEN, Norway www.nordpeis.no...
Need help?
Do you have a question about the Smarty and is the answer not in the manual?
Questions and answers