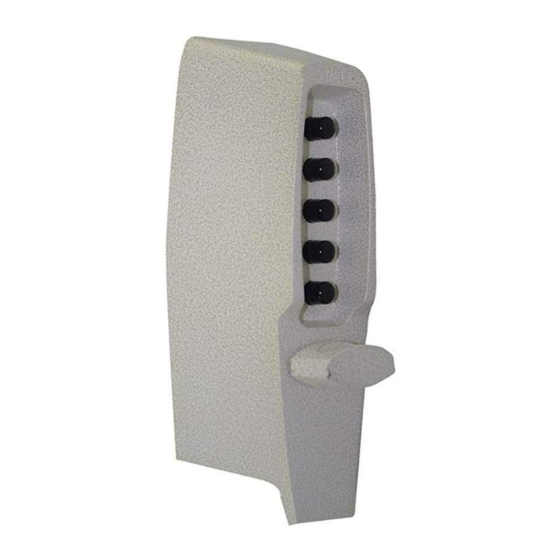
Kaba Simplex 7104 Series Installation Instructions Manual
Access control
Hide thumbs
Also See for Simplex 7104 Series:
- Installation instructions manual (40 pages) ,
- Installation instructions manual (16 pages) ,
- Instructions (4 pages)
Table of Contents
Advertisement
Advertisement
Table of Contents

Summary of Contents for Kaba Simplex 7104 Series
- Page 1 Installation Instructions 7 1 0 4 SERIES...
- Page 2 PLEASE READ AND FOLLOW ALL DIRECTIONS CAREFULLY Since every installation is unique, carefully check windows, frame, door, etc. to ensure that the recommended procedures will not cause damage. KABA is not responsible for any damage caused by installation. Tools Required •...
-
Page 3: Table Of Contents
Table of Contents Checklist ..............2 Determining the Hand of Your Door . -
Page 4: Checklist
CHECKLIST Use this checklist to make sure that everything has been included. J A – Front lock B – Trim Plate C – 2 ⁄ " Backset Latch (7004) G 3" – Adjustable Latch (7104) D – Inside Thumbturn Assembly ⁄... -
Page 5: Determining The Lock Location
A. DETERMINING THE LOCK LOCATION Install the lock with the exterior thumbturn at least *4" 7" (18 cm) above your primary lock set so it is com- fortable to operate and not in the way when you turn the door knob. *A minimum stile width of 4"... -
Page 6: Drilling Holes In The Door
D. DRILLING HOLES IN THE DOOR ⁄ " (19 mm) Hole CAUTION: Positioning and drilling must be done straight to ensure troublefree operation of the 7000 Series lockset. Improper drilling may result in excessive force being exerted on the lock which ⁄... -
Page 7: Installing The Latch
F. INSTALLING THE LATCH F-1 For doors that swing outward, the curved edge of the latch should be facing inward towards the room. For doors that swing inward, the curved edge of the latch should be facing outward away from the room. F-2 Put the latch into the 1"... - Page 8 Kaba Access Control analysis to be defective during this period. Our only liabili- ty, whether in tort or in contract, under this warranty is to repair or replace products that are returned to Kaba Access Control within the one (1) year war- ranty period.
-
Page 11: Installing The Lock
I. INSTALLING THE LOCK - For 1 ⁄ " - 1 ⁄ " (33 - 44 mm) thick doors, use the 2 ⁄ " (45 mm) thru bolts. - For 2"- 2 ⁄ " (51- 57 mm) thick doors, use the 3" (76 mm) thru bolts. Mount the lock from the outside of the door. -
Page 12: Checking The Lock's Operation
J. CHECKING THE LOCK’S OPERATION IMPORTANT: The following steps MUST be performed while the door is open. J-1 Turn the outside thumbturn to the left (counterclockwise) until it stops, then release it. J-2 Press the preset factory combination (2 and 4 pressed together, release, then 3, and release). -
Page 13: Installing The Strike
Remove the combination chamber, held by 2 screws, from the lock. To remove the 3-sided dust cover marked "Kaba Simplex," place the combination chamber in the position below. - Page 14 L-13 Look at the code gear pockets (f). The numbers in you new combination should not be at the shear line (open position) (See Figure 12-3). Reinstallation: Replace the 3-sided dust cover marked “Kaba Simplex.” Make sure the staked joints on both end plates fit through the slots on the dust cover.
-
Page 15: Troubleshooting
Testing: Enter the combination you preset during the reset process. Turn the outside thumbturn to the right (clockwise). The latch should retract. If the latch does not retract, turn the outside thumbturn left (counter-clockwise) and release, then enter the code again. M. - Page 16 Kaba Access Control 2941 Indiana Avenue Winston-Salem, NC 27105 USA Tel: (800) 849-8324 (336) 725-1331 Fax: (800) 346-9640 (336) 725-3269 www.kabaaccess.com PKG0782 0307...


Need help?
Do you have a question about the Simplex 7104 Series and is the answer not in the manual?
Questions and answers