Marantz PM6004 Owner's Manual
Hide thumbs
Also See for PM6004:
- Owner's manual (23 pages) ,
- Product information (2 pages) ,
- Specification sheet (1 page)

Related Manuals for Marantz PM6004


Summary of Contents for Marantz PM6004
- Page 1 SVENSKA NEDERLANDS ESPAÑOL ITALIANO FRANÇAIS DEUTSCH ENGLISH Integrated Ampli er PM6004 Owner’s Manual...
- Page 3 SVENSKA NEDERLANDS ESPAÑOL ITALIANO FRANÇAIS DEUTSCH ENGLISH IMPORTANT SAFETY SAFETY PRECAUTIONS CAUTION: INSTRUCTIONS To completely disconnect this product from the mains, disconnect the plug from the wall socket outlet. CAUTION The mains plug is used to completely interrupt the power supply to Read these instructions.
- Page 4 ENGLISH DEUTSCH FRANÇAIS ITALIANO ESPAÑOL NEDERLANDS SVENSKA NOTE ON USE / HINWEISE ZUM GEBRAUCH / OBSERVATIONS RELATIVES A L’UTILISATION / NOTE SULL’USO / NOTAS SOBRE EL USO / ALVORENS TE GEBRUIKEN / OBSERVERA ANGÅENDE ANVÄNDNINGEN WARNINGS WARNHINWEISE AVERTISSEMENTS AVVERTENZE ADVERTENCIAS WAARSCHUWINGEN VARNINGAR • Avoid high temperatures. • Vermeiden Sie hohe Temperaturen. • Eviter des températures • Evitate di esporre l’unità a • Evite altas temperaturas. • Vermijd hoge temperaturen. •...
- Page 5 Batterier får absolut inte kastas i soporna eller brännas. Kassera dem enligt lokala bestämmelser • Mer än 0,3 m rekommenderas. marantz Europe för kemiskt avfall. • Placera ingen annan utrustning ovanpå den här enheten. A division of D&M Europe B.V.
- Page 6 ИНТЕГРИРОВАННЫЙ УСИЛИТЕЛЬ marantz PM6004 (РУКОВОДСТВО ПО ЭКСПЛУАТАЦИИ) Вы приобрели устройство усилительное/преобразовательное производства компании “D&M Холдингс Инк”, Япония (“D&M Holdings Inc.”, Japan). Модель РM6004 является интегрированным усилителем и предназначена для усиления аудиосигналов в домашних аудиосистемах. Это изделие широко известно в кругах...
-
Page 7: Table Of Contents
ENGLISH Getting started Thank you for purchasing this marantz product. To ensure proper operation, please read this owner’s manual carefully before using the Accessories product. After reading the manual, be sure to keep it for future reference. Check that the following parts are supplied with the product. -
Page 8: Main Features
Wireless remote control High quality audio design The wireless remote control of this unit can also operate marantz This unit has a high quality audio design such as minimized signal audio components such as a CD player (vpage 5). -
Page 9: Cautions On Handling
ENGLISH Cautions on handling About the remote control • Before turning the power switch on Inserting the batteries Operating range of the remote control Check once again that all connections are correct and that there are no problems with the connection cables. Point the remote control unit at the remote sensor when operating it. •... -
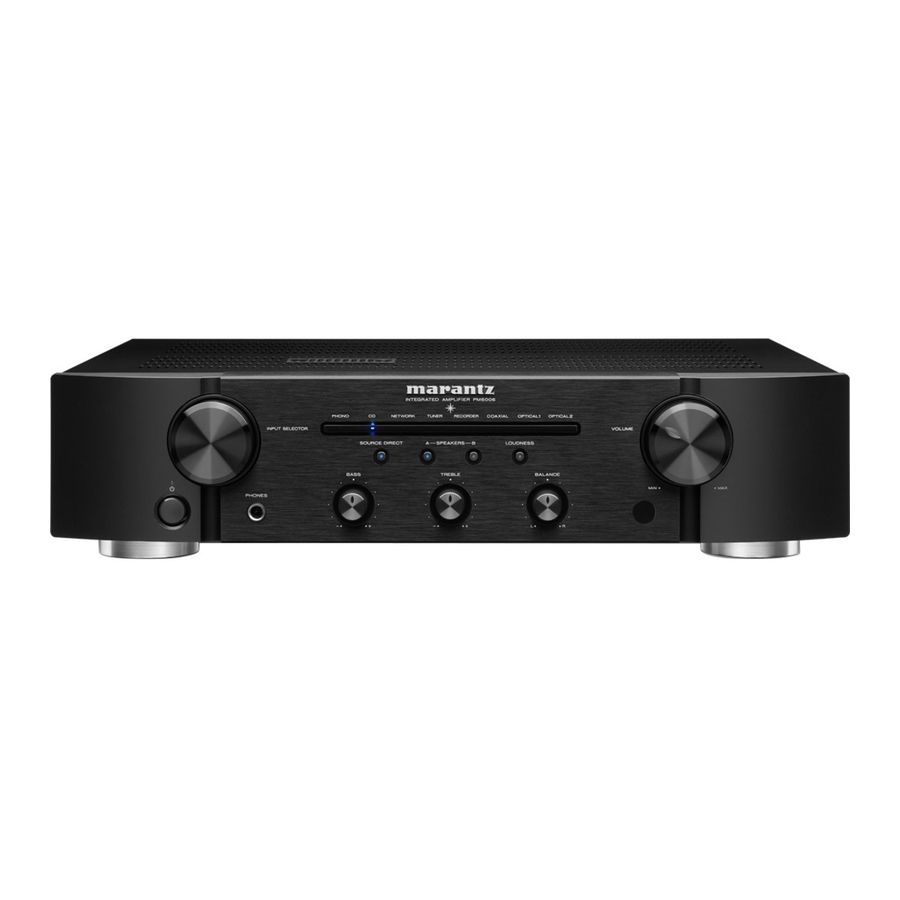
Page 10: Part Names And Functions
ENGLISH Part names and functions For buttons not explained here, see the page indicated in parentheses ( ). Rear panel Front panel q we r t y Power switch (ON/OFF) ······························· (8) SPEAKERS A/B switch/indicators ·············· (9) PHONO input connectors ···························· (7) RECORDER 2 (MD/TAPE) input/output connectors ····························· (7) STANDBY indicator ······································... -
Page 11: Remote Control
• SOURCE POWER button Pause MENU Menu 0 – 9 Track selection You can press this button to switch the mode of marantz audio Cursor operation d f 0 1 T.MODE Sound mode selection components (provided with a power standby function) between... -
Page 12: Basic Connections
If the protection circuit is activated even though there are no problems with the ventilation around the unit or in connections, the unit may be damaged. Turn off the power and then contact a marantz service center. -
Page 13: Speaker Connections
ENGLISH Connecting the speakers Connecting players Speaker connections A turntable with an MM type cartridge can be connected to this unit. To use an MC cartridge, please install a step-up transformer. • The same signal is output from the SPEAKERS A and B terminals. •... -
Page 14: Connecting The Power Cord
ENGLISH Connecting the power cord Basic operation Wait until all connections have been completed before connecting the power cord. Before use Symbols used to indicate buttons in this manual To household power VOLUME Button located on both the main unit and Turn the all the way down. outlet BUTTON the remote control... -
Page 15: Starting Playback
ENGLISH Starting playback Using headphone set Direct playback using a source audio Plug headphones into PHONES jack. <INPUT SELECTOR> [INPUT Use either • To listen with headphones, turn speaker output OFF. select an input source you want for playback. component The input indicator for the selected source lights. -
Page 16: Advanced Connections
Use the remote connection cable (supplied with a marantz audio component you want to connect) to connect the REMOTE CONTROL OUT • The remote sensor function of remote control signals is enabled by terminal of this unit to the REMOTE CONTROL IN terminal of the component to be connected. -
Page 17: Setting Remote Control Codes
ENGLISH Setting Auto standby mode Setting remote control codes Setting remote control codes for this unit This unit and its supplied remote control are equipped with three sets With the Auto standby mode ON, this unit will automatically enter the of remote control codes. -
Page 18: Troubleshooting
ENGLISH Troubleshooting If a problem occurs, first check the following: 1. Are the connections correct? 2. Is the unit being operated as described in the owner’s manual? 3. Are the other components operating properly? If this unit does not operate properly, check the items listed in the table below. If the problem persist there may be a malfunction. In that case, disconnect the power immediately and contact your retail outlet. Symptom Cause Countermeasure... -
Page 19: Specifications
ENGLISH Specifications Explanation terms Index • RMS Power output (20 Hz – 20 kHz simultaneous drive of both channels): 45 W x 2 (8 Ω load) Protection Circuit Adjusting the tone ················································ 9 60 W x 2 (4 Ω load) This is a function to prevent damage to components Adjusting the volume ···········································... - Page 21 Dimensions / Abmessungen / Dimensions / Dimensioni / Dimensions / Afmetingen / Storlek Unit: mm Weight / Gewicht / Poids / Peso / Peso / Gewicht / Vikt 7,4 kg...
- Page 22 D&M Holdings Inc. Printed in China 5411 10002 00AM...
Need help?
Do you have a question about the PM6004 and is the answer not in the manual?
Questions and answers