
Subscribe to Our Youtube Channel
Related Manuals for York J Series


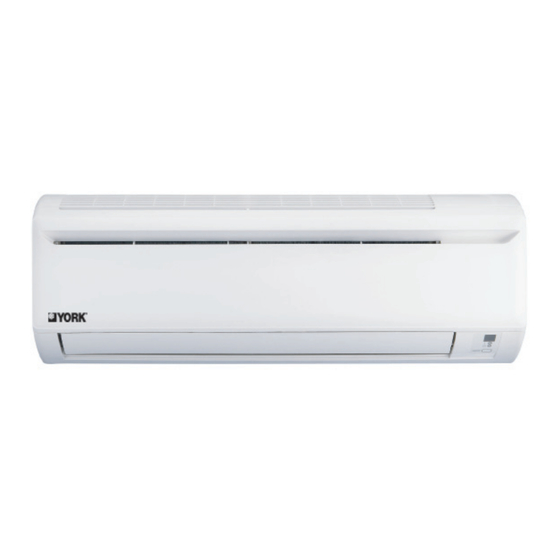
Summary of Contents for York J Series
-
Page 1: Wall Mounted
INSTALLATION MANUAL WALL MOUNTED SPLIT TYPE AIR CONDITIONER (J Series) INSTALLATION MANUAL IM-WMJ-1208(0)L-YORK Part No.: R08019032669... -
Page 3: Outline And Dimensions
OUTLINE AND DIMENSIONS Indoor Unit [WMJ Series] THE MARK SHOWS PIPING DIRECTION REAR REAR LEFT RIGHT TOP VIEW NAME SIGNAL RECEIVER PLATE TERMINAL INDOOR UNIT BLOCK ON/OFF SWITCH SIDE VIEW WITH BOTTOM BOTTOM ROOM TEMPERATURE EARTH LOUVER FRONT GRILLE THERMISTOR (INSIDE) TERMINAL FIXED SCREWS (INSIDE) - Page 4 Outdoor Unit [SLC Series] All dimensions are in mm / (in) Dimension SL09C 600 475 (23.6) (18.7) (9.6) (16.4) (6.9) (1.3) (3.6) (3.1) (3.2) (2.2) (15.6) (3.9) (3.8) (0.6) (0.8) SL15C 700 521 (27.5) (20.5) (9.8) (19.1) (6.8) (1.4) (3.7) (3.6) (3.3) (2.6) (17.3) (5.1) (4.3) (0.5) (0.7)
-
Page 5: Safety Precautions
INSTALLATION MANUAL This manual provides the procedures of installation to ensure a safe and good standard of operation for the air conditioner unit. Special adjustment may be necessary to suit local requirements. Before using your air conditioner, please read this instruction manual carefully and keep it for future reference. -
Page 6: Installation Diagram
INSTALLATION DIAGRAM Indoor Unit Cut thermal insulation pipe to an appropriate 30mm or more from ceiling Caulk pipe length and wrap it with hole gap tape, making sure that no with putty. gap is left in the insulation Front panel pipe’s cut line. -
Page 7: Installation Of The Indoor Unit
INSTALLATION OF THE INDOOR UNIT The indoor unit must be installed in such a way The refrigerant piping can be routed to the unit so as to prevent short circuit of the cool in a number of ways (left or right from the back discharged air with the hot return air. -
Page 8: Water Drainage
Mounting Installation Plate How To Attach The Indoor Unit Ensure that the wall is strong enough to withstand Hook the claws of the bottom frame to the the weight of the unit. Otherwise, it is necessary mounting plate. to reinforce the wall with plates, beams or pillars. Use the level gauge for horizontal mounting, and How To Remove The Indoor Unit fix it with 5 suitable screws. -
Page 9: Piping Length And Elevation
REFRIGERANT PIPING Piping Length & Elevation Piping Works If the pipe is too long, both the capacity and • Do not use contaminated or damaged copper reliability of the unit will drop. As the number tubing. Do not remove plastic, rubber plugs of bends increases, resistance to the flow of and brass nuts from the valves, fittings, tubings refrigerant system increases, thus lowering... -
Page 10: Piping Connection To The Units
Piping Connection To The Units Flare joint Flared tube • Align the center of the piping and tighten the flare nut sufficiently with fingers. • Finally, tighten the flare nut with the torque wrench until the wrench clicks. Indoor piping Flare nut Pipe Size mm / (in) Torque Nm / (ft - lb) -
Page 11: Vacuuming And Charging
• All wires must be firmly connected. • All wires must not touch the refrigerant piping, compressor or any moving parts of the fan motor. • The connecting wires between the indoor and the outdoor unit must be clamped on the wire clamps. -
Page 12: Charge Operation
Charge Operation Liquid side Indoor Unit Outdoor Unit Discharge This operation must be done by using a gas valve Close cylinder and a precise weighing machine. The additional charge is topped-up into the outdoor Gas side unit using the suction valve via the service port. Suction •... - Page 13 LED Indicator Lights : Normal Operation And Fault Conditions For Cooling Unit Normal Operation / Action Error Fault Indication Code COOL (GREEN) Cool mode – – Green Auto mode in Cooling operation – – Green Timer on – – Sleep mode on –...
-
Page 14: Air Conditioner Unit Operation
AIR CONDITIONER UNIT OPERATION Dry Mode Fan Speed And Rated Cooling Capacity • When the air humidity is high, the unit can • The rated cooling capacity is provided at the operate in dry mode. Press <MODE> button high fan speed. and choose <DRY>. -
Page 15: Air Filter
AIR FILTER 1. Open the front panel. 4. Clean or replace each filter. • Hold the panel at the recesses on the main See figure. unit (2 recesses on right and left sides) and • When shaking off remaining water, do not lift it until it stops. - Page 16 ! CAUTION • Storage, handling and disposal methods. • The lifetime of this Bio filter is about a year after opening. • In case you do not use this Bio filter right away, please don’t place the Bio filter in any place where it will be subjected to direct sunlight, high temperatures and/or high humidity.
-
Page 17: Auto Random Re-Start Function
AUTO RANDOM RE-START FUNCTION If there is a power cut when the unit is operating, it will automatically resume the same operating mode when the power is restored. SERVICE AND MAINTENANCE Period Service Parts Maintenance Procedures At least once Indoor air 1. -
Page 18: Troubleshooting
When The Unit Is Not To Be Used For An Extended Long Period Of Time Remove the power plug. Operate the unit for If you are using an 2 hours with the independent electric following setting. circuit for your unit, cut off the circuit. - Page 20 • The manufacturer reserves the right to revise any of the specification and design contain herein at any time without prior notification. OYL MANUFACTURING COMPANY SDN. BHD. LOT 60334, PERSIARAN BUKIT RAHMAN PUTRA 3, TAMAN PERINDUSTRIAN RAHMAN PUTRA, 47000 SUNGAI BULOH, SELANGOR DARUL EHSAN, MALAYSIA.
Need help?
Do you have a question about the J Series and is the answer not in the manual?
Questions and answers