Table of Contents
Advertisement
Quick Links
Advertisement
Table of Contents

Related Manuals for Strong PrimaSat II


Summary of Contents for Strong PrimaSat II
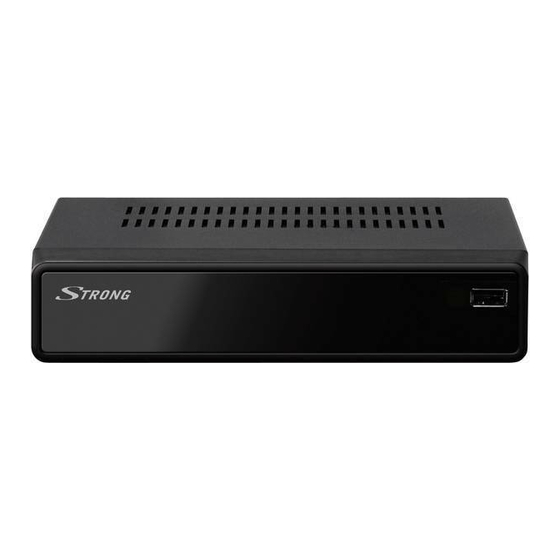
- Page 1 Digital Satellite Receiver PrimaSat II User manual...
-
Page 4: Table Of Contents
9.0 SUbTITlES 10.0 TROUblE SHOOTING 11.0 SPECIfICATIONS STRONG declares that this item complies with the basic requirements and other relevant regulations of directives CE 2004/108/EC and 73/23EC; RoHS 2002/95/EC Subject to alterations. In consequence of continuous research and development technical specifications, design and appearance of products may change. -
Page 5: Introduction
PART 1 • English 1.0 INTRODUCTION 1.1 Safety Instructions DO NOT INSTAll YOUR RECEIvER: In a closed or poorly ventilated cabinet; directly on top of or under any other equipment; on a surface which might obstruct the ventilation slots. DO NOT ExPOSE THE RECEIvER OR ITS ACCESSORIES: To direct sunlight or near any other equipment that generates heat;... -
Page 6: Equipment Set-Up
It is advised not to store important information on USB storage devices used with the receiver. „ „ Always make backups of data on USB storage device before usage with receiver. STRONG will not take responsibility for any loss of information or circumstances caused by loss of information. -
Page 7: Remote Control Unit
PART 1 • English 2. Tv SCART To connect to your TV set using a SCART cable. 3. S/PDIf COAx To connect to the input of your digital audio amplifier. 4. Power Cord Your receiver requires a mains voltage of 100~240 V AC (Auto- selectable), 50/60 Hz ±5%. -
Page 8: Using The Remote Control
PART 1 • English 2.6 Using the Remote Control Fig. 4 To use the remote control, point it towards the front of the digital receiver. The remote control has a range of up to 7 metres from the receiver at an angle of up to 60 degrees. The remote control will not operate if its path is blocked. -
Page 9: My Dish
PART 1 • English 4.1.4 Auto Standby This option allows you to enable Auto Standby or to disable Auto Standby. Auto Standby will switch the receiver to standby automatically when it doesn’t receive commands from the remote control for a period of 3 hours. -
Page 10: Main Menu
PART 1 • English Select the RED button to Set West Limit position you have reached. Select the GREEN button to Set East Limit position you have reached. d) Satellite positions Press pq to select the Position you like to use and press OK. Press the RED button to Add SAT you like to install. - Page 11 PART 1 • English 5.1 Tv Press tu to move to Main Menu. In Main Menu press tu to move to TV and press OK to enter the TV menu. 5.1.1 Tv Channels Use tu to reach the following sub-menus Fav, Lock, Edit, Move, Sort, Skip, Delete and Search. With the blUE button you can change the available group you would like to use.
-
Page 12: Radio
PART 1 • English 5.1.1.7 Delete Press tu to select , then press pq to select the desired channel and OK to delete this channel. Press the YEllOW button to save and confirm or exit the pop up screen. With the GREEN button you can select the whole list to delete. -
Page 13: Configuration
PART 1 • English 5.3.1 Gomoku Press pq to select Gomoku and press OK. Play the game Gomoku on your receiver. Use the on screen help tips to set and play the game. 5.3.2 Calendar Press pq to select Calendar and press OK. Use the on screen help tips to search in your Calendar. - Page 14 PART 1 • English 5.4.2.3 OSD Transparency Press tu to change settings for OSD Transparency (1~ 8 ). 5.4.2.4 banner Display Time Press tu to change settings for Banner Display Time (1sec, 3sec, 5sec, 10sec, 30sec, Always). 5.4.2.5 video Output Press tu to change settings for Video Output (RGB or CVBS).
- Page 15 Default: It will scan at this default setting for new software. Change OTA to Disabled if you don’t want to use this function. Note: Needed parameters can be changed. Please ask your local STRONG dealer in case software update was not successful. Warning!
-
Page 16: Changing Channel List Mode
PART 1 • English NEVER disconnect the USB device from the receiver, the receiver from the main or Warning! switch the power OFF during the update/backup procedure. It can damage your receiver and warranty will void! As soon as the update has been finished, the receiver restarts automatically! NOTE: You can also load a backup file with your backup settings! (See chapter 5.4.6.3) -
Page 17: Trouble Shooting
PART 1 • English 10.0 TROUblE SHOOTING There may be various reasons for occurring abnormal operation of the receiver. Check the receiver according to the procedures shown below. If the receiver does not work properly after checking it, please contact the dealer. Don‘t open the receiver cover. This may cause a dangerous situation and will void warranty. -
Page 18: Specifications
PART 1 • English 11.0 SPECIfICATIONS Demodulator Modulation: QPSK Input Symbol Rate: 2~45 Ms/s SCPC & MCPC signals from C & KU band satellites video Decoder Profile level: MPEG-2 MP@ML Input Rate: Max. 60 Mbits/s Video Resolution: 720 x 576 pixels (PAL), 720 x 480 pixels (NTSC) Aspect Ratio: 4:3, 16:9 Audio Decoder... - Page 19 PART 1 • English General Data Input Voltage Range: 100-240 V AC 50/60 Hz Power consumption: max 18 W, typ. 4.6 W Stand-by Power consumption: 0.50 W Operating Temperature: +0 ~ 40 °C Storage Temperature: -30 ~ 80 °C Operating Humidity Range: 10 ~ 85%, RH, Non-condensing Size (WxDxH): 180 x 130 x 45 mm...
Need help?
Do you have a question about the PrimaSat II and is the answer not in the manual?
Questions and answers