Advertisement
Quick Links
Advertisement

Related Manuals for Digitus Plug&View


Summary of Contents for Digitus Plug&View
- Page 1 ® DIGITUS Plug&View IP cameras User Guide...
-
Page 2: Installation Procedure
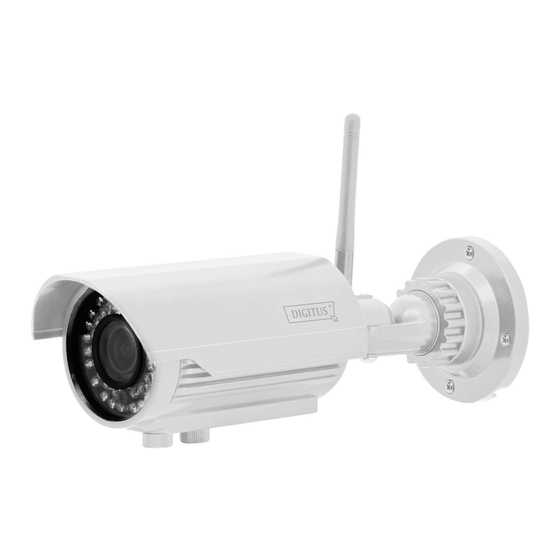
1 Introduction: ® The Plug&View IP camera series by DIGITUS offers P2P cloud services in order to avoid the complicated network configuration for the camera installation. Everything you need is "Plug&View" and a few installation steps. Supplied with: - 1 X IP camera... - Page 3 4.3 Live image and PTZ The button "Live View" will display the live-stream or images from the selected IP camera in real- time. If you have multiple Plug&View cameras installed, you can switch between the different cameras using the display on the left-hand side of the screen. Use the arrow buttons select other IP cameras from the list.
- Page 4 When hovering over a blue tag with the mouse, the color changes to orange and the details of the recorded clips are displayed. Select a specific clip to check this. During playback of the selected media clip, you can stop or pause it, or switch to the next clip, using the media control buttons.
- Page 5 In the camera matrix, click on "Settings" in order to see the list of cameras. In this list you can see the details of your camera(s) and by clicking on change the name of the camera, with you can remove a specific camera from your account and with the hook button underneath "Device Matrix"...
- Page 6 Through the storage function of Google Cloud, a copy of your video files from the microSD-card is loaded onto Google Drive. This means, that the videos, triggered by movement or timer, can be played from the cloud storage, online, using your browser. Please log in to your Google Drive and select the recorded video (RTV) files in the directory "SAT_Recordings"...
-
Page 7: Camera User Interface
Camera User Interface The camera user interface has 5 menu items (Home, Replay, Parameters, System and Wireless). In order to be able to use the multimedia and control functions, the OCX component must be installed in Internet Explorer and the VLC Mediaplayer in Firefox and Chrome. A download link will be displayed in the user interface if necessary. - Page 8 5.3 Parameters This is where you configure Video Parameter, Network Parameter and Event Settings. 5.3.1 Video Under Video Parameter you can configure the resolution, the quality and the frame rate for the video stream. Quality supports 5 levels in the image quality settings: from very high to very low. Three streams are supported by the camera, the ‘main stream’...
- Page 9 5.3.2 Audio Under Audio you can enable or disable the audio for the main and sub stream. 5.3.3 You can enable or disable the time stamp and camera name in the video picture of the camera. You can also modify the camera name. Plug&View IP camera ...
- Page 10 5.3.4 Enable or disable the flip and mirror of the cameras image, depending on the mounting of the camera. Set the speed of the pan and tilt, adjust the stay time between 2 and 60 seconds and choose the patrols between 2 and 10 times. If the default position is enabled, the camera will automatically move back to the set position after the end of the set time.
- Page 11 If you want to have additional access to the user interface via a DynDNS provider, activate Dynamic DNS by selecting "on" and enter your domain and access data. 5.3.7 E-Mail You can configure your E-Mail Settings here. You can choose if you want to use the default pre configured e-mail server, or want to use your own server.
- Page 12 5.3.8 You can configure your FTP server settings here. Enter the IP address or host name and the used port of the FTP server. Enter then the username and password of the user which have access to the FTP server. With Test you can test if the configured settings are correct.
- Page 13 Send E-Mail will send an e-mail to the “send to addresses” which are configured under e-mail setup. “Alarm with Snapshot” will send a snaphot via e-mail or FTP. “Alarm with record” will upload the records via FTP. Trigger alarm output* will trigger the alarm output (digital output). With the schedule you can configure the time schedule for the motion detection.
- Page 14 5.3.12 Record You can record the cameras stream to the installed SDcard. Please choose which stream you would like to record (MainFlow or MinorFlow) and configure the file size by using the file time. You can configure the file time from 30 seconds up to 600 seconds. Please choose if you want to do a manual record or if you want to do time recording.
- Page 15 5.4 System 5.4.1 User In the delivery state, you logged into the camera as administrator. As admin you can create and delete users, who have access to the camera user interface. Normal users do not have permission to add or delete users. 5.4.2 Time Setting Manual setting, Sync with computer time, Sync with NTP and Time zone are optional.
- Page 16 5.4.3 Initialize Reboot: performs a reboot of the camera Factory default: set the camera back to factory defaults Backup Data: Save the configuration of the camera Restore: Load backuped data to the camera Upgrade: Load a new firmware to the camera 5.4.4 Device Info Shows camera name, serial number, hardware version, software version, start time and network...
- Page 17 5.4.6 System Log In the system log you will find log information regarding normal operation or alarm. You can choose all, to see all log entries or you can separate operation or alarm messages. 5.4.7 Wireless If you want to bind the camera to your local WiFi network, please click on “Wireless”, to configure the wireless settings.
- Page 18 The ASSMANN Electronic GmbH hereby declares that the IP cameras, type Plug&View, are in accordance with the requirements and provisions of the Directive 1999/5/EC. The full Declaration of Conformity can be found under http://www.digitus.info. Plug&View IP camera ׀Manual ׀ML-201310...
Need help?
Do you have a question about the Plug&View and is the answer not in the manual?
Questions and answers