Table of Contents
Advertisement
Quick Links
Advertisement
Table of Contents

Related Manuals for Digitus DIGITUS Plug&View OptiView


Summary of Contents for Digitus DIGITUS Plug&View OptiView
- Page 1 DIGITUS Plug&View OptiView User Manual DN-16028...
-
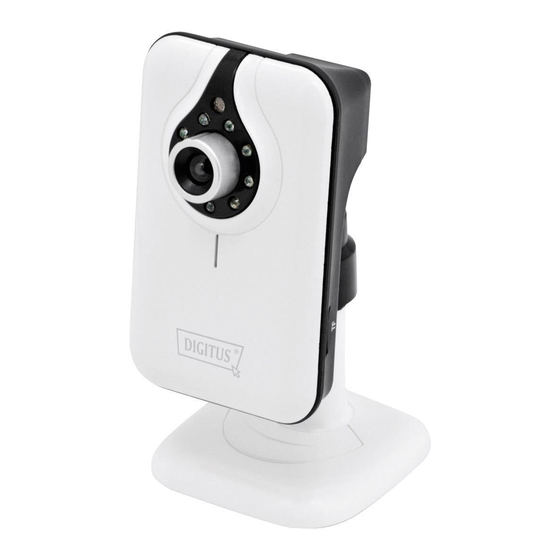
Page 2: Package Content
1. Introduction: DIGITUS Plug&View series of IP cameras offers P2P Cloud service to avoid those complicated network setting for camera installation. All you need is just “Plug&View” with the 3 simple steps. 2. Package Content: IP camera x 1 Power supply x 1... -
Page 3: Getting Connected Wirelessly
Alternatively you can also download “DIGITUS Plug&View” APP from APP store or Google Play and execute this APP from your mobile devices and login the account and password instead of using browser. 3. With browser, please key in the MAC address and Activation code as shown on the page of the QIG to add camera under your account. - Page 4 Then you will enter the Web User Interface of the cameras. Please select livestream mode to enter. Please key in “admin” for the account and password to log in. 5. Press “Tool bar” to enter the configuration page.
-
Page 5: Change Device Name
Then enable “Using Wireless Lan” and key in the password. Press “Submit” to take effect of the new WiFi setting and close this camera user interface window. Then unplug the Ethernet cable. Now you can access the camera wirelessly via Plug&View APP or through http://mydigitus.net Digitus AP Demo Demo 2 Digitus AP 4.0 Change Device Name... -
Page 6: Tool Bar Description
5.0 Tool bar description Tool bar is located on the up-right-side of each IP cam media screen to foster an easy management at your preference. 5.1 Light Signal Green Signal When you read the green light that means the IP cam is online and on air, therefore, its video is successfully displayed on the screen. - Page 7 You may click to reload the live view media if you encounter problem getting it. Each selected camera’s configuration can be accessed by clicking on the right-bottom side of the screen. 5.4 Play Back “Play back” function is only supported when IP cam is embedded with SD card for media recording.
- Page 8 All recorded events are stored and marked in the timeline as in blue tag. You may manage to view them in different time length: by clicking hour, day or week located on the top-left hand side of the timeline. The detailed recorded clips will be displayed when mouse over on the blue tag and the tag turned to be in orange.
-
Page 9: Camera User Interface
IP cam media in Overview page. 6.0 Camera User Interface After entering Camera User Interface from DIGITUS Plug&View website through setting icon , please key in “admin” for the Username and Password to login. -
Page 10: Setting Menu Description
At the first viewing of the IP camera, the browser will prompt the users to install the OCX component. Then press “Livestream mode (for Internet Explorer)” to enter the User Interface. 6.1 Setting Menu Description Press the tool bar to enter the Setting Menu description... -
Page 11: Device Basic Information
6.1.1 Device Basic Information You can change the Camera name under “Alias Settings”. For time setting, you can either synchronize the time with NTP server or synchronize with your computer time. For recoding to the computer or notebook, you can select the desired recording path. For recycling recording, please tick “Recover cover”. - Page 12 Please setup the email setting for the event notification. Press “Submit” first before “Test” the email setup. 6.1.3 Network Configuration DHCP is default enabled and it should always be enabled for DIGITUS Plug&View connection.
- Page 13 You can setup the wireless connection as shown below. Please enable “Using Wireless Lan” and press “scan” to search the surrounding Access Point or Wireless router. Please key in the “key” for the AP or Wireless router. Then press submit to take effect. ...
Need help?
Do you have a question about the DIGITUS Plug&View OptiView and is the answer not in the manual?
Questions and answers