Table of Contents
Advertisement
Quick Links
Advertisement
Table of Contents

Related Manuals for Mustek ScanExpress 2400


Summary of Contents for Mustek ScanExpress 2400
- Page 1 ScanExpress 2400 USB...
-
Page 2: Table Of Contents
Contents Welcome ....................1 Getting Help .................... 2 Unpacking the Scanner ................2 Installing Drivers ..................3 The Scanner Parts ................... 4 Installing Hardware ................. 4 Just in Case it Happens ............... 5 Using the Scanner Buttons on the Control Panel ........ -
Page 3: Welcome
Welcome Welcome to the wonderful world of the Scan Express 2400 USB scanner. With this scanner, all the things you previously did with your scanner will be easier and faster, and what you’ve always wanted to do is now possible. This booklet introduces you to the Scan Express 2400 USB scanner and gets you up and running quickly. -
Page 4: Getting Help
Getting Help Installing Drivers Help on procedures Please complete the software drivers installation Help is the primary source of information before installing the scanner. Do not connect for the scanner. The following illustration the power adapter to the scanner at this stage. shows where you can find Help. -
Page 5: The Scanner Parts
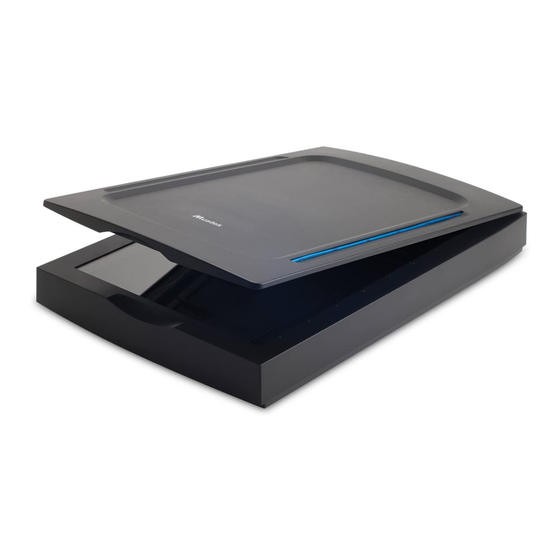
Just in Case it Happens The Scanner Parts Upon installing the software drivers and connect- Back of the scanner Document cover ing the power adapter if the Add New Hardware Wizard dialog box appears, perform the following steps: LED lamp Control panel Installing Hardware Refer to the following illustration and steps to... -
Page 6: Using The Scanner Buttons On The Control Panel
Using the Scanner Buttons on the Control Panel Make sure that the Direct Scan is enabled (shown) on your Windows® taskbar in order for the scanner buttons to work. If in case Direct Scan is disabled and user wants to enable it, perform the following: Direct Scan 1. -
Page 7: Scan
To enhance your overall BearPaw experience, this function was designed to work only with the Copy Mustek® fax utility software provided when you installed the software drivers. To perform a copy, do the following: Make sure you have a valid fax modem connec- 1. -
Page 8: Email
E-mail Panel Settings Clicking on the Settings button located on the Panel will show the following screen allowing To perform an E-mail, do the following: you to make changes to your Panel settings. 1. Place the document with the image you want to E-mail as an attachment face down on your scanner window glass. -
Page 9: Scan
Scan To perform a scan, do the following: Phone Book icon 1. Place the document with the image you want to scan face down on your scanner window glass. 2. Click on the Scan button. Status and Progress Bar area will show scanning progress. Upon completion, your system will automatically load the assigned compatible graphics program. -
Page 10: Email
E-mail Personal Style To perform an E-mail, do the following: Allows you to make changes to your system’s 1. Place the document with the image you want to startup screen, wallpaper, system logo, icons, E-mail as an attachment face down on your cursor, screen saver, shutdown screen, or even scanner window glass. -
Page 11: Personal Style (Non-Changeable) Default Settings
Wallpaper and screen saver cannot be recovered to the Windows® default setting using this method. Mustek WWW- allows you to connect directly with the Mustek website for the latest enhance ments. -
Page 12: Other Settings
Other Settings Using the TWAIN Dialog Box Green Function There are three separate methods to scan an image : Allows you to set the period of inactivity (1 to 20 1. Scanner Control Panel SCAN button. minutes) before the lamp inside the scanner shuts 2. -
Page 13: Specifications
Specifications Scanner Type Color Flatbed Scan Area 21.6 cm x 29.7 cm (8.5” x 11.7”) Scan Modes: True Color 36-bit (Internal) 48-bit (software enhanced) Gray Mode 12-bit (Internal) 8-bit (External) Text/Line Art 1 bit/pixel (2 levels) Scan Method Single Pass Scanning Resolution Control: Optical 1200dpi (H) x 2400dpi (V)
Need help?
Do you have a question about the ScanExpress 2400 and is the answer not in the manual?
Questions and answers