Table of Contents
Advertisement
Quick Links
Advertisement
Table of Contents

Subscribe to Our Youtube Channel
Related Manuals for moon 610LP


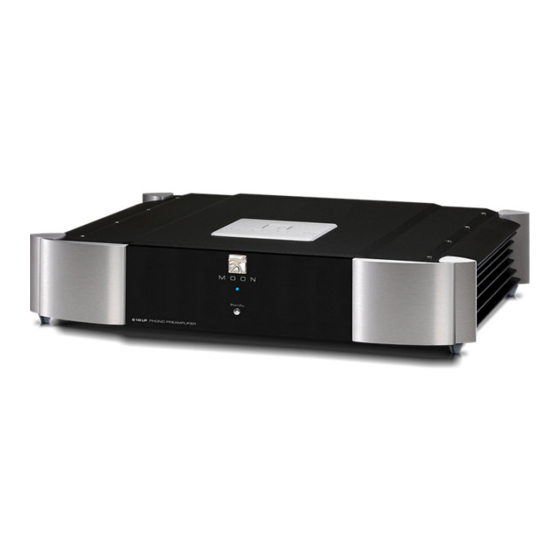
Summary of Contents for moon 610LP
- Page 1 610LP Evolution Series Dual-Mono Phono Preamplifier Owner’s Manual...
- Page 2 610LP Evolution Series...
-
Page 3: Important Safety Instructions
Owner’s Manual Important Safety Instructions Read these instructions. receptacles, and the point where they exit from the apparatus. Unplug mains cord during Keep these instructions. transportation. Heed all warnings. 11. Only use attachments and accessories specified by Follow all instructions. the manufacturer. - Page 4 MOON 610LP, immediately disconnect it from component. To completely disconnect this the AC mains and take it to your MOON dealer apparatus from the AC mains, disconnect the for a complete check-up. power supply cord plug from the AC receptacle.
-
Page 5: Table Of Contents
Table of Contents Introduction Unpacking Installation & Placement Bottom Panel Layout s Cartridge Loading Adjustments Rear Panel Connections Balanced Operation Operating the 610LP Remote Operation Specifications www.simaudio.com Simaudio Ltd., 1345 Newton Road Boucherville, Québec J4B 5H2 CANADA Date Code: 20150430... -
Page 6: Introduction
Series Introduction class” level of performance. This is an abbreviated list of Thank you for selecting the MOON 610LP Dual-Mono the more important features: Phono Preamplifier as a part of your music/cinema system. This component has been designed to offer... -
Page 7: Unpacking
The customized packaging is specially designed to protect the 610LP from any potential damage during transit. Please write the serial number of your new MOON 610LP in the space provided below for future reference. Serial Number Installation... -
Page 8: Bottom Panel Layout
DIP switches located on the the bottom panel – below and to the right of the actual 610LP’s bottom panel as shown above in figure 1. There DIP switches. Since the MOON 610LP is a genuine dual- are two (2) banks of DIP switches –... -
Page 9: Cartridge Loading Adjustments
Finally, the values written your 610LP as it was specifically designed for this beside switch... - Page 10 To determine which curve is best for you, perform this simple test: Use the 610LP with the RIAA curve and watch the movement of your loudspeaker’s bass drivers. Figure 4: Left and right channel DIP switches for gain If their motion doesn’t follow the pattern of the record...
-
Page 11: Rear Panel Connections
XLR input connector for that same channel. Connect the cables from your turntable to either the RCA or XLR inputs. The design of the 610LP allows for ONLY 1 input connection so you cannot use both types of input connectors. -
Page 12: Balanced Operation
LED on the front panel will illuminate, indicating the MOON 610LP, any noise picked up by the that the 610LP is now powered up and ready for use. interconnect will be eliminated since a differential circuit amplifies only the difference between these two signals: Noise on a balanced interconnect will be equal on both conductors and therefore cancel out. -
Page 13: Remote Operation
12V triggers; The 12V trigger output on the 740P is connected to the 12V trigger input on the 610LP (using a 1/8” mini-jack cable) and the 12V trigger output on 610LP is connected to the 12V trigger input on 860A. -
Page 14: Specifications
610LP Evolution Series Specifications Configuration Fully balanced, dual-mono Power Supply Transformers 25VA Power Supply Capacitance 40,000μF Balanced inputs 1 pair (XLR) Single-ended inputs 1 pair (RCA) Input Impedance - Adjustable 64 settings from 12.1Ω to 47kΩ Input Capacitance - Adjustabl 16 settings from 0pF to 1120pF Gain Level –... - Page 15 Owner’s Manual Balanced Input Pin Assignment: Pin 1 Ground Pin 2 Positive Pin 3 Negative Fuse Replacement: For the 120V version use a 0.2A slow blow (5 x 20mm size). For the 230V version use a 0.1A slow blow (5 x 20mm size) ____________________________________________________________________________________...
- Page 16 610LP Evolution Series...
Need help?
Do you have a question about the 610LP and is the answer not in the manual?
Questions and answers