Advertisement
GRANDVIEW REPRODUCING GENUINE COLORS
Grandview Crystal Screen Canada Ltd.
#11- 3751 North Fraser Way,
Marine Way Business Centre,
Burnaby, BC, Canada V5J 5G4
Tel: 1-604-412-9777
Fax: 1-604-412-9796
Website: www.grandviewscreen.ca
Guangzhou Grandview Crystal Screen Co., Ltd.
P.O. 51 1400 Federal Ind. Zone No. 363, Yushan West Road,
Shiqiao, Panyu District, Guangzhou, Guangdong, China
Tel: +8620-8489-9499 Fax: +8620-8480-3343
Website: www.grandviewscreen.com
GRANDVIEW REPRODUCING GENUINE COLORS
Model CN-Sxx
Before use, please read instructions carefully. After installation, store instructions for future reference.
ISO9001:2000
International Certification
Instruction Manual for CN Series
Manual Pull-Down with Speed Control Mechanism
Thank you for purchasing a Grandview projection screen.
Advertisement
Table of Contents

Summary of Contents for Grandview CN Series
- Page 1 Tel: 1-604-412-9777 Fax: 1-604-412-9796 Website: www.grandviewscreen.ca Thank you for purchasing a Grandview projection screen. Guangzhou Grandview Crystal Screen Co., Ltd. Before use, please read instructions carefully. After installation, store instructions for future reference. P.O. 51 1400 Federal Ind. Zone No. 363, Yushan West Road,...
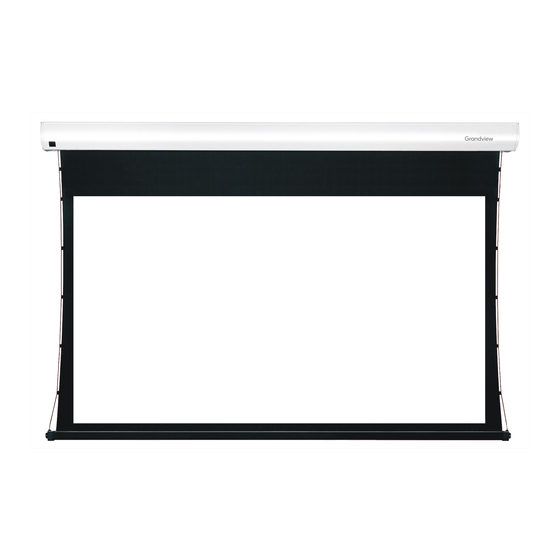
- Page 2 Description Metal Casing End Cap Screen Fabric Handle Accessories 10 x 40mm Anchor and bolts (8pcs ) Installation Manual (1pc)
- Page 3 Warnings Installation The ceiling or wall used for fixture installation must be secure to prevent the screens from falling. This projection screen should be installed at the best possible viewing position for the audience. Take out all Please read the following as any damage to the screen surface will affect the quality of the picture: the parts from the packaging and follow the accessories guideline to ensure you have all the parts.
- Page 4 Ceiling Mount Instructions Using a tape measure, measure the distance between the two keyholes on the casing (Figure 1). According to the measurement, use the drill to drill identical holes of the appropriate size on the ceiling Pull down to the desired height; pause for 3 seconds, and the screen will self-lock. (use a smaller drill bit than the actual screws) and ensure that it is level (F igure 2 &...


Need help?
Do you have a question about the CN Series and is the answer not in the manual?
Questions and answers