
Related Manuals for TRENDnet N300 TEW-739APBO


Summary of Contents for TRENDnet N300 TEW-739APBO
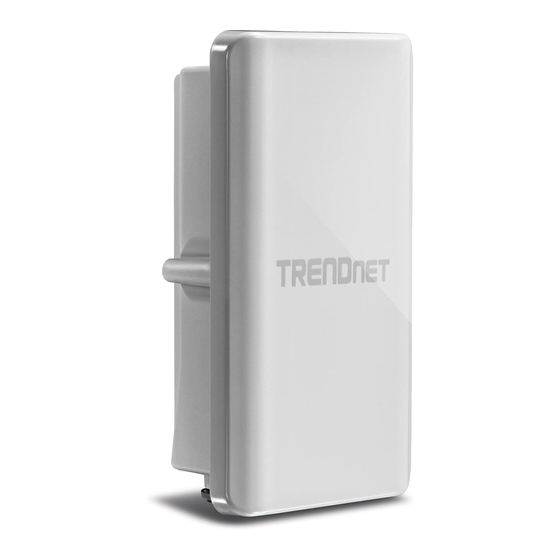
- Page 1 N300 Outdoor PoE Access Point Ÿ TEW-739APBO Quick Installation Guide (1) Ÿ TEW-739APBO (V1) /06. 1 9.2014...
-
Page 2: Before You Start
1. Before You Start Package Contents Ÿ TEW-739APBO Ÿ CD-ROM (User's Guide) Ÿ Multi-Language Quick Installation Guide Ÿ Proprietary PoE injector Ÿ Power adapter (48 V DC, 0.5 A) Ÿ Mounting hardware Ÿ Waterproof RJ-45 plug (network cable is not included) Ÿ... -
Page 3: Hardware Configuration
2. Hardware Configuration Note: The default IP address of the TEW-739APBO is 192.168.10.100. To configure the TEW-739APBO, your network adapter must have an IP address within the 192.168.10.x subnet (e.g. 192.168.10.50). Please refer to the Appendix in the User's Guide for more information. Phase 1: Access Point Setup Note: Ÿ... - Page 4 1. Connect the TEW-AO46S or the TEW-AO57 antennas to the TEW-739APBO. 2. Connect one end of a network cable into the TEW-739APBO. 3. Connect the other end of the network cable to the P+DATA OUT port on the Power over Ethernet Injector.
- Page 5 9. Enter the User name and Password, and then click OK. By default: User Name: admin Password: admin Note: Username and password are case sensitive. Note: For first time installation, you are required to change the admin password. 10. Enter a new admin password. 11.
- Page 6 Note: To protect your network from any unauthorized access it is recommended to enable wireless encryption. 16. Select WPA2-PSK for security type. 17. Select AES for cipher suite. 18. Enter a Pre-shared Key (wireless password). 19. Click Save.
- Page 7 20. Click Reboot. 21. Click Reboot. 22. Wait 45 seconds while the Access Point reboots. 23. Configure the TEW-739APBO's IP address to a valid IP address within the subnet defined by the Router. Avoid using an IP address within the DHCP pool of your router. In this example, we will assume the following: Router IP Address: 192.168.10.1 Subnet Mask: 255.255.255.0...
- Page 8 24. Click System " LAN. 25. Select Static IP. 26. Configure the IP Address, IP Netmask and IP Gateway based on the example in step 23. 27. Select Specify DNS Server IP. 28. Configure the Primary DNS based on the example in step 23. 29.
- Page 9 31. Click Reboot. 32. Wait 45 seconds while the Access Point reboots.
-
Page 10: Hardware Installation
3. Hardware Installation Waterproof kit installation 1. Unscrew the sealing nut from the main 7. Insert the seal/rubber claw into the Cable body. Gland. 2. Separate the rubber seal from the claw. 3. Verify that you have the following parts: Cable Gland, Seal, Claw, Sealing Nut Cable Gland Seal... -
Page 11: Access Point Installation
Access point installation TEW-739APBO Internet Modem Router Building... -
Page 12: Connecting The Grounding Wire
1. Refer to the above diagram. 2. Mount the TEW-739APBOs in your desired location. Instructions for pole mounting the access point can be found in the section. 3. Verify that the status LED indicators on both TEW-739APBOs are fully functional: PWR [Power](Green / Solid), LAN (Blinking / Green), Wireless Signal Strength (Blinking / Green). - Page 13 Pole mounting the TEW-739APBO Note: The pole mounting clamp supports poles with a maximum diameter of 78 mm (3.07 inches). 1. Align the mounting bracket with the holes on the the unit and secure it with the screws and washers provided. 2.
-
Page 14: Product Information
Company Information: Company Name: Company Address: Product Information: Product Description: N300 Outdoor PoE Access Point Model Number: TEW-739APBO Brand Name: Technical Standards: EN 300 328 V1.7.1 EN 301 489-1 V1.9.2: 09-2011 EN 301 489-17 V2.2.1: 09-2012 EN 55024 2010 EN 55022 2010 EN 50385: 2002 EN 60950-1: 2006 + A11 : 2009 + A1 : 2010 + A12: 2011... - Page 15 Public License ("GPL") or GNU Lesser General Public License ("LGPL"). These codes are distributed WITHOUT WARRANTY and are subject to the copyrights of the developers. TRENDnet does not provide technical support for these codes. The details of the GNU GPL and LGPL are included in the product CD-ROM. Please also go to (http://www.gnu.org/licenses/gpl.txt) or (http://www.gnu.org/licenses/lgpl.txt) for specific terms of each license.
- Page 16 General Public License) ou ao LGPL (GNU Lesser General Public License). Estes códigos são distribuídos SEM GARANTIA e estão sujeitos aos direitos autorais dos desenvolvedores. TRENDnet não presta suporte técnico a estes códigos. Os detalhes do GNU GPL e do LGPL estão no CD-ROM do produto. Favor acessar http://www.gnu.org/licenses/gpl.txt ou http://www.gnu.org/licenses/lgpl.txt para os termos específicos de cada licença.
- Page 17 Garantia Limitada TRENDnet garante seus produtos contra defeitos em material e mão de obra, sob condições normais de uso e serviço, pelo seguinte tempo a partir da data da compra. Garantia: Garantia limitada de 3 anos. (Quando aplicável: 1 ano de garantia para adaptador de tensão, fonte e componentes de ventoinhas).
- Page 18 TEW-739APBO Гарантія компанії Гарантія компанії TRENDnet поширюється на дефекти, що виникли з вини виробника, при дотриманні умов експлуатації та обслуговування протягом встановленого періоду з моменту придбання. (Продукт: Обмежена гарантія: 3 роки обмеженої гарантії (Поширюється: Протягом 1 року на силові адаптери, джерела живлення і компоненти вентилятора охолодження) Повну...
Need help?
Do you have a question about the N300 TEW-739APBO and is the answer not in the manual?
Questions and answers