Table of Contents
Advertisement
Quick Links
ATTENTION!
If any components of this unit are broken, do not operate properly, or for product returns,
please contact Weston Products LLC
Phone: 1-800-814-4895 (Outside the U.S. 440-638-3131)
Mail: 20365 Progress Drive, Strongsville, Ohio 44149
E-Mail: CustomerService@WestonProducts.com
Web Site: WestonProducts.com
PRO 3000
All Trademarks and Registered Trademarks are property of the respective companies.
SAVE THESE INSTRUCTIONS!
VACUUM
Refer to them often and use them to instruct others.
SEALER
MODEL NO. 65-0401-W
US Patented
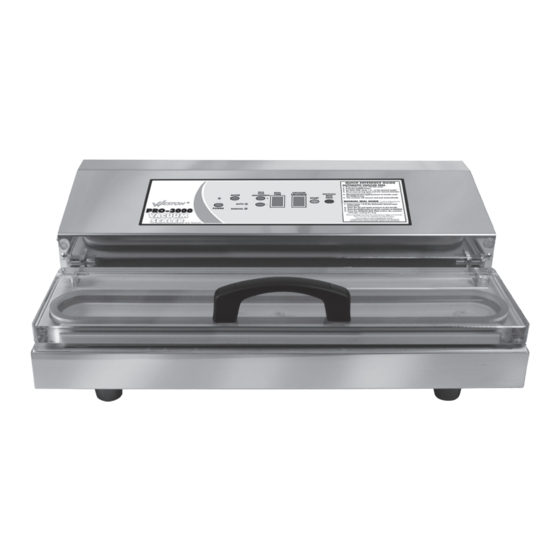
Due to constant factory improvements, the product pictured
might differ slightly from the product received.
NOTE: The Vacuum Sealer is ONLY intended to be used with VACUUM BAGS. For
best results, only use the recommended vacuum bags with an embossed or mesh lining.
DO NOT USE HOUSEHOLD BAGS! Any other uses of the Vacuum Sealer, other
than the uses described in this booklet, could potentially damage the appliance and void
the warranty!
Advertisement
Table of Contents

Related Manuals for Weston PRO 300 65-0401-W


Summary of Contents for Weston PRO 300 65-0401-W
- Page 1 ATTENTION! If any components of this unit are broken, do not operate properly, or for product returns, please contact Weston Products LLC Phone: 1-800-814-4895 (Outside the U.S. 440-638-3131) Mail: 20365 Progress Drive, Strongsville, Ohio 44149 E-Mail: CustomerService@WestonProducts.com Web Site: WestonProducts.com PRO 3000 All Trademarks and Registered Trademarks are property of the respective companies.
-
Page 2: Weston Warranty Information
Weston Products LLC will repair (or at its discretion, replace) the product free of charge, if in the judgment of the company, it has been proven to be defective as to seller’s labor and material, within the warranty period. -
Page 3: Food Safety
If any components of this unit are broken or the unit does not operate there is no way juices can drip onto fresh produce. Then use the raw meats within 1-2 days properly, call Weston Products LLC Toll Free at 1-800-814-4895 of purchase, or freeze for longer storage. -
Page 4: Important Safety Rules
WARNING! STORAGE LIFESPAN GUIDELINES Before cleaning, assembling or disassembling the Vacuum Sealer, make sure the Vacuum Sealer is OFF and the PLUG IS REMOVED FROM THE OUTLET/POWER SOURCE! IMPORTANT NOTE: Vacuum packaging is NOT a substitute for refrigeration. Vacuum packed perishable foods still require refrigeration. IMPORTANT SAFETY RULES NEVER thaw frozen foods at room temperature. -
Page 5: Vacuum Packaging Guidelines
VACUUM PACKAGING GUIDELINES PROTECTIVE TAPE There are two (2) factory installed Very Moist Foods: It is best to freeze very moist food items, like fish, before vacuum strips of Seal Bar Tape on the Vacuum Sealer. sealing them. The excessive moisture can interfere with the Sealing Bar’s ability to completely fuse the layers of the bag together. -
Page 6: Cooling Fan
WARNING! REPLACING THE FUSE Before cleaning, assembling or disassembling the Vacuum Sealer, make sure the Vacuum Sealer is OFF and the PLUG IS REMOVED FROM THE OUTLET/POWER SOURCE! WARNING! Before cleaning, assembling or disassembling the Vacuum Sealer, make sure the Vacuum Sealer is OFF and the PLUG IS VACUUM CHAMBER SEALS REMOVED FROM THE OUTLET/POWER SOURCE! There are two factory-installed Oval Vacuum Chamber Seals on the Vacuum... -
Page 7: Grounding Instructions
REPLACING THE SEAL BAR TAPE: GROUNDING INSTRUCTIONS *NOTE one extra piece of Seal Bar Tape is included with the original unit as a spare. 1. Turn “OFF” the Vacuum Sealer and remove the Power Cord from the electrical GROUNDING Figure A outlet. -
Page 8: Control Buttons
CONTROL BUTTONS SERVICE INSTRUCTIONS Figure 3 . Power Button: After plugging the Vacuum Sealer into the power supply WARNING! Before cleaning, assembling or disassembling the and the appliance, press the Power Button in the lower left corner of the Control Vacuum Sealer, make sure the Vacuum Sealer is OFF and the PLUG IS Panel. -
Page 9: Preparing Vac Bags From A Roll
PREPARING VAC BAGS FROM A ROLL INITIAL TESTING OF THE BAG SEAL WARNING! Test seal a couple of vacuum bags to be sure that the Seal Time is set properly. Before cleaning, assembling or disassembling the The Seal Time may need to be increased (+) or decreased (-) to optimally seal Vacuum Sealer, make sure the Vacuum Sealer is OFF and the PLUG IS a bag. -
Page 10: Automatic Mode Operation
AUTOMATIC MODE OPERATION MANUAL MODE OPERATION BEFORE ATTEMPTING VACUUM PACKAGING, BE SURE THAT THE BEFORE ATTEMPTING VACUUM PACKAGING BE SURE THAT THE VACUUM SEALER IS SET UP IN ACCORDANCE WITH ALL OF THE SAFETY VACUUM SEALER IS SET UP IN ACCORDANCE WITH ALL OF THE SAFETY PRECAUTIONS LISTED IN THIS BOOKLET.
Need help?
Do you have a question about the PRO 300 65-0401-W and is the answer not in the manual?
Questions and answers