
Related Manuals for R-Tech ProArc 135


Summary of Contents for R-Tech ProArc 135
- Page 1 Email: sales@r-techwelding.co.uk Tel: 01452 733933 Fax: 01452 733939 ProArc 135 INVERTER ARC WELDER OPERATION INSTRUCTIONS Version 2014-1...
- Page 3 Thank you for selecting the R-Tech PROARC135 Inverter Arc Welder The PROARC135 has many benefits over traditional transformer arc welders, including infinite power control, anti stick and hot start technology to aid easy arc starting and the inverter power source provides smooth weld characteristics We want you to take pride in operating our PROARC135 as much pride as we have taken in making this product for you.
-
Page 4: Technical Specifications
Welding Capability – Duty Cycle The R-Tech PROARC135 is rated at 135 Amps at 35% duty cycle on a ten minute basis. If the duty cycle is exceeded a thermal protector will shut machine off until the machine cools. - Page 5 Safety Precautions Read entire section before starting installation WARNING! Electric Shock can kill – Only qualified personnel should perform this installation. Turn off input power at the fuse box before working on this equipment. Do not touch electrically live parts. Always connect the machine to an earthed mains supply as per national recommended standards.
-
Page 6: Electric Shock Can Kill
Machine grounding and Interference Protection This welder must be grounded to earth. See national electrical codes for proper grounding methods. Radiated interference can develop in the following ways 1. Direct interference from welder power source 2. Direct interference from the welding leads 3. - Page 7 Allow machine to sit for 5 minutes minimum to allow the power capacitors to discharge before working inside this equipment. Do not touch electrically live parts The PROARC135 Inverter Welder requires a 240V 16A 50/60Hz supply (at 125 amps output it will draw 13A input, if used on a 13Amp plug you may get nuisance fuse blows when welding at maximum amperage).
- Page 8 Rear machine connections Fig 2 1. On / Off Switch This switches machine on /off 2. Mains input cable Connect electrical plug as required...
-
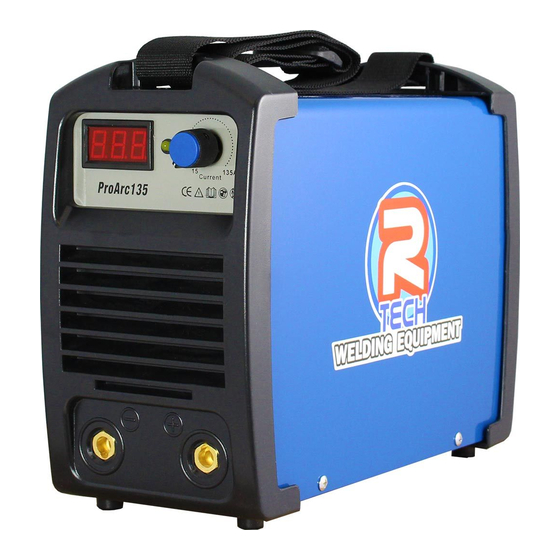
Page 9: Controls And Settings
Controls and Settings 1. Current Control Knob This selects the welding power and is shown in LED display (3) 2. Warning indicator light Lights RED when over-heat thermostat protection has occurred, due to over work or poor airflow. Fan will continue to run and once machine has cooled down light will go off and machine is ready to use. -
Page 10: Operating Machine
Operating machine SAFETY PRECAUTIONS WARNING! ELECTRIC SHOCK CAN KILL Do not touch electrically live parts or electrode with skin or wet clothing. Insulate yourself from work and ground Always wear dry insulating gloves WARNING! FUMES AND GASES can be dangerous Keep your head out of fumes &... -
Page 11: Maintenance
Operating Machine 1. Ensure machine is setup as previously stated 2. Fit desired electrode size in electrode holder 3. Switch on machine 4. Select desired welding power 5. Touch electrode on to workpiece and arc will start When machine is switched on, output terminals are always live, take care and do not touch electrode and earth by person at same time, otherwise electric shock will occur. -
Page 12: Troubleshooting
Troubleshooting Service & repair should only be performed by R-Tech welding trained personnel. Unauthorised repairs performed on this equipment may result in danger or injury to the technician and machine operator and will invalidate your warranty. For your safety and to avoid electric shock, please observe all safety notes and precautions... - Page 13 Arc welding problems 1. Stick electrode ‘blasts off’ when arc is struck Welding current set too high, reduce welding current Materials are dirty – clean before welding 2. Excessive Splatter Long arc – get electrode closer to work Welding current too high, reduce welding current 3.
Need help?
Do you have a question about the ProArc 135 and is the answer not in the manual?
Questions and answers