
Related Manuals for R-Tech MTS-450


Summary of Contents for R-Tech MTS-450
- Page 1 Email: sales@r-techwelding.co.uk Tel: 01452 733933 Fax: 01452 733939 MIG-MTS-450 SWFU INVERTER MIG & MMA WELDING MACHINE OPERATION INSTRUCTIONS Version 2017-10...
-
Page 3: Safety Depends On You
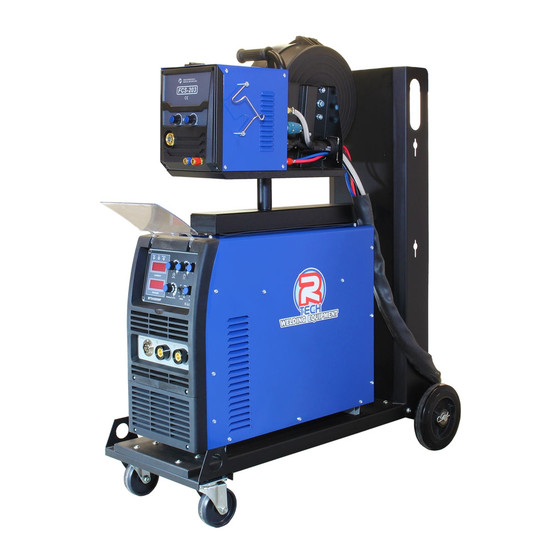
Thank you for selecting the R-Tech MTS 450 Inverter MIG Welder. We want you to take pride in operating our MTS 450 as much pride as we have taken in making this product for you. PLEASE EXAMINE CARTON AND EQUIPMENT FOR DAMAGE IMMEDIATELY When this equipment is shipped, title passes to the purchaser upon receipt from the courier. -
Page 4: Safety Precautions
CAUTION This statement appears where the information must be following to avoid a minor personal injury or damage to this equipment. SAFETY PRECAUTIONS WARNING! ELECTRIC SHOCK CAN KILL Do not touch electrically live parts or electrode with skin or wet clothing. Insulate yourself from work and ground Always wear dry insulating gloves WARNING! -
Page 5: Installation
Welding Capability – Duty Cycle The R-Tech MTS 450 is rated at 450 Amps at 60% duty cycle on a ten minute basis. If the duty cycle is exceeded a thermal protector will shut machine off until the machine cools. - Page 6 Safety Precautions Read entire section before starting installation WARNING! Electric Shock can kill – Only qualified personnel should perform this installation. Turn off input power at the fuse box before working on this equipment. Do not touch electrically live parts. Always connect the machine to an earthed mains supply as per national recommended standards.
- Page 7 Machine grounding and High Frequency Interference Protection This welder must be grounded to earth. See national electrical codes fro proper grounding methods. The high frequency generator being similar to a radio transmitter may cause interference to radio, TV and other electronic equipment. These problems may be the result of radiated interference.
- Page 8 Connecting to a mains electrical supply THIS MACHINE IS OF AN INDUSTRIAL SPECIFICATION AND MUST BE FITTED TO A 32AMP 415V MAINS INPUT Connecting to an Engine Driven Generator If connecting this machine to an engine driven generator please ensure the following Minimum Generator KVA Output –15 KVA continuous Generator to be fitted with AVR (automatic voltage regulation)
- Page 9 Setup machine as per diagrams below: Rear machine connections 1. On / Off Switch 2. 240V Auxiliary output for water cooler 3. Protection fuses 4. Mains input cable – Connect to mains supply 5. External 2 earth point – This can be used to earth the machine to workbench if you are experiencing interference - Sometimes required when using automated machinery - Not normally used 6.
- Page 10 Front machine connections 1. Connect 7 pin socket on 5M interconnecting cable from WFU. 2. Connect dinse power connector on 5M MIG interconnecting cable from WFU In MMA mode connect electrode holder or earth lead depending on polarity of welding electrode used.
-
Page 11: Controls And Settings
2. Wire feed control – This will change wire feed speed and will be shown in amperage display as value in display for reference purposes. 3. Connect euro type MIG torch – Ensure pins are located first then tighten securely 4. - Page 12 5. Stitch timer – This is used in combination with the spot welding control. This sets the interval time between spot welds. When you press the torch switch the machine will do a spot weld as set by the spot welding control knob and then a delay time set on stitch welding knob and then another spot weld is carried out.
- Page 13 Wire feed Unit Diagram 1. Wire inch button – press button and wire feed rollers will start to allow wire to come through tip ready for welding. 2. Wire tensioners - Do not over tighten wire feed pressure rollers as this can cause premature motor and roller failure.
-
Page 14: Welding Operation
Welding operation Once you have set machine up as per above instructions. Operating in Mig Mode 1. Fit wire reel onto wire feed unit 2. Inch wire to end of torch tip using ‘Inch’ button on wire feed unit 3. Select welding voltage (power) required on wire feed unit Note: Welding voltage preset can be viewed in Voltage LED on front panel of machine 4. -
Page 15: Troubleshooting
5. The fan motor has sealed bearings which requires no maintenance Troubleshooting Service & repair should only be performed by R-Tech welding trained personnel. Unauthorized repairs performed on this equipment may result in danger to the technician and machine operator and will invalidate your warranty. For your safety and to avoid electric shock, please observe all safety notes and precautions detailed throughout this manual The troubleshooting guide is provided to help you locate possible machine malfunctions. - Page 16 Fan runs but machine has cycle – Reduce the duty cycle problem persists, Contact no output of job. R-Tech Welding for repair. 2 Dirt and dust may have clogged the cooling vents. Blow out machine with dry, clean low pressure air.
Need help?
Do you have a question about the MTS-450 and is the answer not in the manual?
Questions and answers