Bang & Olufsen BeoSound 1 Manual
Hide thumbs
Also See for BeoSound 1:
- Manual (25 pages) ,
- Quick manual (17 pages) ,
- Service center repair manual (89 pages)
Table of Contents
Advertisement
Advertisement
Table of Contents

Related Manuals for Bang & Olufsen BeoSound 1


Summary of Contents for Bang & Olufsen BeoSound 1
- Page 1 BeoSound 1 Guide...
- Page 2 Legal Notice for the US market: For the Canadian market only! CAUTION: To prevent electric shock do not use the polarized plug, attached to this apparatus, with an extension cord, receptacle or other outlet unless the blades can be fully inserted to prevent blade exposure.
-
Page 3: A Movable Music Centre
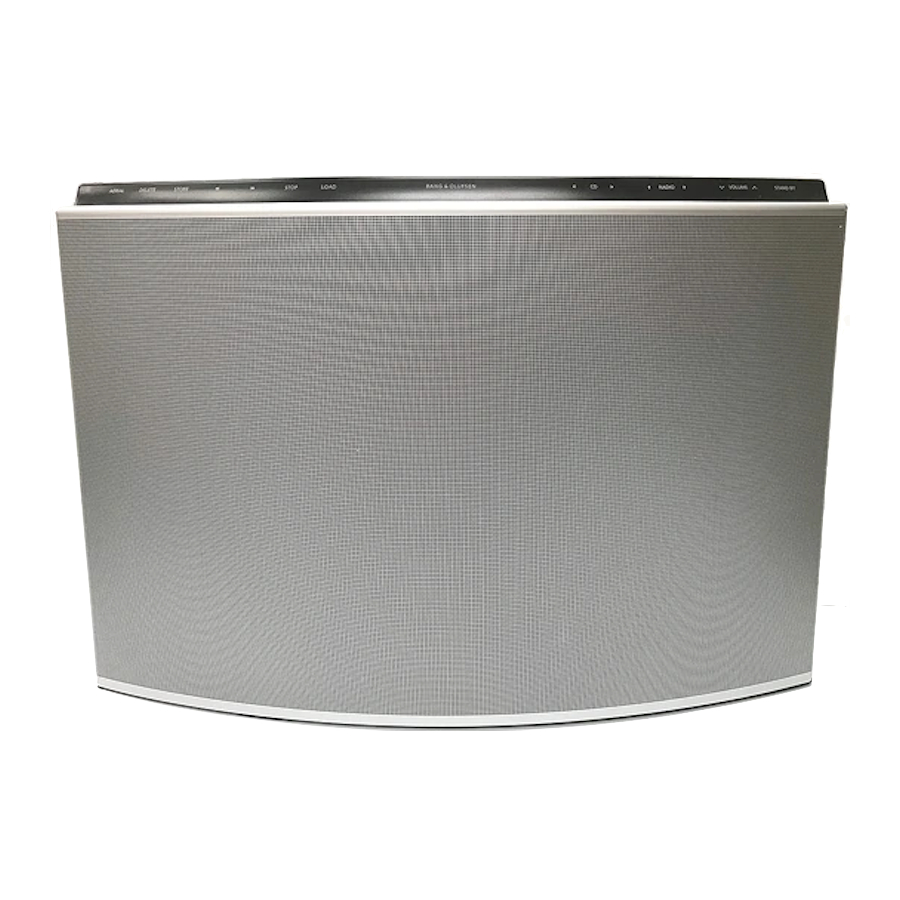
A movable music centre Place your BeoSound 1 where you like. The compact design enables you to bring it with you anywhere. BeoSound 1 gives you an excellent sound experience no matter how near or far you are from the speakers. The sound is optimised and no additional settings are required. -
Page 4: Maintenance
Do not use alcohol or other solvents to clean any enable the built-in aerial to extend and the CD BeoSound 1. The socket panel contains mains, part of the BeoSound 1. We do not recommend compartment to raise. aerial and AUX sockets. -
Page 5: Contents Of The Guide
12 Setting a Wake-up Timer Playing favourite CD tracks only 14 Choose tracks to listen to Tuning in radio stations 16 Automatic tuning 17 Manual tuning 17 Delete a radio station Remote control operation 18 Operating BeoSound 1 with Beo4... - Page 6 Your key to using BeoSound 1 Operation is easy. The buttons essential Just press a single button to listen to sound of to daily operation are on the right-hand your choice. The display will show your choice. side, while those on the left-hand side have secondary functions.
- Page 7 CD to play your CD. CD, the CD compartment raises automatically, ready to be loaded with your favourite CD. Remove the cover at the back of BeoSound 1 and connect the headphones to the socket. The speakers will be muted when headphones are connected.
-
Page 8: Daily Operation Of Radio And Cd Player
You extend the built-in aerial by the button is released. pressing the AERIAL button. You can store up to 59 different radio stations in your BeoSound 1 (see page 12). To RADIO Press RADIO to switch on the Press CD to switch on the CD... -
Page 9: Changing The Display
If you store a volume level, the of the source you have chosen, and what the different light settings are available. BeoSound 1 starts at this level next time it is system is doing. BeoSound 1 remembers ypur mode or light switched on. -
Page 10: Make Beosound 1 Stop At A Specific Time
Make BeoSound 1 stop at a specific time Make a Stop Timer You can decide in advance how long you want to listen to the radio. BeoSound 1 can switch automatically to You can set how long the radio is to play standby when you are done. -
Page 11: Set The Right Time
Set the right time Set the built-in clock See the stored time The BeoSound 1 has a built-in 24 hour clock. You must set the clock yourself. You must set the built-in clock manually while The stored time can be shown briefly in the If you want to make use of the BeoSound 1 is in standby. -
Page 12: Wake Up Timer
7.10 Wake-up Timer is briefly shown in the display NOTE! If the clock has not been set, or BeoSound 1 has been disconnected from the mains for approx. 30 minutes, it is not possible to set a Wake-up Timer. The clock must be set first, refer... - Page 13 You can call up the settings for the Wake-up Timer in the display to check the time or to delete the Wake-up Timer. While BeoSound 1 is in standby, press and hold until the time for the Wake-up Timer is shown in the display, the digits 7.10...
-
Page 14: Play Favourite Cd Tracks Only
Play favourite CD tracks only Omit tracks from playback If you only like some tracks on a CD, you can set BeoSound 1 to ignore the ones you do not like. When you ‘delete’ a track on a CD, the next track starts playing. -
Page 16: Tune In Radio Stations
NOTE! When performing search tuning in areas with many empty channels in the frequency band, it might be an advantage not to extend the built- in aerial, BeoSound 1 will then skip most empty or weak channels. - Page 17 Delete radio stations You can delete the stored radio stations any time. RADIO Press RADIO to switch on the radio RADIO Press or to find the requested radio station DELETE Press DELETE twice to delete the radio station playing. The display will blink and the radio will switch to the next program number...
-
Page 18: Beo4 Remote Control
Press the green button to extend or retract the built-in aerial LIST EXIT Press the yellow button to open or close the CD compartment STOP Press to raise or lower volume Press in the middle to mute sound • Press to switch the BeoSound 1 to standby... -
Page 20: Use The Pin Code System
If the PIN code system is activated and your The PIN code system is easily activated, and your BeoSound 1 is protected against BeoSound 1 is disconnected from the mains, you choose the four-digit code yourself. you are requested to key in the four-digit PIN theft with a fourdigit PIN code. - Page 21 Master code from Bang & Olufsen. Once you period of 3 hours. You must enter your current have keyed in this code, your BeoSound 1 is PIN code before changing the code. operational again and the PIN code system is deactivated.
- Page 22 For your information… Your needs as a user are given careful consideration during the design and development process of a Bang & Olufsen product and we strive to make our products easy and comfortable to operate. Therefore, we hope that you will take the time to tell us about your experiences with your Bang &...
- Page 23 NOTE: This equipment has been tested and found to comply with the limits for a class B digital device, pursuant to part 15 of the FCC Rules. These limits are designed to provide reasonable protection against harmful interference in a residential installation.
- Page 24 www.bang-olufsen.com...
Need help?
Do you have a question about the BeoSound 1 and is the answer not in the manual?
Questions and answers