Advertisement
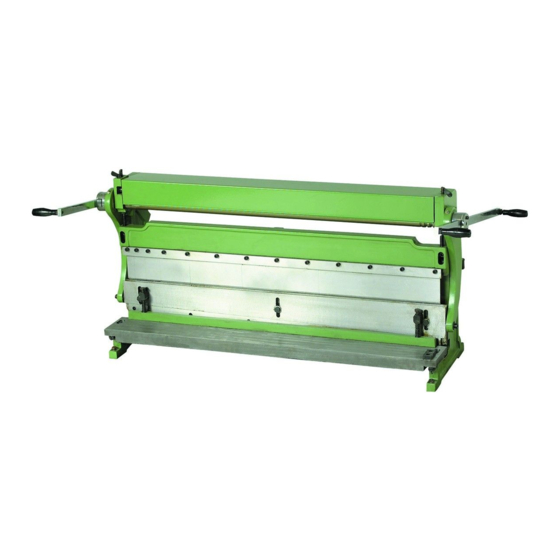
3 IN 1 ROLLER MACHINE
40 INCH
43353
ASSEMBLY AND OPERATING
INSTRUCTIONS
®
3491 Mission Oaks Blvd., Camarillo, CA 93011
Visit our Web site at http://www.harborfreight.com
Copyright © 2000 by Harbor Freight Tools
®
. All rights reserved. No portion of
this manual or any artwork contained herein may be reproduced in any shape or
form without the express written consent of Harbor Freight Tools.
For technical questions and replacement parts, please call 1-800-444-3353
Revised 01/07
Advertisement
Table of Contents

Related Manuals for Central Machinery 43353


Summary of Contents for Central Machinery 43353
- Page 1 3 IN 1 ROLLER MACHINE 40 INCH 43353 ASSEMBLY AND OPERATING INSTRUCTIONS ® 3491 Mission Oaks Blvd., Camarillo, CA 93011 Visit our Web site at http://www.harborfreight.com Copyright © 2000 by Harbor Freight Tools ® . All rights reserved. No portion of this manual or any artwork contained herein may be reproduced in any shape or form without the express written consent of Harbor Freight Tools.
-
Page 2: Specifications
There are certain applications for which this tool was designed. Do not modify this tool and do not use this tool for a purpose for which it was not intended. Rev 11/01 SKU 43353 Page 2... - Page 3 It must be under- stood by the operator that common sense and caution are factors which cannot be built into this product, but must be supplied by the operator. SKU 43353 Page 3...
-
Page 4: Operation
Raise the Press Plate (10) as necessary by turning the Hex Bolt (54) clockwise. Place the workpiece so that it is centered under the Press Plate (10). Rotate the Handle Arm (18) to press the workpiece. SKU 43353 Page 4... - Page 5 Notch the corners to the desired lip (side) height. Place the sheet metal above the Lower Braking Die (11). Align the bending mark with the front edge of the Upper Die (12). Rotate the Handle Arm (18) until 90 degree angle been formed. SKU 43353 Page 5...
- Page 6 The Upper Die (12) is segmented and can be used for varying sizes of box and pan forming. When forming a smaller box or pan, choose the desired size Upper Die (12) finger, center it and remove the others. SKU 43353 Page 6...
- Page 7 This will loosen the Adjustment Bar (22) and pull the middle of the upper Blade (23) in, while pushing its ends out. Removal and Installation of the Lower Blade Remove the Hex Head Screws (57) from the lower cutting Blade (23). Remove (or replace) the lower cutting Blade (23). SKU 43353 Page 7...
-
Page 8: Maintenance
SHOULD BE UNDERTAKEN BY CERTIFIED AND LICENSED TECHNICIANS AND NOT BY THE BUYER. THE BUYER ASSUMES ALL RISK AND LIABILITY ARISING OUT OF HIS OR HER REPAIRS TO THE ORIGINAL PRODUCT OR REPLACEMENT PARTS THERETO, OR ARISING OUT OF HIS OR HER INSTALLATION OF REPLACEMENT PARTS THERETO. SKU 43353 Page 8... -
Page 9: Parts List
Parts List NOTE: Some parts are listed and shown for illustration purposes only and are not available individually as replacement parts. SKU 43353 Page 9... - Page 10 SKU 43353 Page 10...
-
Page 11: Warranty
WARRANTY SKU 43353 Page 11...
Need help?
Do you have a question about the 43353 and is the answer not in the manual?
Questions and answers