Advertisement
Quick Links
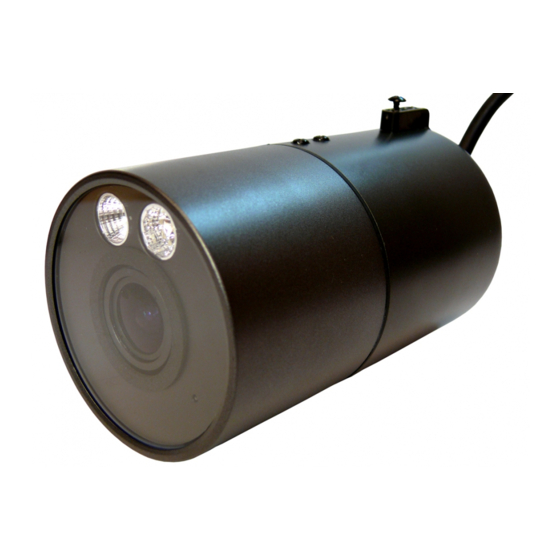
QUICK GUIDE
Please read instructions thoroughly before operation and retain
it for future reference. Online manual download:
www.surveillance-download.com/user/m359a.swf
INSTALLATION (Type 2)
Step1: Put the installation sticker on where you want to
install the camera. Then, drill the two screws at
top to the wall as shown in the picture.
Note: leave some space between the screws
and wall.
Step2: Hang the camera at the screws you just fixed,
and make sure the camera stays in place.
Decide the cable direction (up / down) before you
fasten the screws tight to the wall.
Step3: Drill the rest of the screws and make sure all
screws securely fastened.
Step4: Adjust the angle of your camera with the supplied
wrenches for a better viewing.
PACKAGE CONTENT
Before starting to set up your camera, please make sure
items below in your box:
or
Quick
Camera
guide
For selected models only:
Wall
Screws
Wrenches
Plugs
*
CABLE OVERVIEW
Below is an overview of various cables that can be used
with the camera. Besides, it is followed by a table, which
offers simple descriptions of cable connection.
INSTALLATION (Type 1)
Step1: Fix the bracket to where you want to install the
camera with the supplied three screws.
Step2: Remove the Joint Lock from the bracket. Then,
connect the Joint Lock to the backside of the
camera.
Desiccant
Step3: Connect the camera with the Joint Lock connected
to the bracket. After that, secure the Joint Lock to
fix.
Bracket
Step4: Connect the camera to power.
Color
--
--
Black & Brown
Yellow
Pink
Red
* For PoE (IEEE802.3af) installation, make sure your network
cable has the maximum cable resistance of 20Ω, such as CAT.5e
or CAT.6 cables, to conform to the standard of IEEE802.3af.
m359a_459a_359ah_459ah_357r_457r_565__565ir_565a_561_552a_557a_837_quick_V1.1
Cable
Description
Power cable
DC12V power supply.
RJ45 network
Connect it to a RJ45 cable.
cable*
GND
Ground wire
Reserved for external alarm
Alarm-in
device connection
Reserved for external alarm
Alarm-out
device connection
Remove the insulating coating
RESET
of wire, and twist it with a
ground wire together to reset
default camera
536z
Advertisement

Related Manuals for Avtech AVM359a


Summary of Contents for Avtech AVM359a
-
Page 1: Package Content
536z PACKAGE CONTENT INSTALLATION (Type 1) Before starting to set up your camera, please make sure Step1: Fix the bracket to where you want to install the items below in your box: camera with the supplied three screws. Step2: Remove the Joint Lock from the bracket. -
Page 2: Camera Configuration
ADJUST FOCAL LENGTH & FOCUS (Selected Model Only) Insert Micro SD Card Note: The appropriate temperature for focus adjustment is Only selected models are equipped with a micro SD 0˚C ~ 40˚C, and prevent adjusting in moisture card slot for local video recording. environment.
Need help?
Do you have a question about the AVM359a and is the answer not in the manual?
Questions and answers