RODE Microphones Stereo VideoMic Instruction Manual
Hide thumbs
Also See for Stereo VideoMic:
- Instruction manual (12 pages) ,
- Quick start manual (2 pages) ,
- Instruction manual (12 pages)
Table of Contents
Advertisement
Quick Links
Advertisement
Table of Contents

Subscribe to Our Youtube Channel
Related Manuals for RODE Microphones Stereo VideoMic


Summary of Contents for RODE Microphones Stereo VideoMic
- Page 1 Stereo VideoMic Instruction Manual ( EMC, L VD )
- Page 3 Thank you for investing in the Stereo VideoMic (SVM). Those of you who are fi rst time customers, may be interested to know that we are one of the largest and most respected professional microphone companies in the world. Our studio microphones are the ‘tone’...
-
Page 4: Specifications
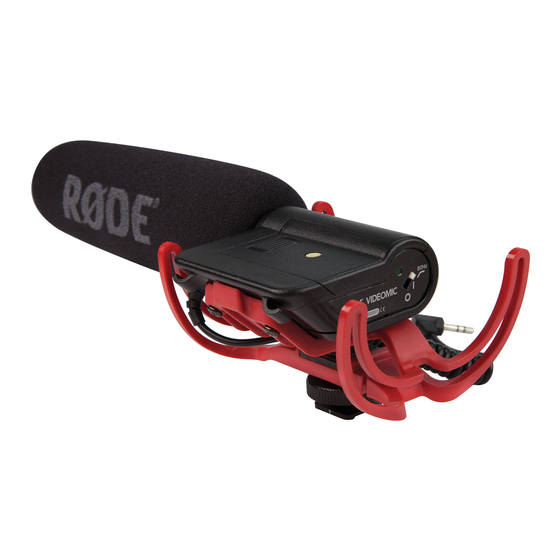
Specifications Acoustic Principle: Gradient Directional Pattern: Cardioid. Frequency range: 40 Hz ~ 20 000 Hz selectable High Pass Filter (HPF) @ 80 HZ 12 dB/octave. Output Impedance: 200 Ω Signal/Noise Ratio: 79 dB SPL (A - weighted per IEC651) Equivalent Noise: 15 dBA SPL (A - weighted per IEC651) Maximum SPL: 130 dB (@ 1kHz, 1% THD into 1Ω... - Page 5 Features • Stereo X/Y condenser microphone. • Broadcast sound quality. • Rugged cast aluminum body. • 9V battery operation. • Custom designed integral windshield. • Low noise circuitry. • Low handling noise. • Integral camera-shoe mount. • Designed & manufactured in Australia. •...
-
Page 6: Battery Installation
Battery Installation 1) The SVM operates on a standard 9V battery (ANSI:1604A or IEC:6LR61). We recommend you use either Alkaline or Lithium batteries for the longest continuous operating time. 2) The SVM will run continuously for over 60 hrs. with a good quality Alkaline battery. It is however important to understand that battery performance can vary dramatically with ambient temperature... - Page 7 Mounting Your SVM 4) The SVM incorporates a standard camera-shoe mount on the bottom of the microphone (fi g. 4).Designed to reduce camera borne motor and handling noise, the shock mount has a 3/8” x 16 threaded insert for mounting on tripods and poles.
- Page 8 Mounting Your SVM cont. 6) The SVM delivers a mic level signal to the video camera via a stereo mini jack audio lead. The mini jack should be connected to the camera via the camera’s “Audio- In” socket (fi g. 7), - refer to your video camera user manual.
- Page 9 SVM Controls cont. 8) It is now time to set the camera’s audio level. To ensure the optimum signal you will need to set the VU meter on the camera to read around “3/4” or “75%” on the sound ‘peaks’. Most cameras will allow you to access this setting through the camera menu.
-
Page 10: General Operation
General Operation SVM is not designed for long distance pick up. I have heard people ask, “How far away can this mic pickup sound?”. Of course you can boost the gain level on your camera and you will hear more defi ned sounds over a longer distance than with conventional microphones, but you will also get a lot of ambient noise and refl... -
Page 11: Warranty Service
Warranty Service SVM is warranted for 1 year from the date of purchase. You can extend that to a full ten years if you can register on line at www.rodemic/ svm.com or use the supplied warranty card to record your purchase. The warranty covers parts and labour that may be required to repair the microphone during the war- ranty period. -
Page 12: Contact Details
Contact Details International: Microphones ABN 91 000 576 483 107 Carnarvon Street Silverwater N.S.W 2128 Australia. P.O. Box 6685 Silverwater N.S.W 2128 Australia. Ph: 61 2 9648-5855 Fax: 61 2 9648-2455 USA: Microphones P.O. Box 3279 Torrance, CA 90510-3279 Ph: 877 328 7456 (Toll free within the U.S.) Ph: 310-328-7456 Fax: 310-328-7180...
Need help?
Do you have a question about the Stereo VideoMic and is the answer not in the manual?
Questions and answers