Sign In
Upload
Download
Table of Contents
Contents
Add to my manuals
Delete from my manuals
Share
URL of this page:
HTML Link:
Bookmark this page
Add
Manual will be automatically added to "My Manuals"
Print this page
×
Bookmark added
×
Added to my manuals
Manuals
Brands
SolarMax Manuals
Inverter
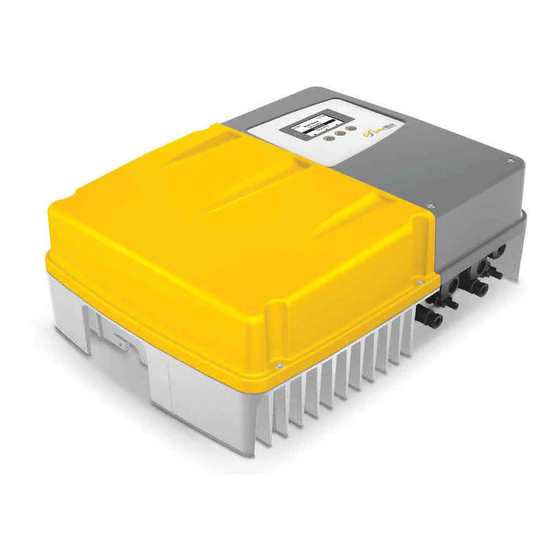
2000P
Instruction manual
SolarMax 2000P Instruction Manual
P-series
Hide thumbs
1
2
3
Table Of Contents
4
5
6
7
8
9
10
11
12
13
14
15
16
17
18
19
20
21
22
23
24
25
26
27
28
29
30
31
32
33
34
35
36
37
38
39
40
41
42
43
44
45
46
47
48
49
50
51
52
53
54
55
56
57
58
59
60
61
62
63
64
65
66
page
of
66
Go
/
66
Contents
Table of Contents
Troubleshooting
Bookmarks
Table of Contents
Table of Contents
1 Notes on the Present Instruction Manual
Scope
Target Groups
Where to Keep this Manual
Symbols Used
2 Safety Instructions
Intended Use
Symbols on the Inverter
3 Description
Identification
Functionality
Safety Installations
Dimensions
Views of the Unit
Block Diagram
4 Installation
Transporting and Storing Inverters
Checking the Delivery
Selecting the Installation Location
Mounting the Inverter
5 Electrical Connection
Opening the Inverter
Removing the Cover
Removing the Contact Protection
Connection Area
Connecting the Inverter to the Mains
Connecting the Inverter to the PV Generator
Grid Connections
6 Commissioning
Activating the Inverter
Initial Start-Up
Requirements
Procedure
Description of Country-Specific Menus
Auto-Test
Settings
Setting the Display Language and System Time
Setting the Network Parameters
Displaying the Configuration
Displaying the Measured Values
Registering for Maxview
Update Firmware
7 Operation 103
Graphics Display
Menu Structure
Overview
Main Menu
Statistics
Displaying the Daily Statistics
Displaying the Monthly Statistics
Displaying the Annual Statistics
Displaying the Total Statistics
Deleting the Statistics Values
Displaying Information
Operating Status
Booting
Mains Operation
8 Troubleshooting 111
Solarmax Service Center
Diagnosis & Measures
General Troubleshooting
Warnings
Faults
Error
Blockings
9 Maintenance
10 Decommissioning
Instructions for Inverter Replacement
Inverter Disassembly
Disposing of the Inverter
11 Technical Data
12 Accessories and Options
13 Warranty
Advertisement
Quick Links
1
Functionality
2
11 Technical Data
Download this manual
SolarMax P-Serie
2000P / 3000P / 4000P / 4600P / 5000P
Gerätedokumentation
Instruction manual
Documentation d'appareil
■
■
Documentación del dispositivo
Documentazione dell'apparecchio
■
■
Table of
Contents
Previous
Page
Next
Page
1
2
3
4
5
Advertisement
Table of Contents
Need help?
Do you have a question about the 2000P and is the answer not in the manual?
Ask a question
Questions and answers
Related Manuals for SolarMax 2000P
Inverter SolarMax 2000S Instruction Manual
S series, parameter configuration with maxtalk 2 pro (17 pages)
Inverter SolarMax S series Instruction Manual
(64 pages)
Inverter SolarMax S-Series Installation Primer
(28 pages)
Inverter SolarMax 2000S Instruction Manual
Solar inverter (28 pages)
Inverter SolarMax 20SHT Instruction Manual
(40 pages)
Inverter SolarMax SHT Series Instruction Manual
(40 pages)
Inverter SolarMax 25SHT Instruction Manual
(40 pages)
Inverter SolarMax 2000SP Instruction Manual
(36 pages)
Inverter SolarMax 2500SP Instruction Manual
(36 pages)
Inverter SolarMax 8MT2 Instruction Manual
Mt-series (62 pages)
Inverter SolarMax SM30HT4 Instruction Manual
Ht series (74 pages)
Inverter SolarMax 10MT2 Short Installation Manual
(28 pages)
Inverter SolarMax TS-SV User & Installation Manual
(66 pages)
Inverter SolarMax SHT Series Instruction Manual
(40 pages)
Inverter SolarMax 5G Series User Manual
On-grid/grid tied three phase mppt string pv inverter (21 pages)
Inverter SolarMax SP Series Instruction Manual
(36 pages)
This manual is also suitable for:
5000p
3000p
4000p
4600p
Table of Contents
Save PDF
Print
Rename the bookmark
Delete bookmark?
Delete from my manuals?
Login
Sign In
OR
Sign in with Facebook
Sign in with Google
Upload manual
Upload from disk
Upload from URL


Need help?
Do you have a question about the 2000P and is the answer not in the manual?
Questions and answers