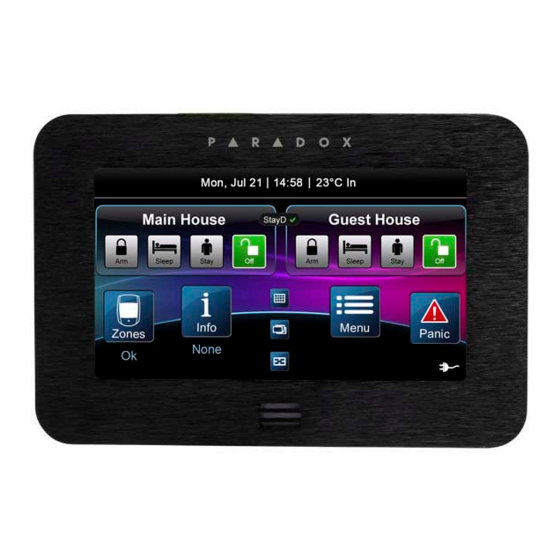
Paradox TM40 Quick Install Manual
Touch interface module
Hide thumbs
Also See for TM40:
- User manual (17 pages) ,
- Quick user manual (11 pages) ,
- Manual (11 pages)
Advertisement
Table of Contents
TM40 Touch Interface
Module
Quick Install Guide
Installation
1.
Using a screwdriver, pry the front housing assembly from
the back plate.
Printed in Canada | 09/2011
2.
Mount the back plate to the wall by securing a M3.5 or #6
screw in each of the dedicated mounting holes and tamper
hole. Ensure that the UP arrow on the back plate is in the up
TM40-EI01
position.
3.
Assemble both items by joining the hooks on the back plate
to their respective slots on the front housing assembly.
Front housing
assembly
NOTE: Make sure to connect the unit's 5-pin connector before
proceeding to the next step.
Hooks on
back plate
TM40 Quick Install Guide
Advertisement
Table of Contents

Summary of Contents for Paradox TM40
- Page 1 Installation Using a screwdriver, pry the front housing assembly from the back plate. Front housing assembly NOTE: Make sure to connect the unit’s 5-pin connector before proceeding to the next step. TM40 Quick Install Guide Printed in Canada | 09/2011...
-
Page 2: Technical Specifications
: For complete warranty information on this product, please refer to the Limited Warranty Statement found on the Web site wires on the TM40 must be connected to their corresponding www.paradox.com/terms. Your use of the Paradox product signifies your labeled terminals on the control panel’s PCB. The blue wire is acceptance of all warranty terms and conditions.


Need help?
Do you have a question about the TM40 and is the answer not in the manual?
Questions and answers