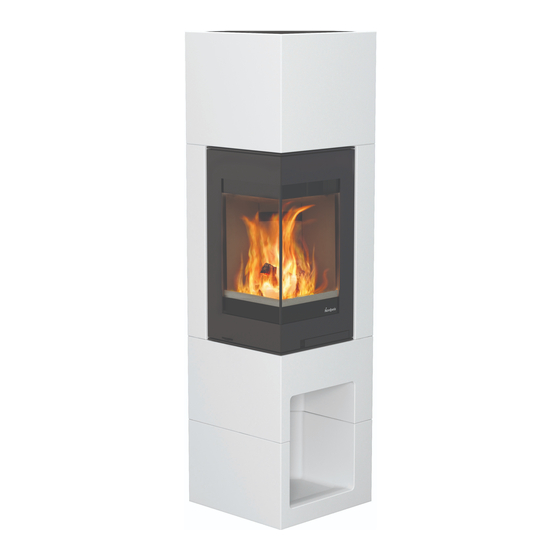
Summary of Contents for Nordpeis Odense
- Page 1 Monteringsanvisning Installation manual Odense Art.no: FP-ODE00-0X0 Last updated: 07.05.2013...
-
Page 2: General Information
All safety distances are minimum distances. Installation of the insert must comply with the rules and regulations of the country where installed. Nordpeis AS is not responsible for wrongly assembled inserts. We accept no liability for typographical errors and changes. - Page 3 Assembly instructions (FIG 3 - FIG 16) FIG 16 The picture shows how Odense is prepared for FIG 3 Nordpeis ventilated chimney and where to connect a Place the base element. Make sure it is level.
- Page 4 Du trenger følgende verktøy GB You need the following tools 2.5 mm 10 mm 3 mm 13 mm 4 mm 5 mm 24 mm...
- Page 5 FIG 1...
- Page 6 =mm AIR...
- Page 7 FIG 2 =Brannmur/Brandmur/Turvaetäisyydet/Firewall =Brennbart materiale/Brændbart materiale/ Brännbart material/ Palavasta materiaalista/Combustible material *Mål for tilkobling pipe *Measurement chimney connection >450 >875 >170 350* >85...
- Page 8 FIG 4 FIG 3 FIG 5 FIG 6...
- Page 9 FIG 7 FIG 8 FIG 9 FIG 10...
- Page 10 FIG 11 FIG 12 FIG 14 FIG 13...
- Page 11 FIG 15 FIG Z FIG 16...
- Page 14 Nordpeis AS, Gjellebekkstubben 11, N-3420 LIERSKOGEN, Norway www.nordpeis.no...


Need help?
Do you have a question about the Odense and is the answer not in the manual?
Questions and answers